Thank you for purchasing interact theme. This documentation will help to know more about theme and how is structured and how to use the theme features.
Requirements
To be able to use interact theme, you must have the following:
- Setup Wordpress CMS Last Version.
- Upload Wordpress Theme (interact).
- An FTP tool to upload the files for (interact)
-
Make sure you upload the required assets files/folders listed below:
-
/assets/*- Assets Folder -
/framework/*- Framework Folder -
/assets/style.css- Main Stylesheet File -
functions.php- Main theme php functions -
*.php- Other Files
-
Installation
Follow the steps below to get started with your interact:
-
Open the
PackageFolder to find all Files. - You will need to upload requirement files
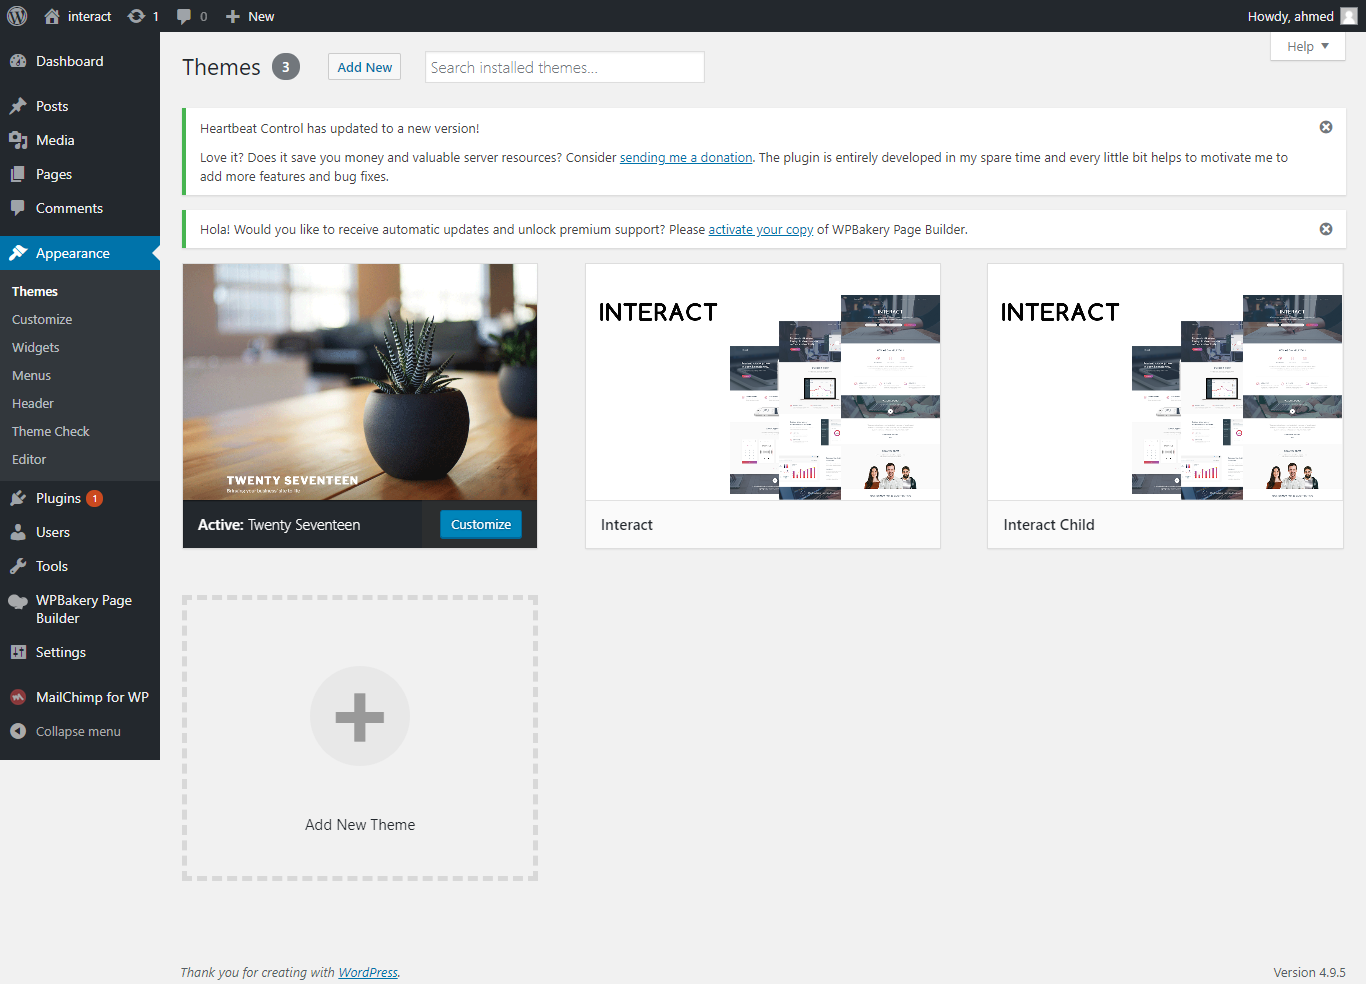
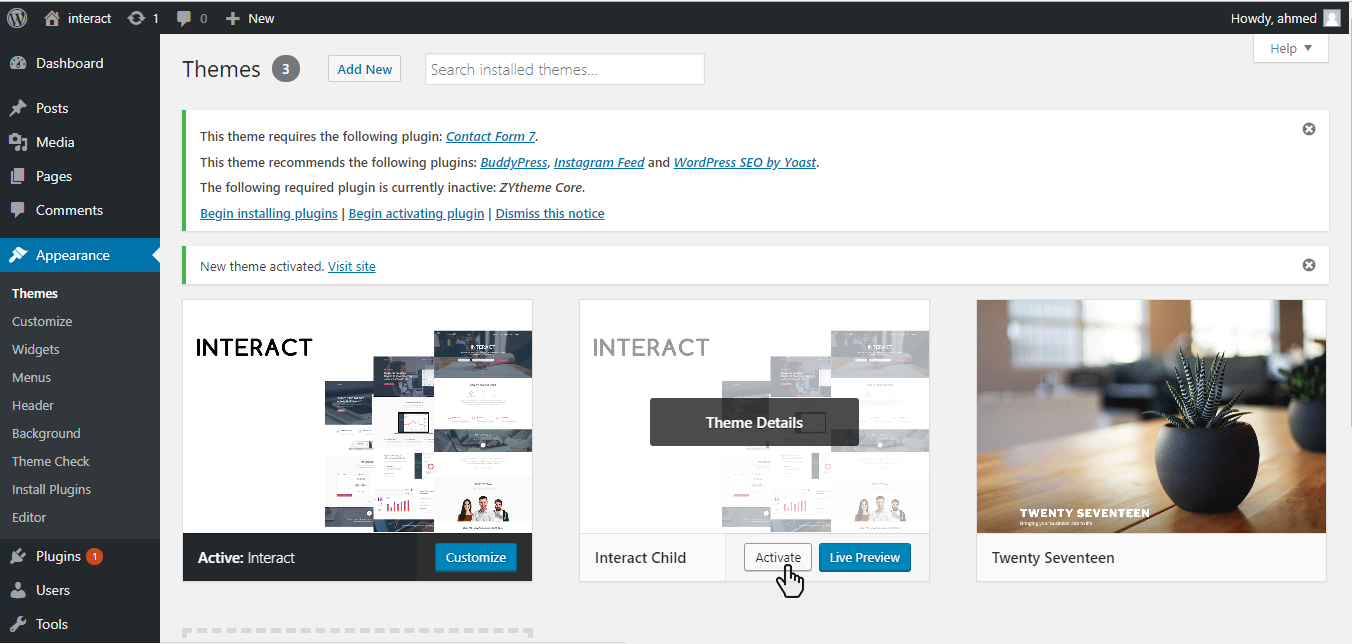
Active Theme
Follow this step you need:
- You will need to active interact theme from wp-admin > apperance > themes.
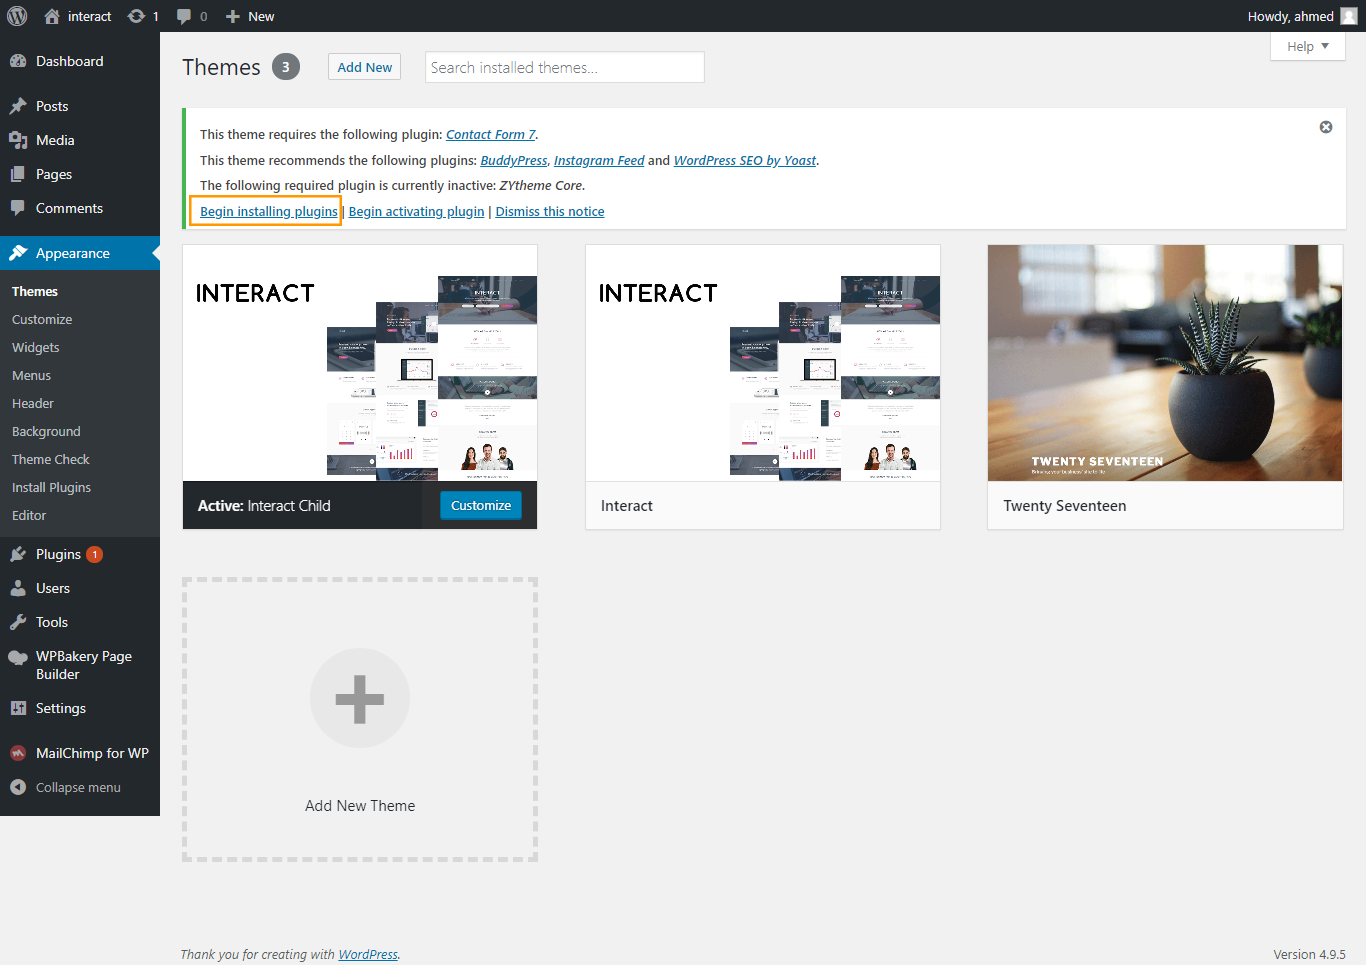
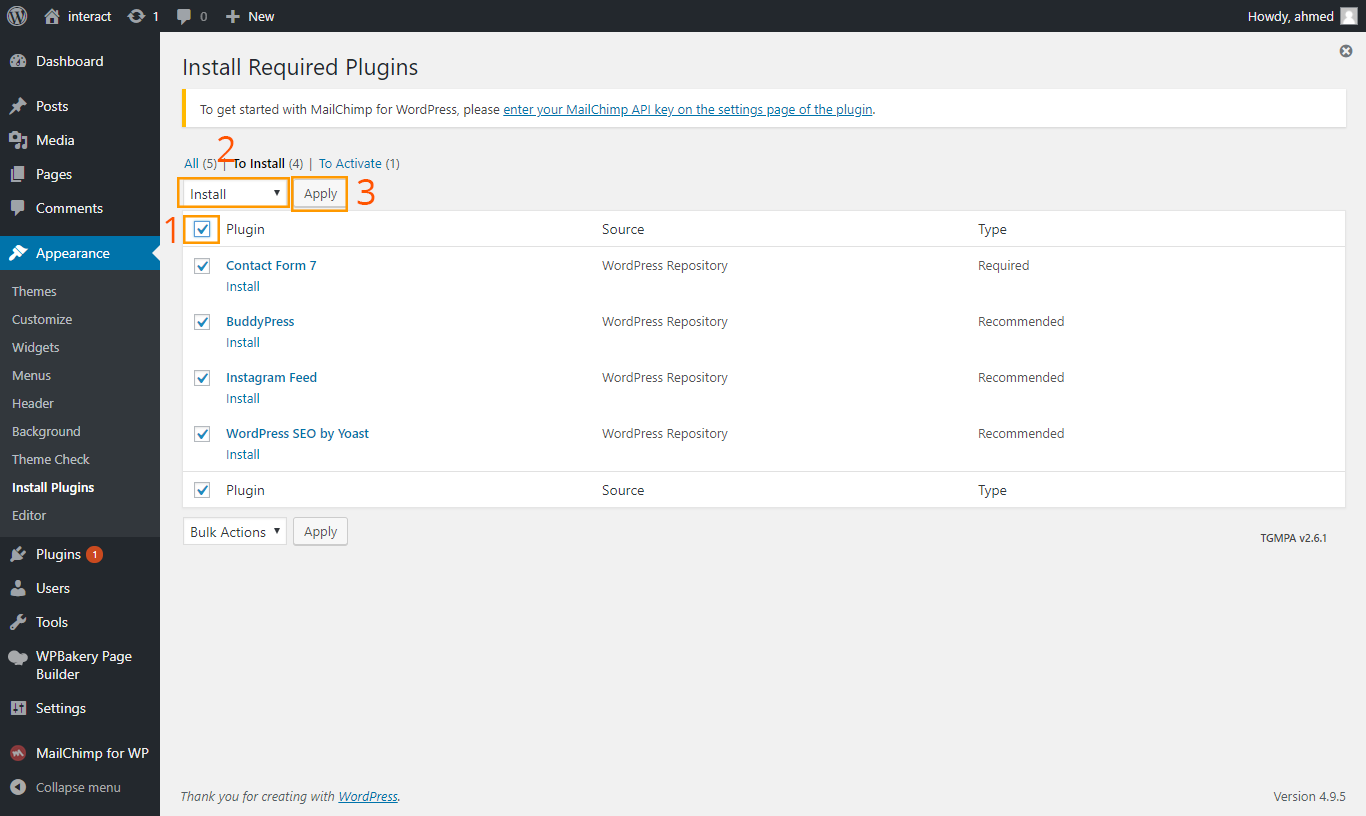
Active Plugins
Follow the steps below to get started with activation required plugins:
- Active Plugins Which get with theme activation
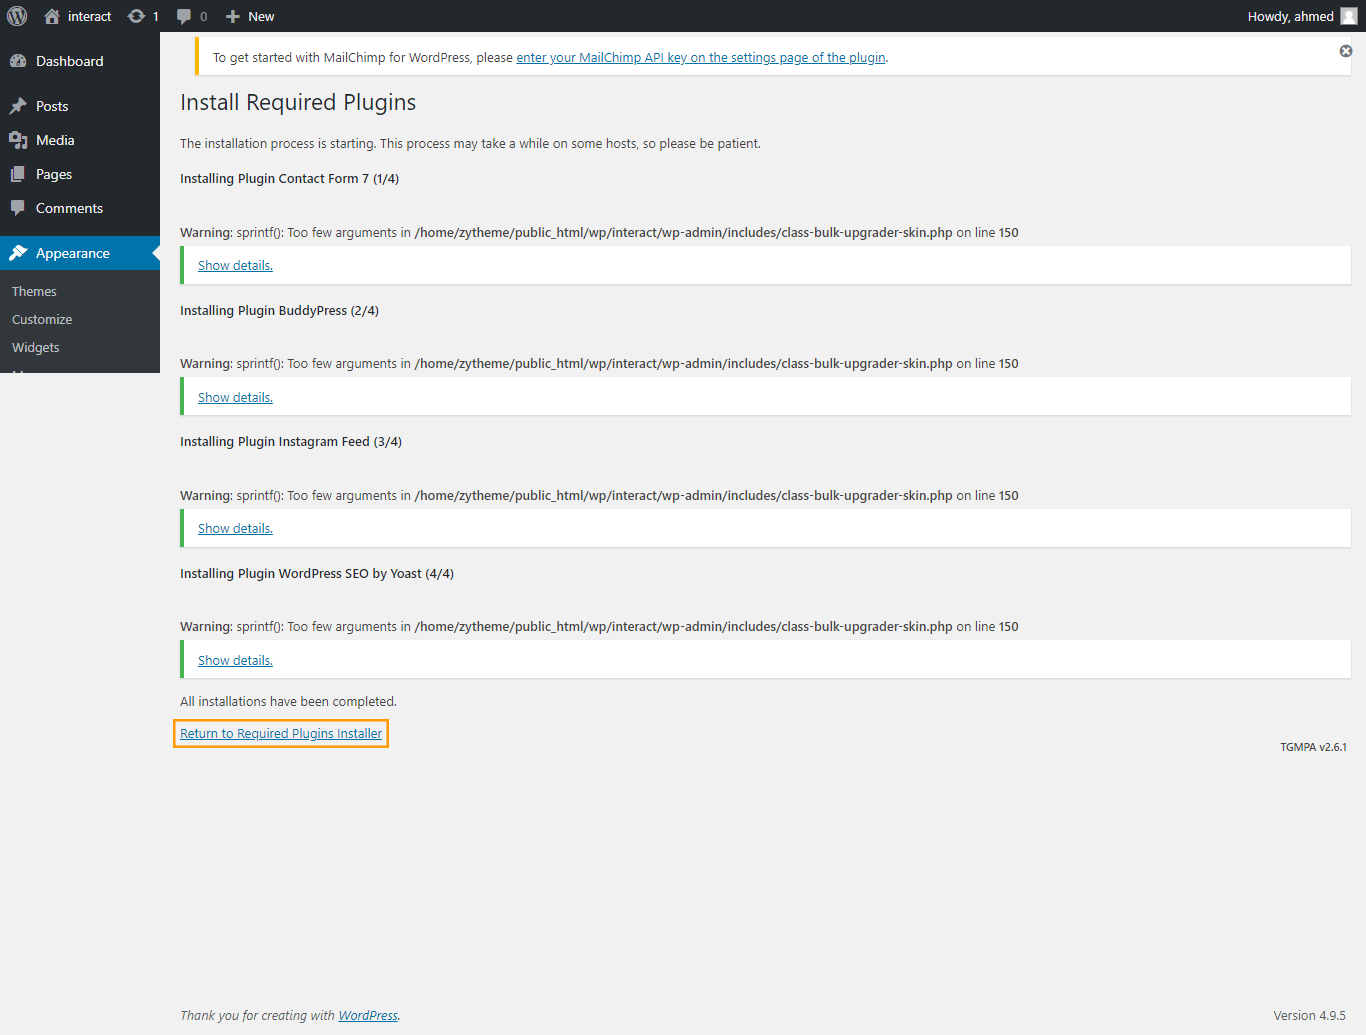
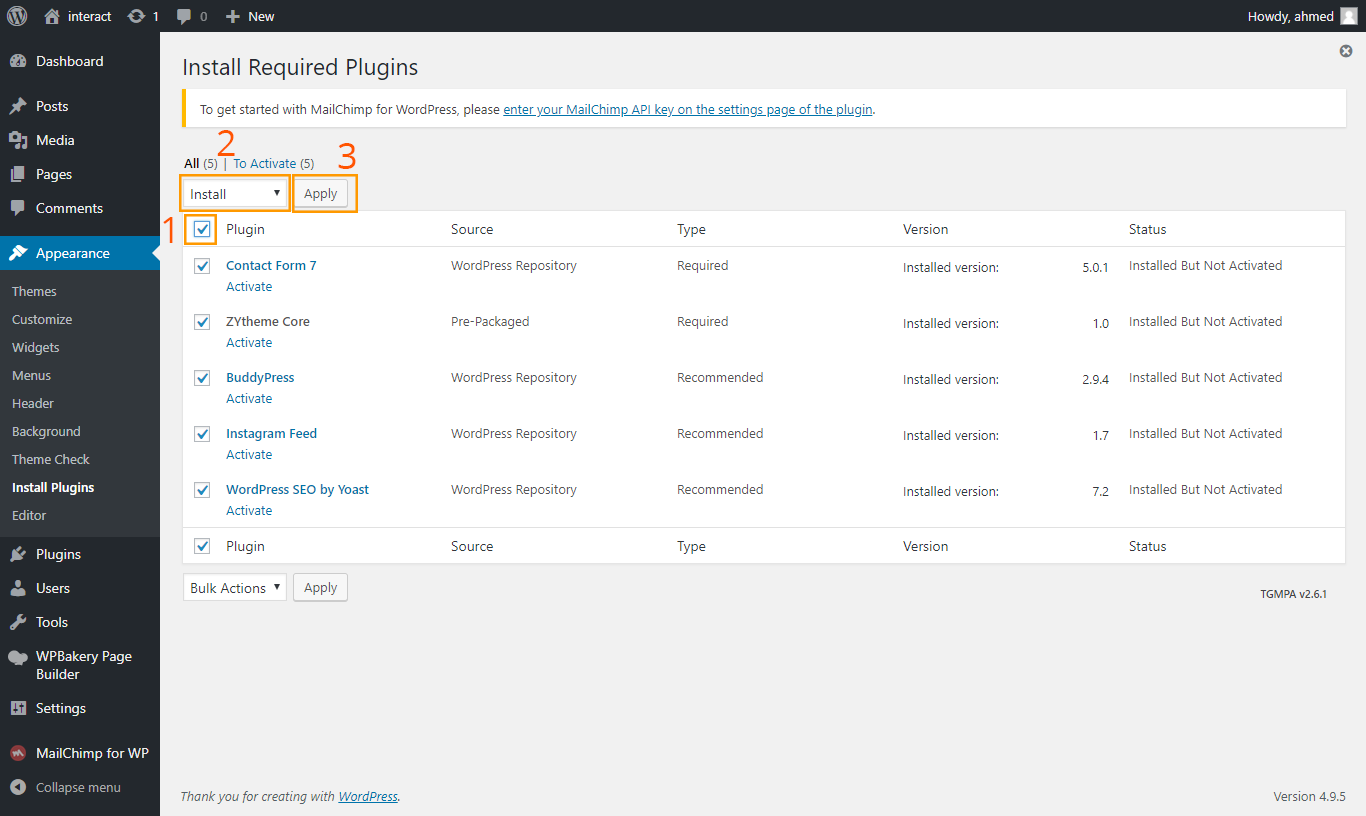
- In your admin panel, go to Appearance -> Install Plugins.
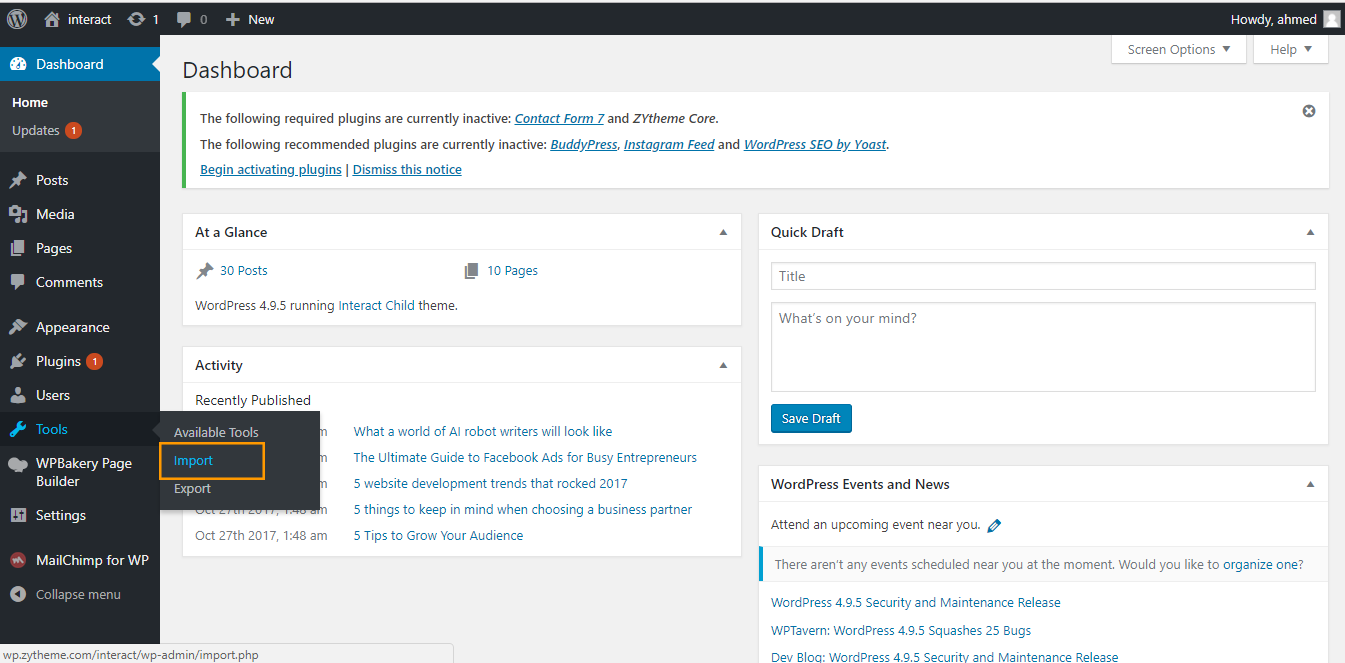
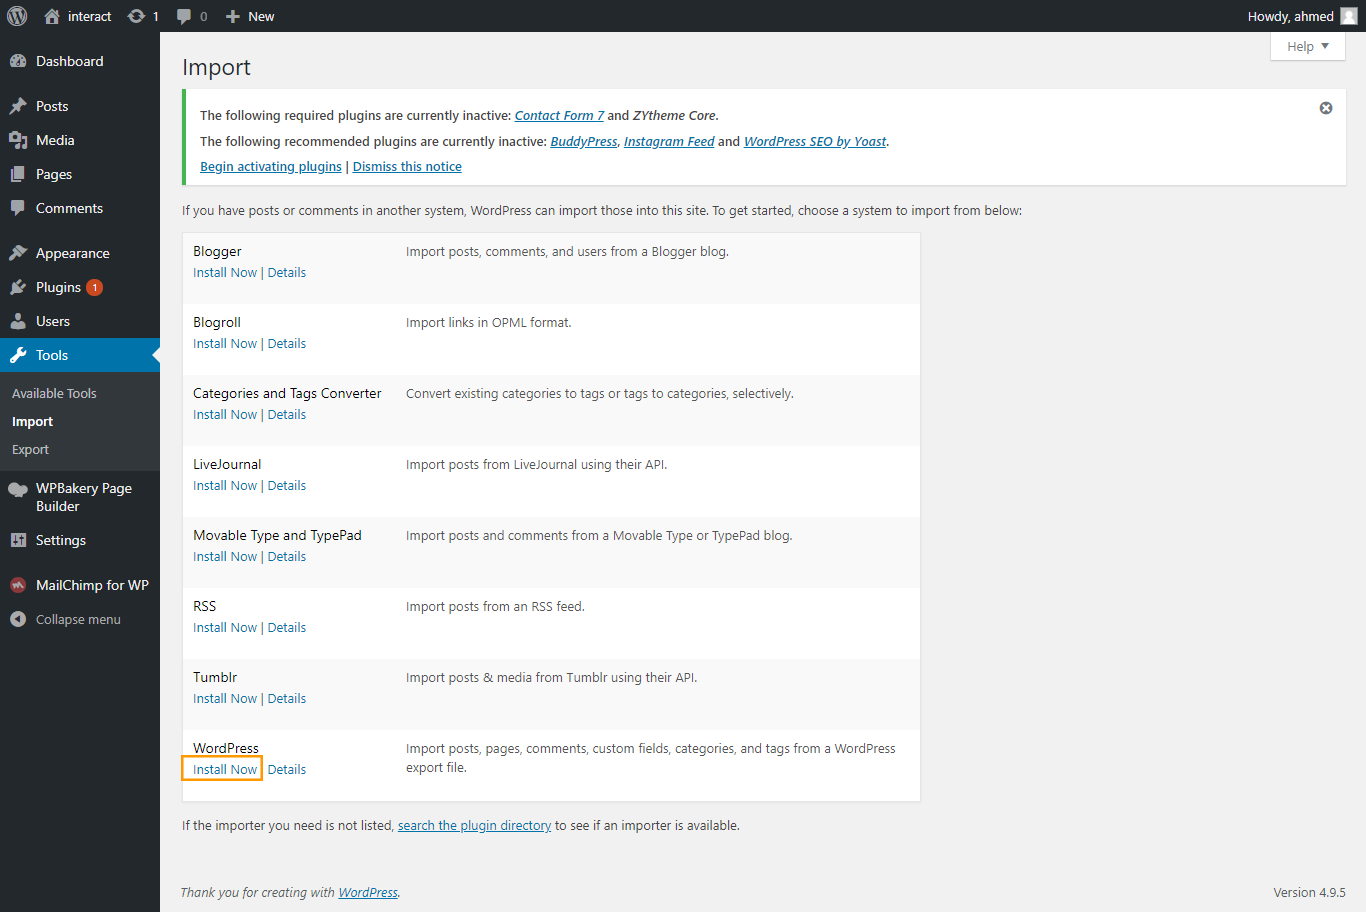
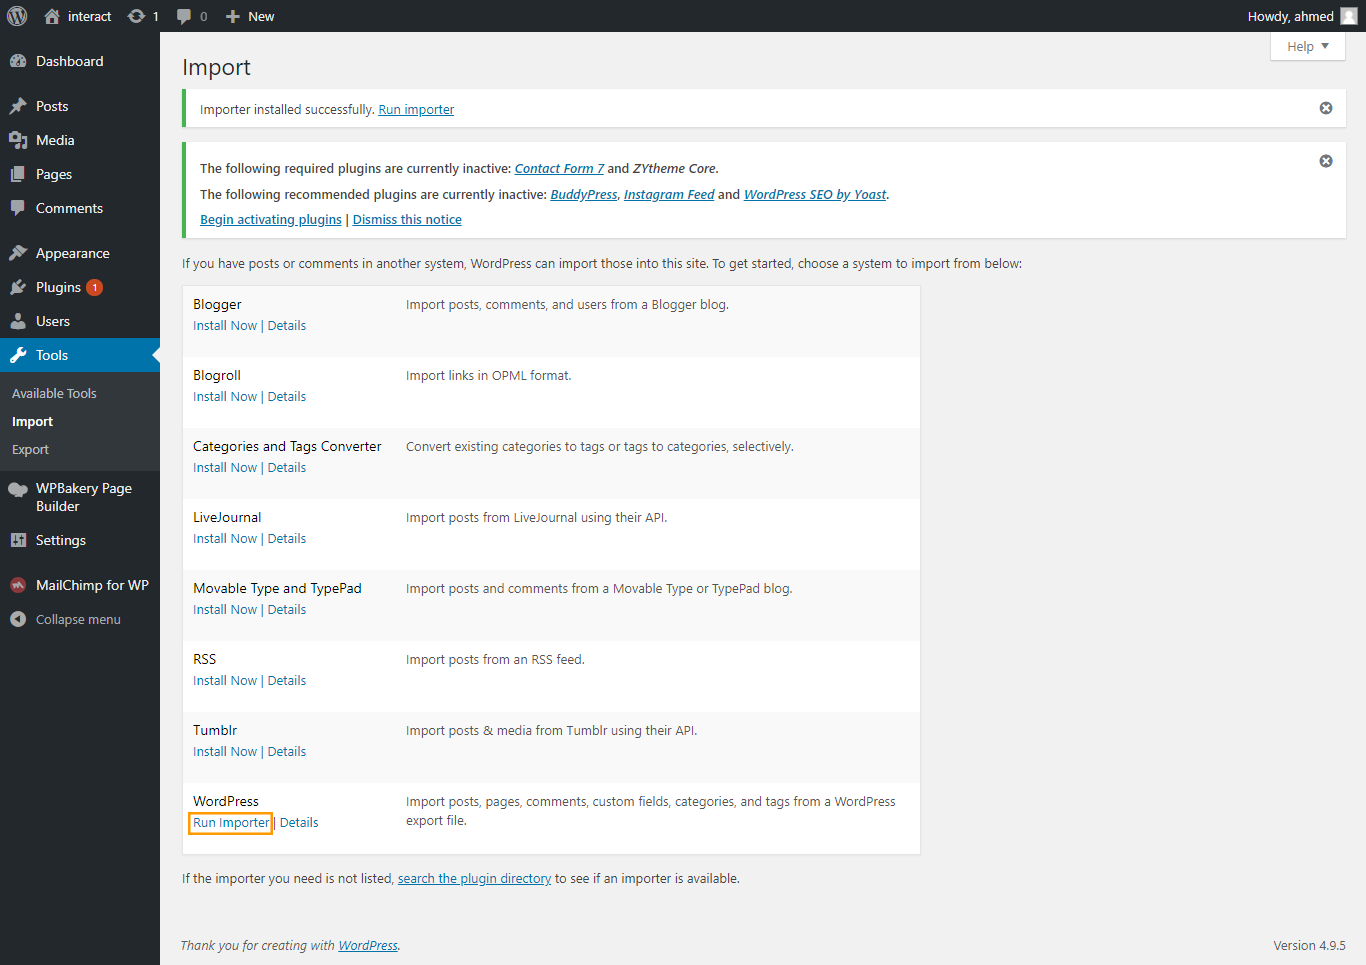
- Active wordpress import plugin, you can find it wp-admin > tools > import > wp wordess import
- Active importer/exporter widget plugin, you can find it here
Import Content
Follow the steps below to import content to website:
- Active wordpress import plugin
-
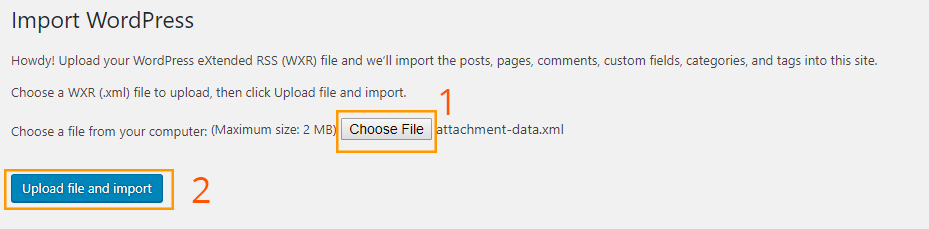
Uploas
data.xmlwhich included indemo-data Folder
- You need upload two files on the path below:
- - attachment-data.xml
- - data.xml

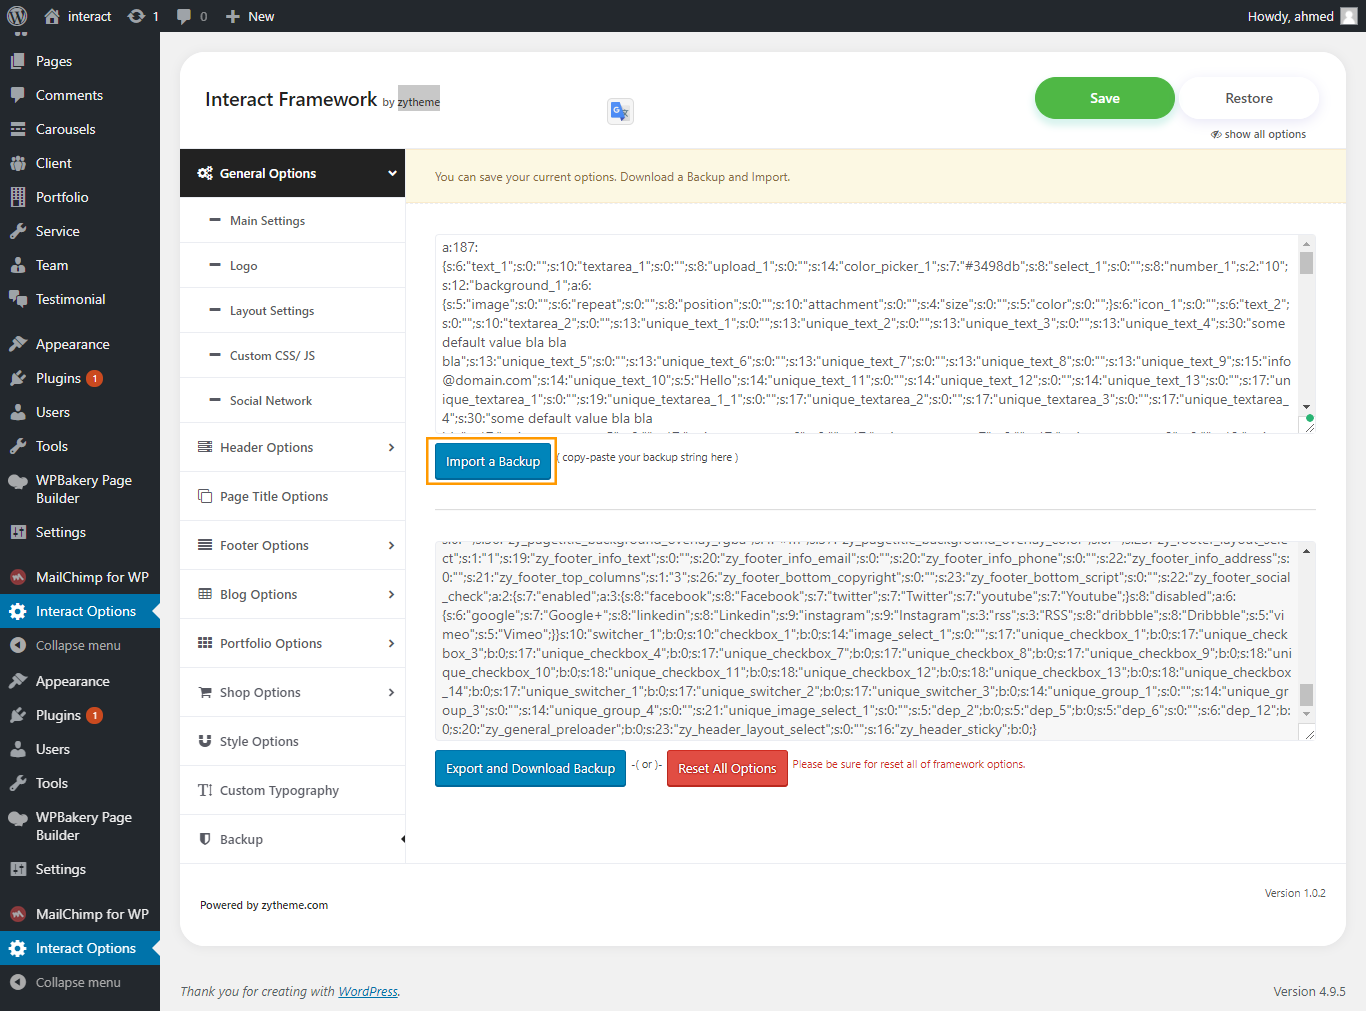
Update Theme Options
Greate, Now start to import options for website
-
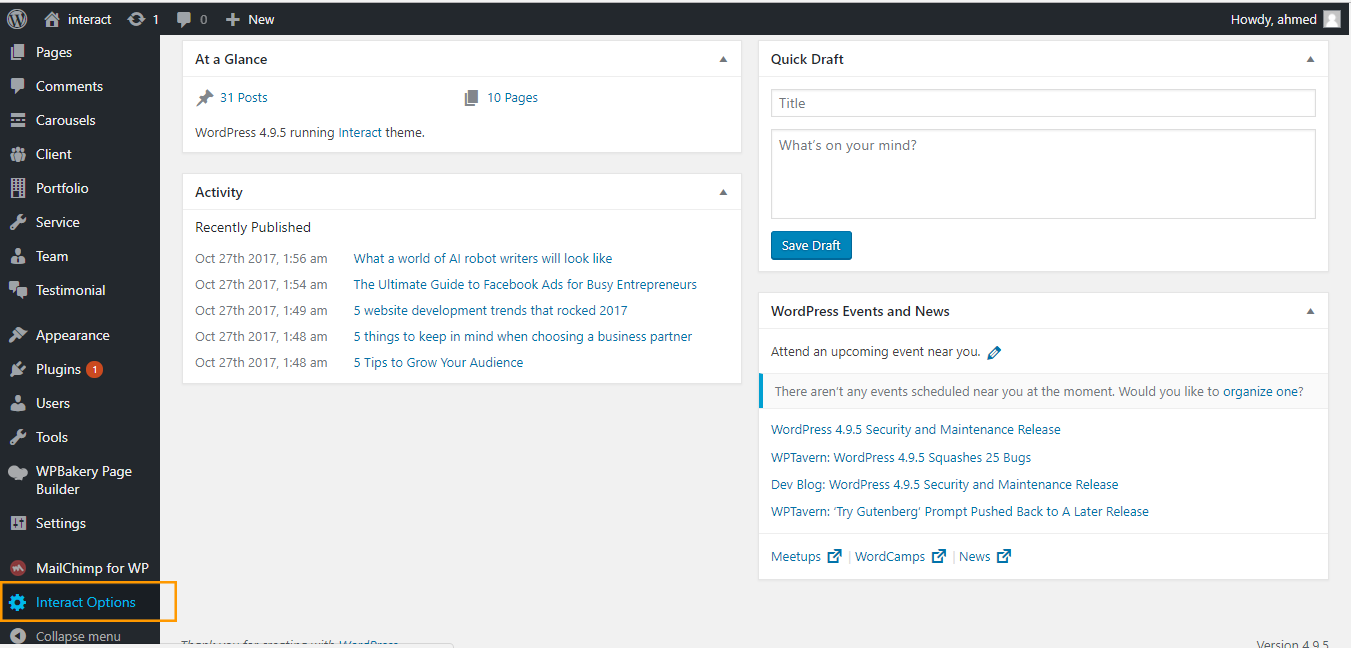
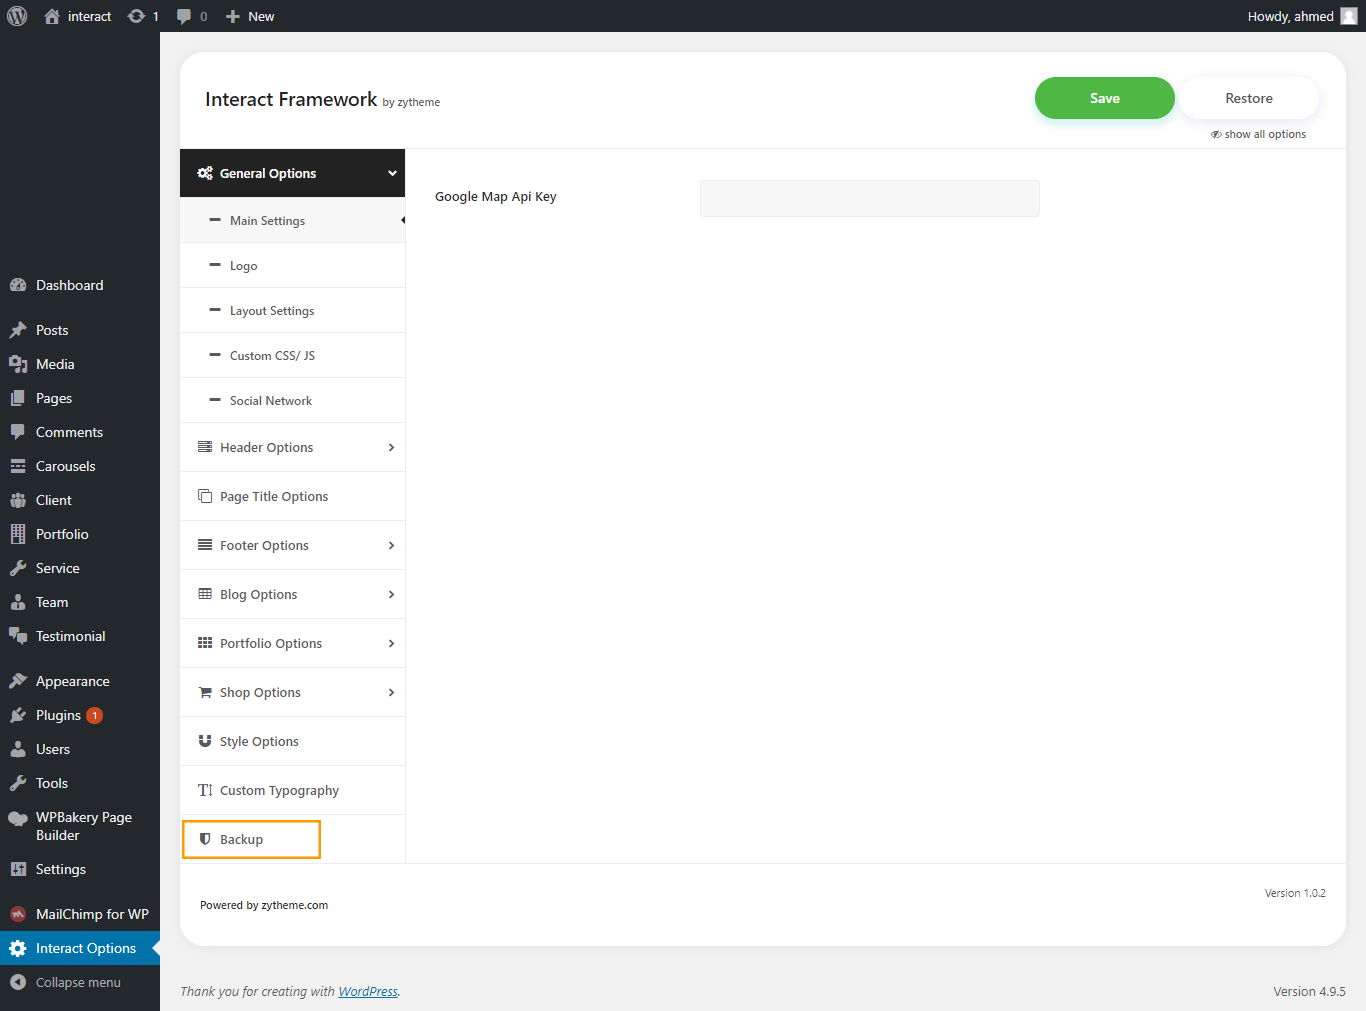
you can find theme option in
wp-admin > theme options -
Get options form theme-options.json which include in
Package - Copy options form file to your theme
- CLick Import.
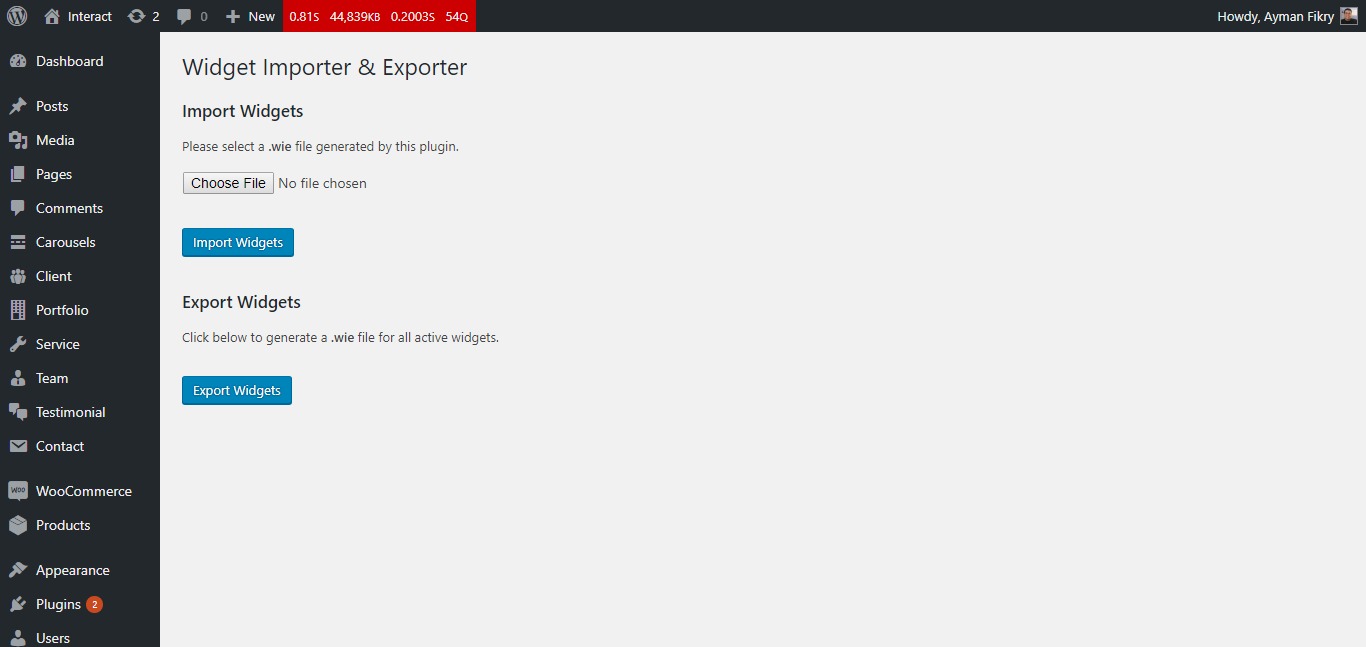
Import Widgets
Follow the steps below to import revolution slider to website:
- active importer/exporter widget plugin, you can find it here
-
import
widgets.wiewhich include inPackage
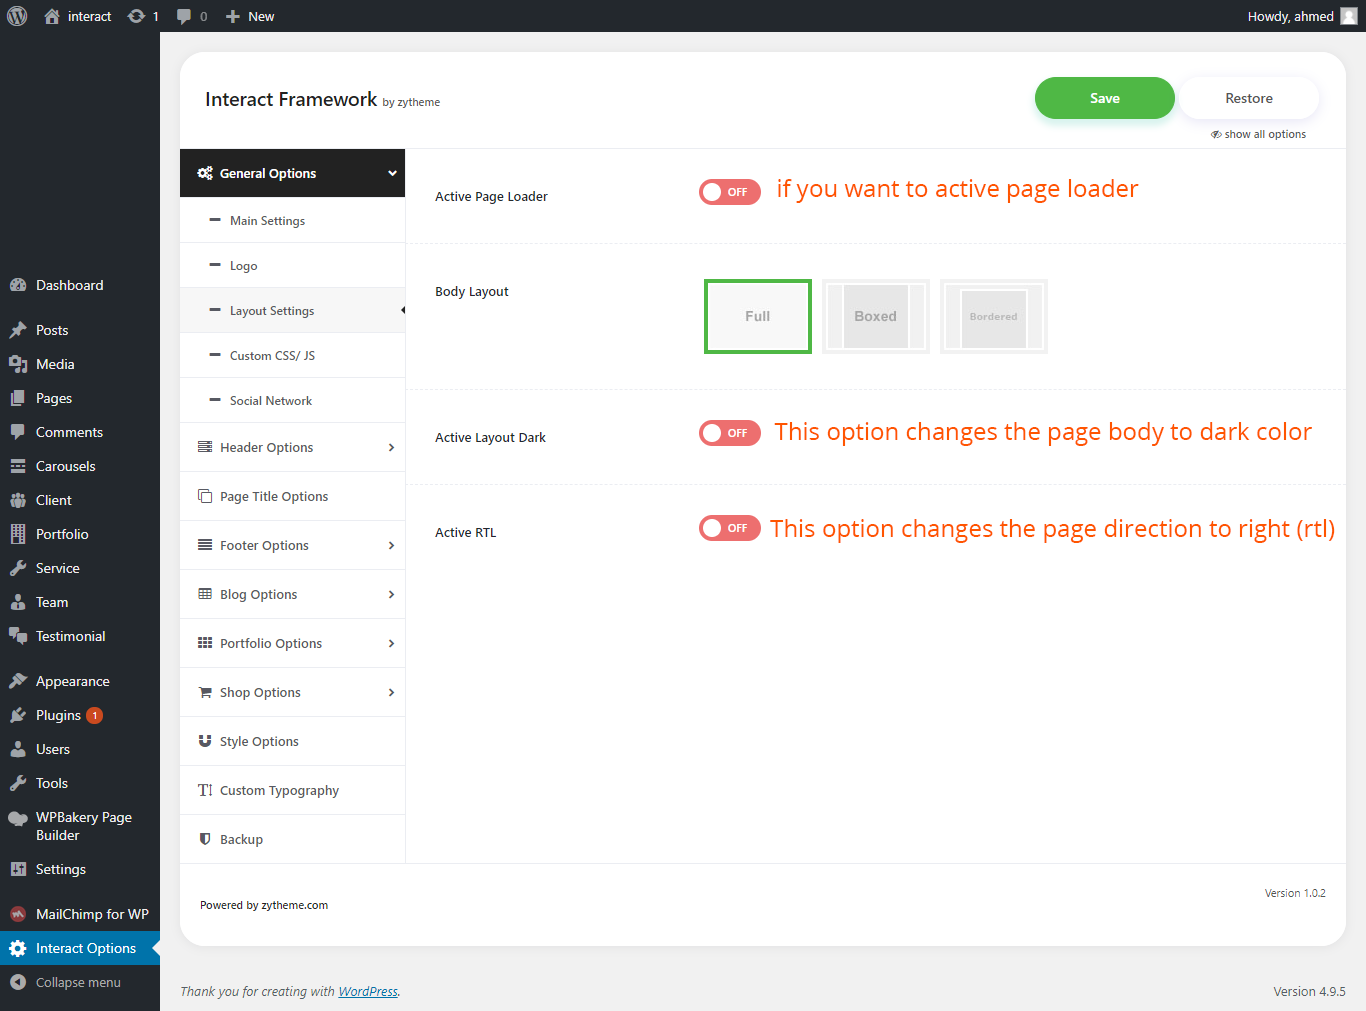
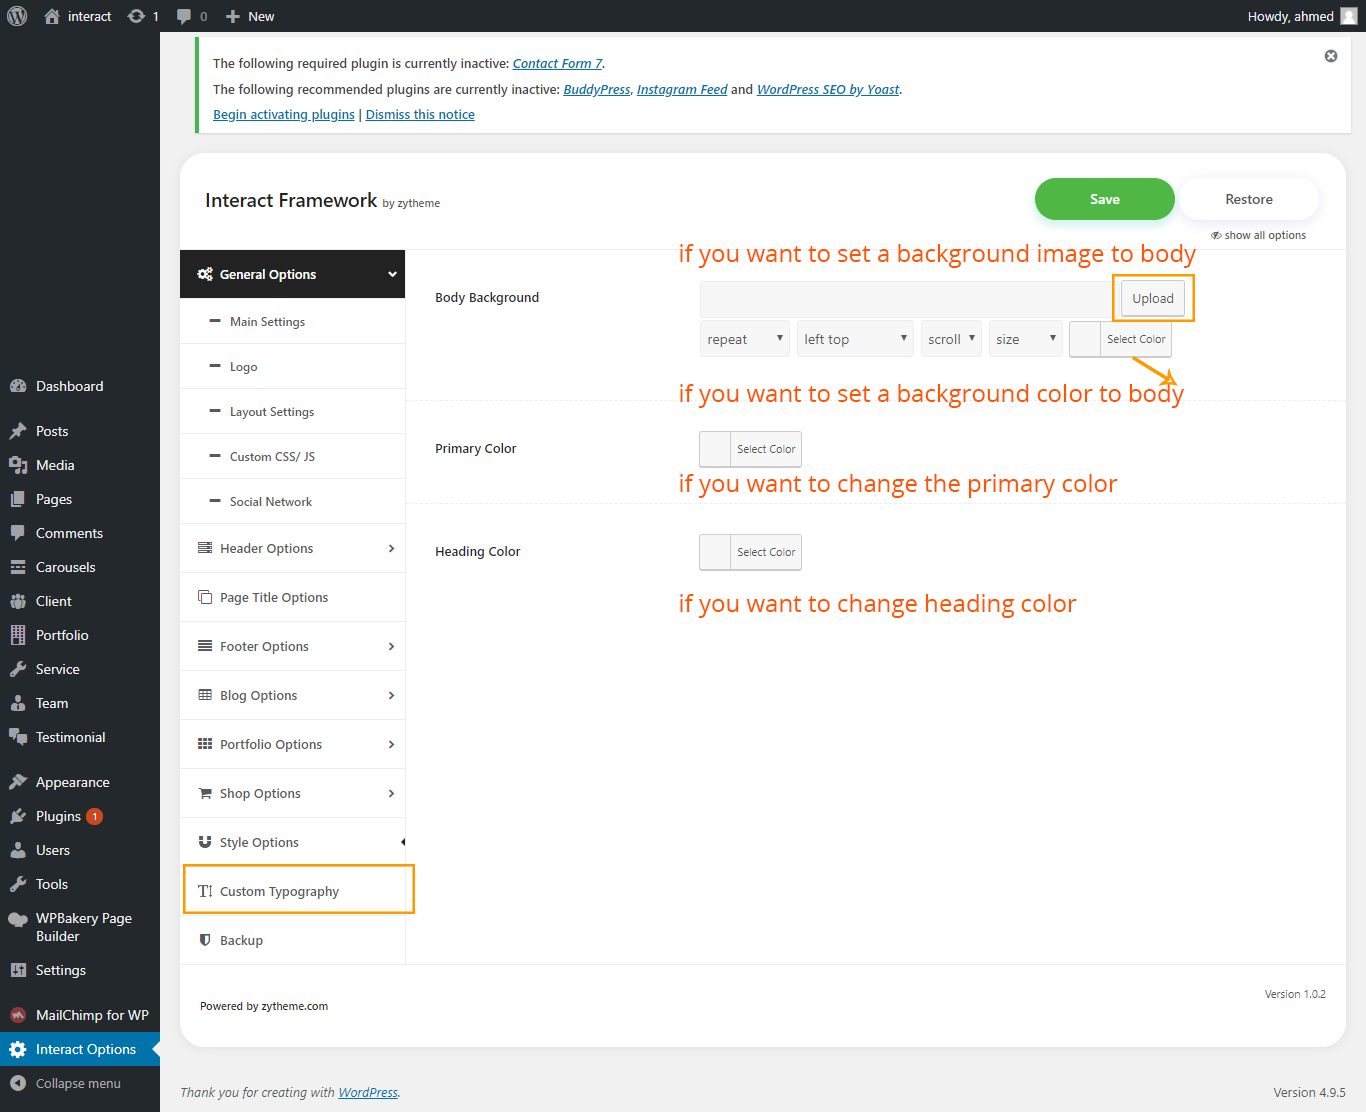
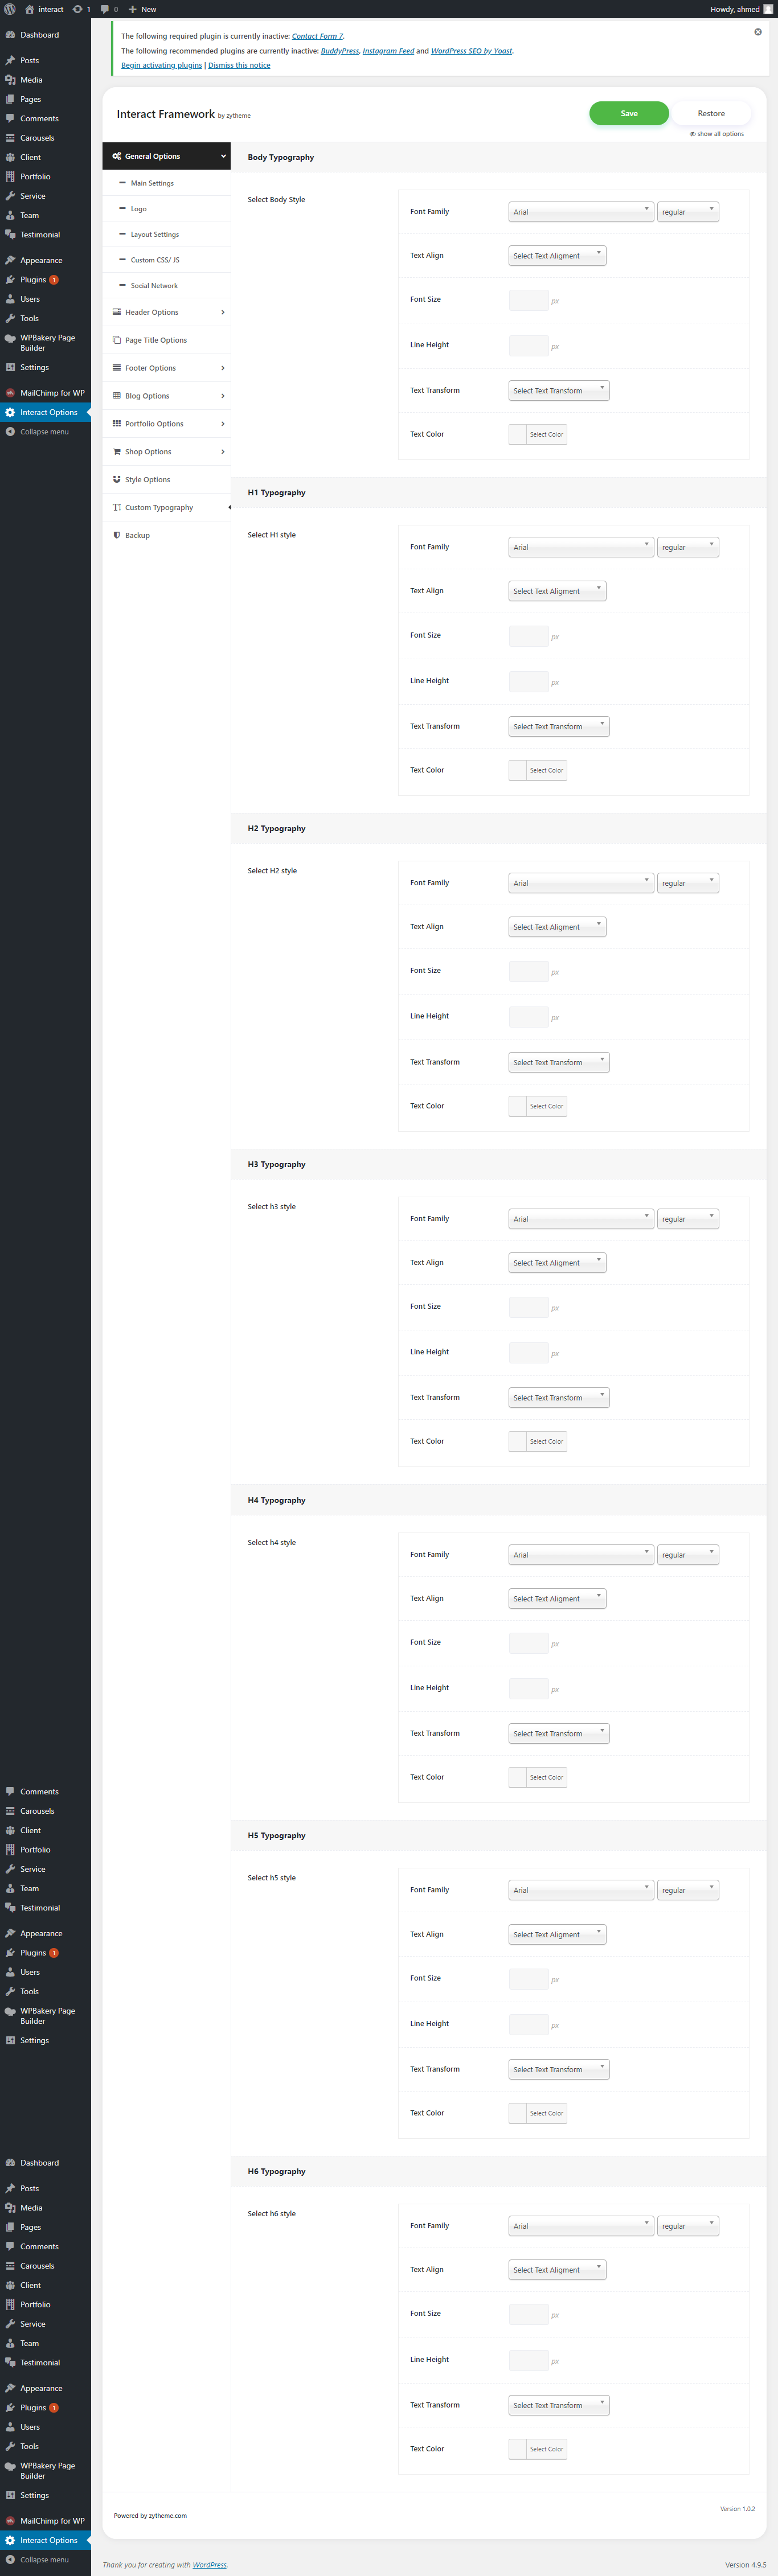
Theme options
Follow the steps below to know how to edit theme options:
logo options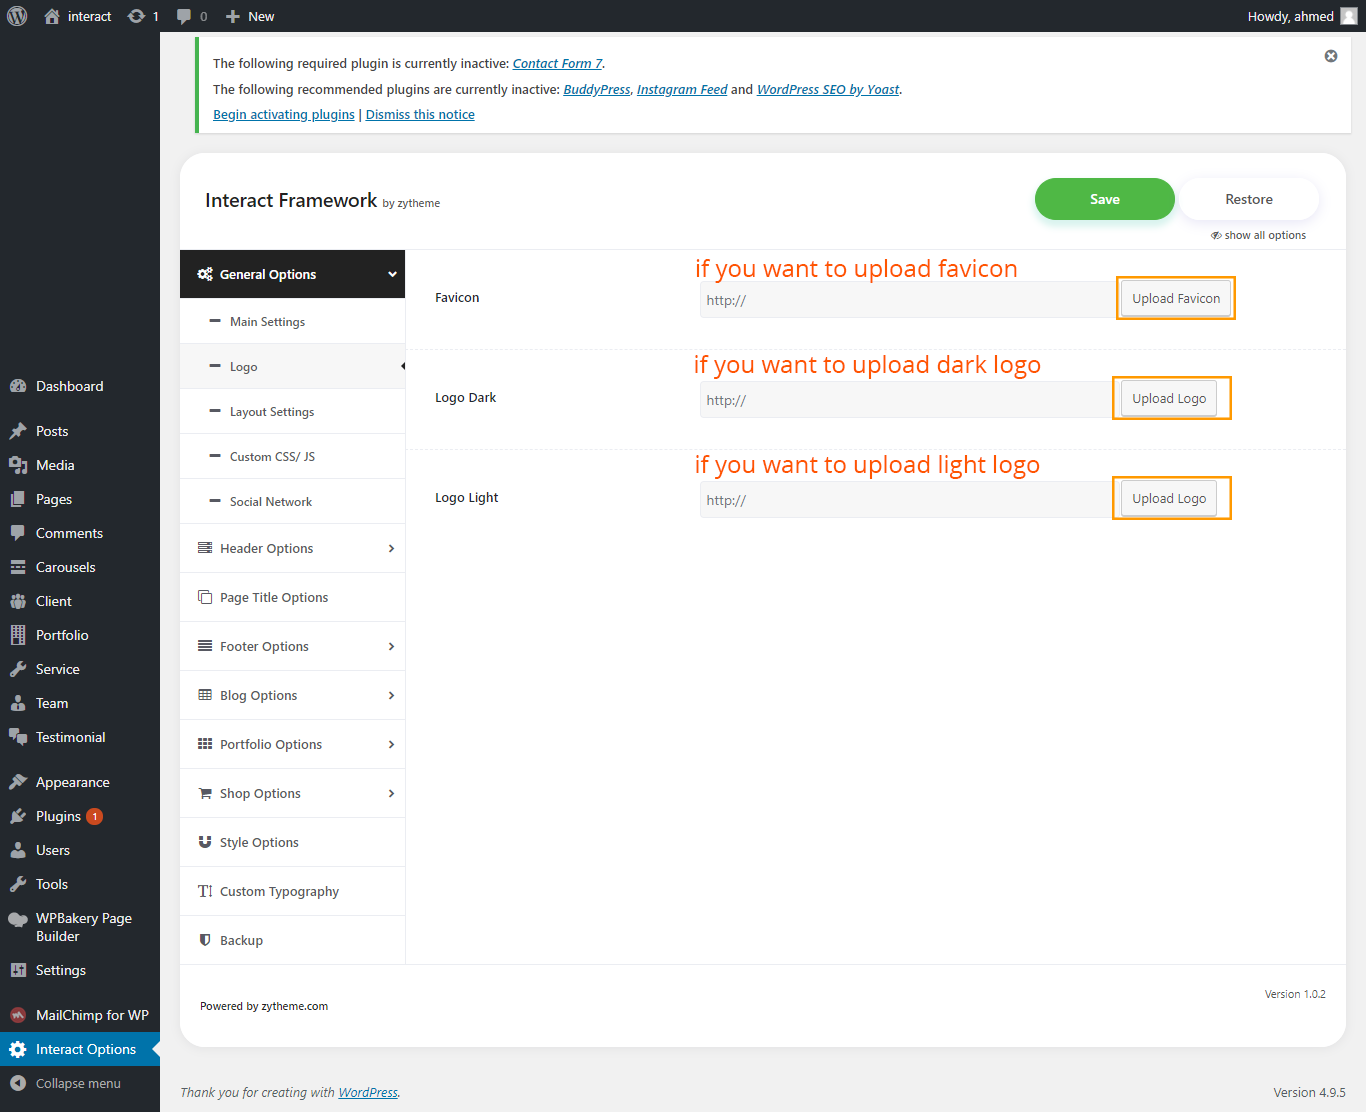

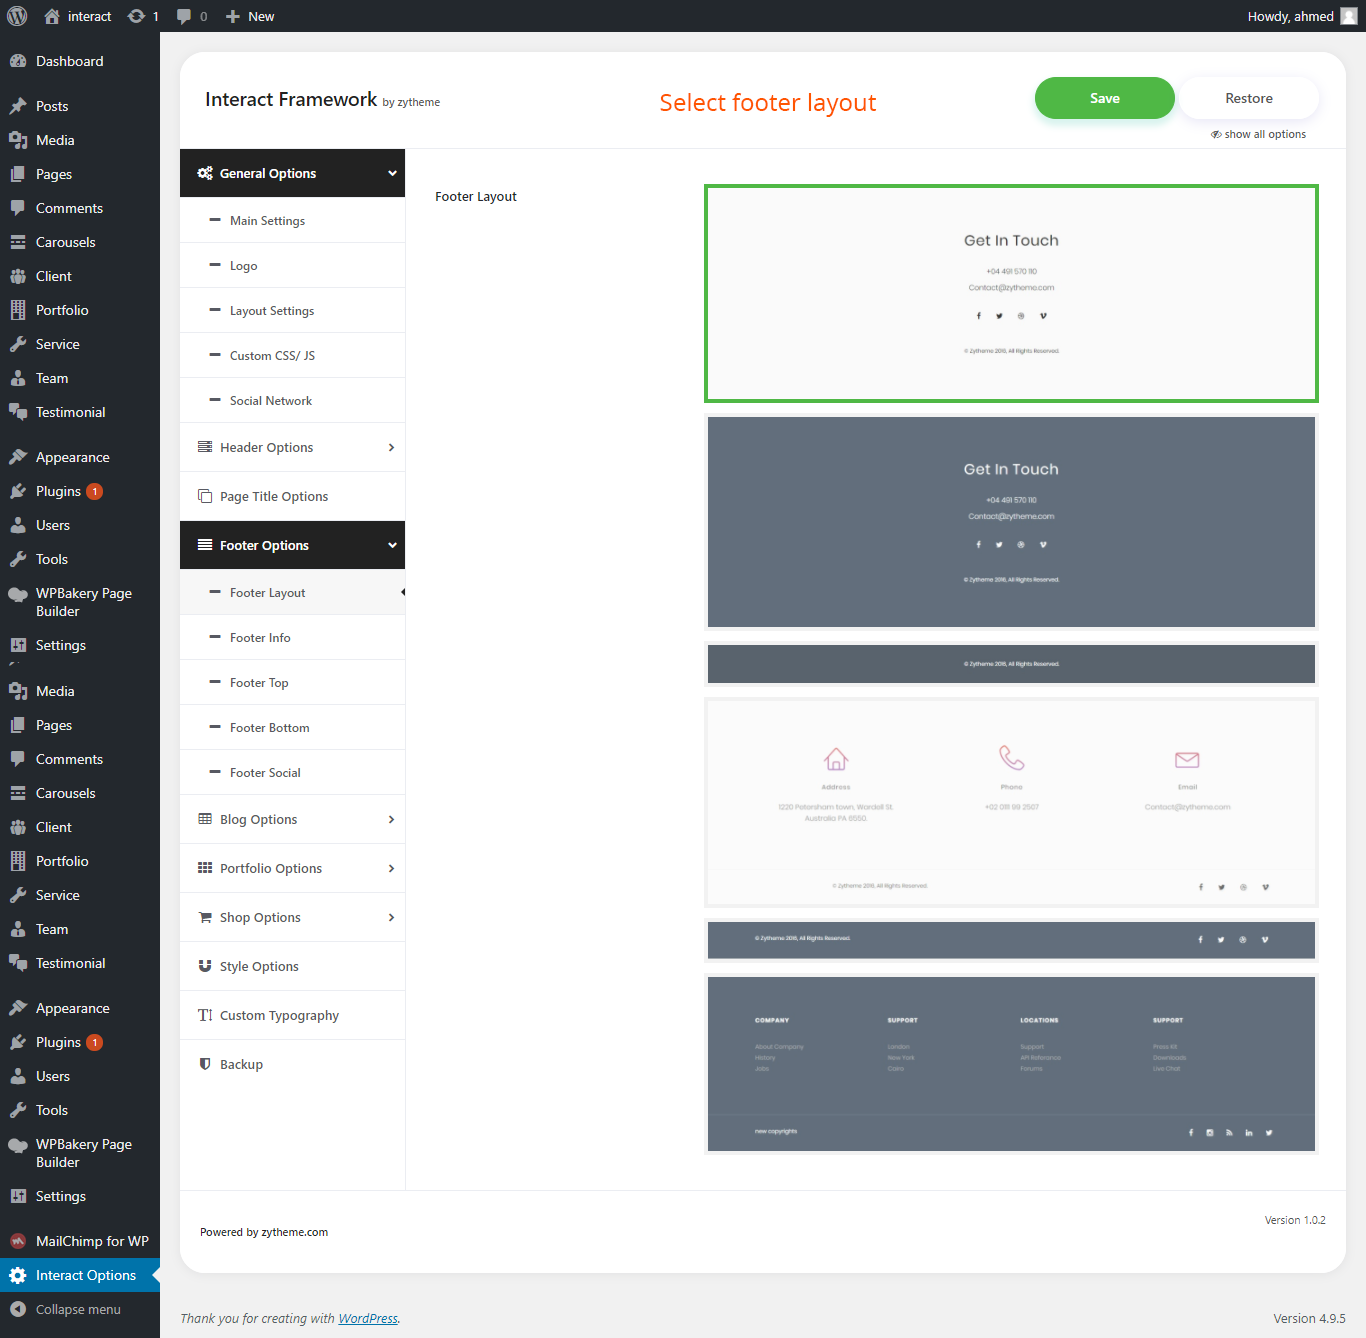 Footer info
  Footer top
 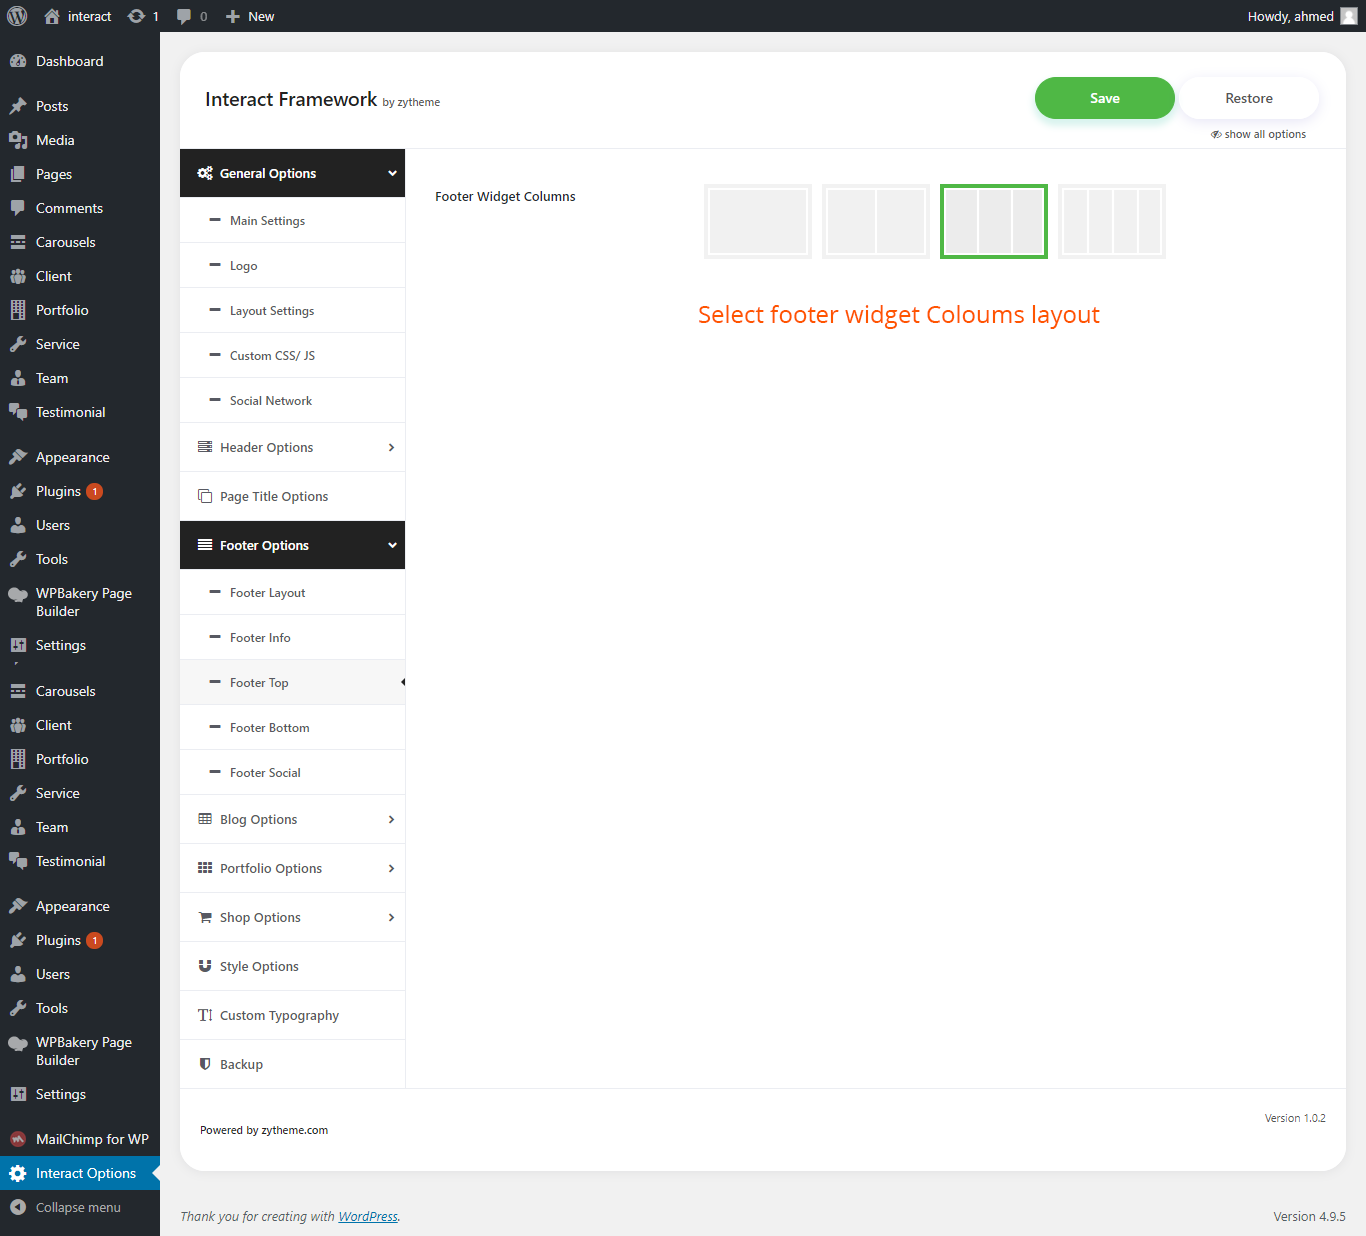 Footer botoom
 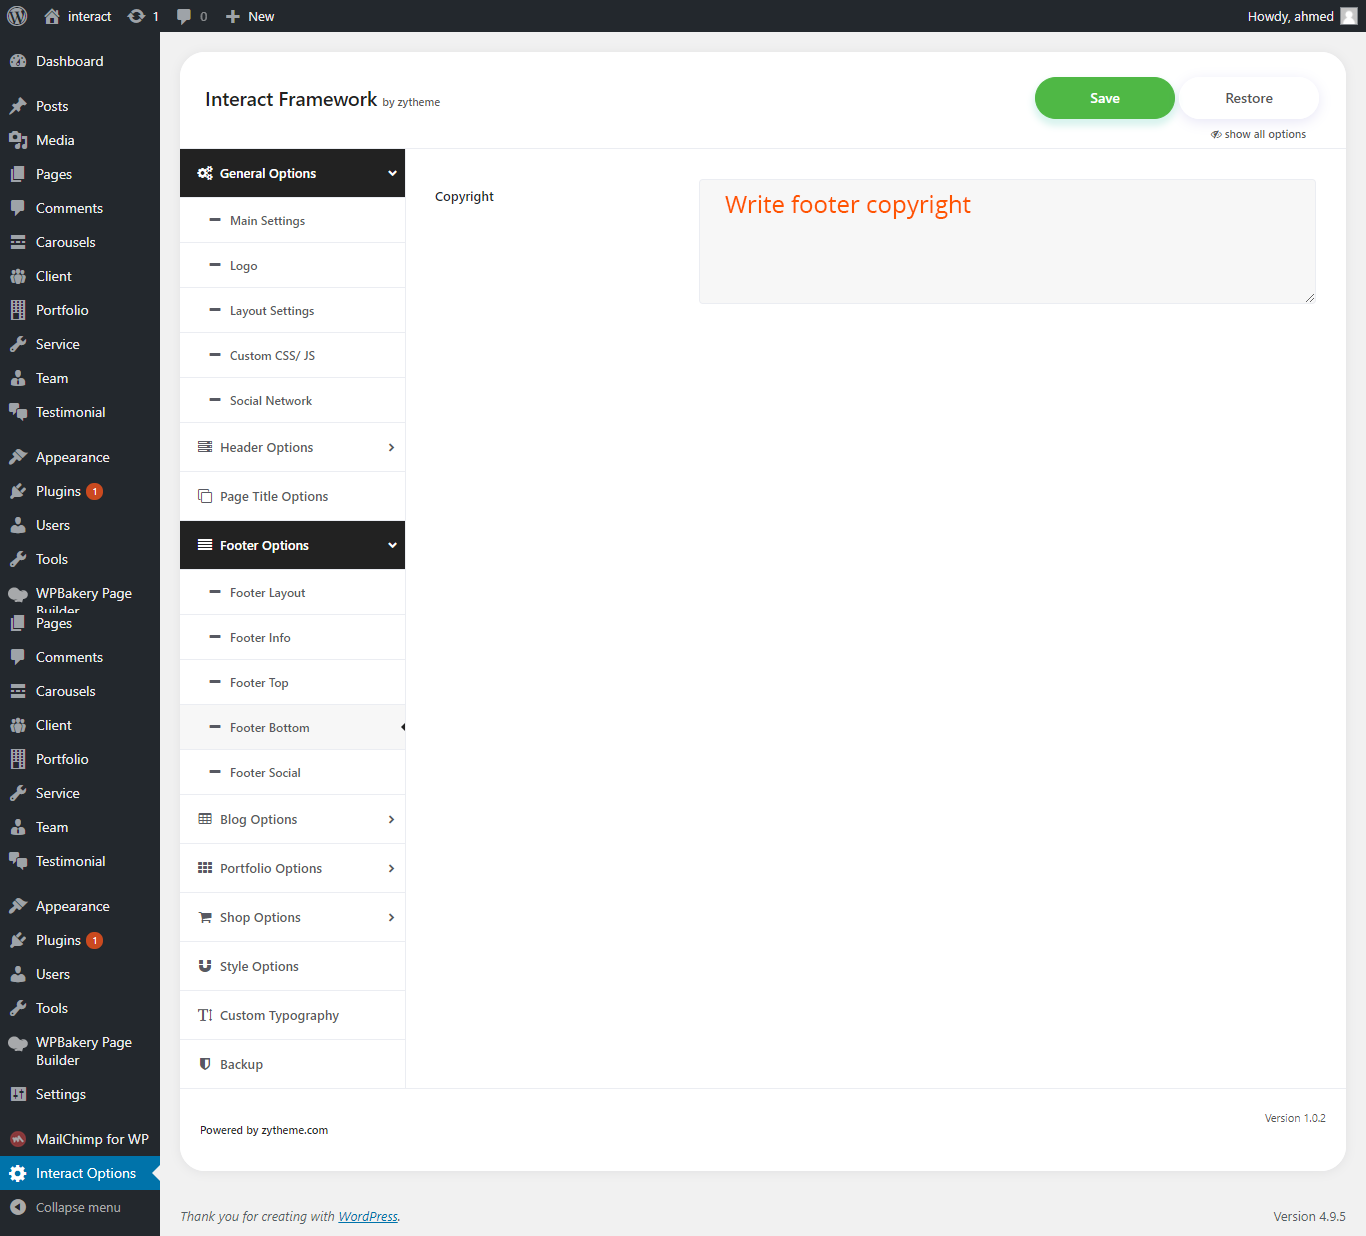 Footer Social
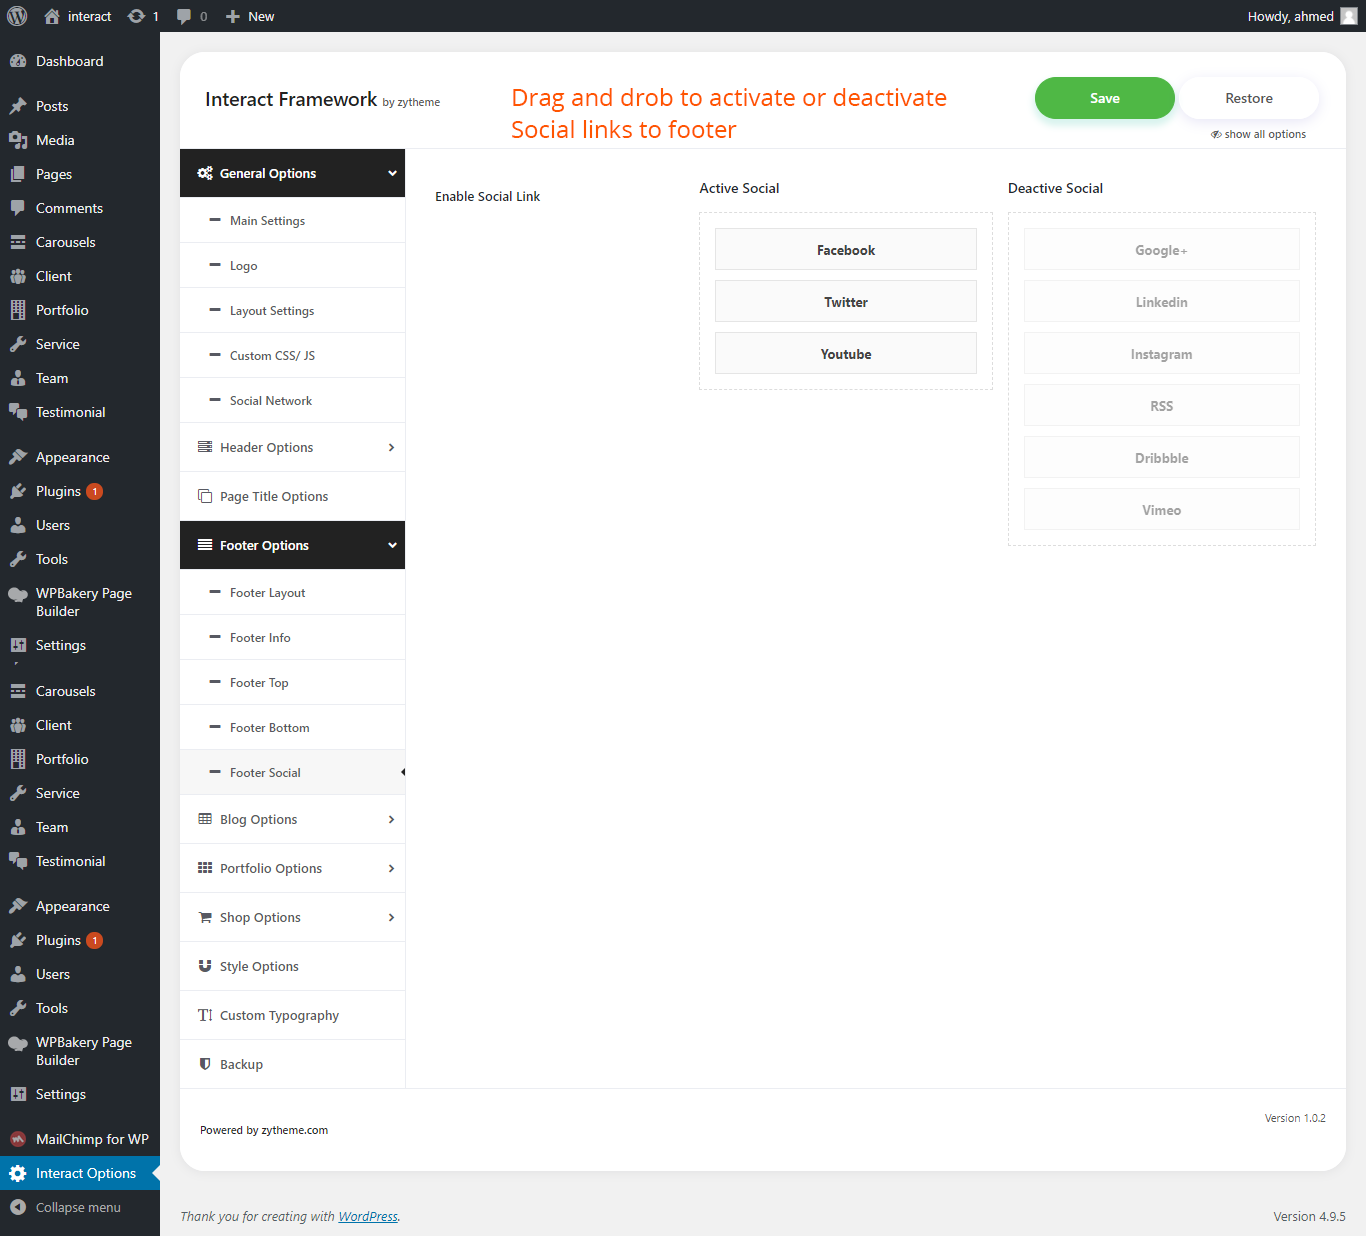
 Blog Option (archives)
 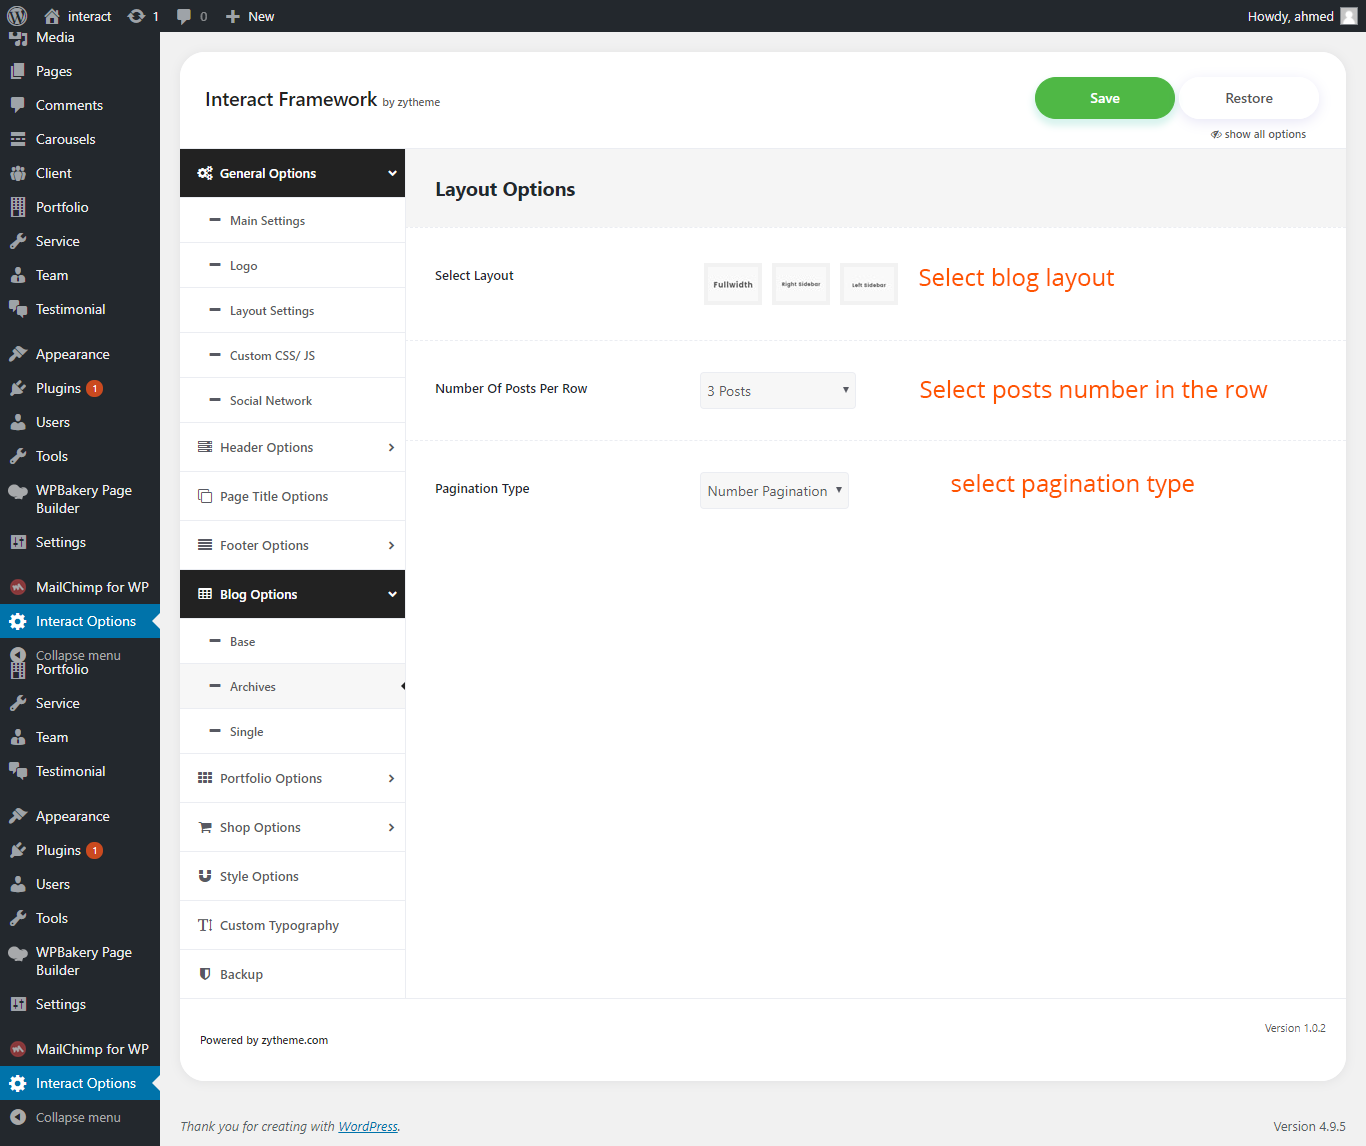 Blog Option (Single)
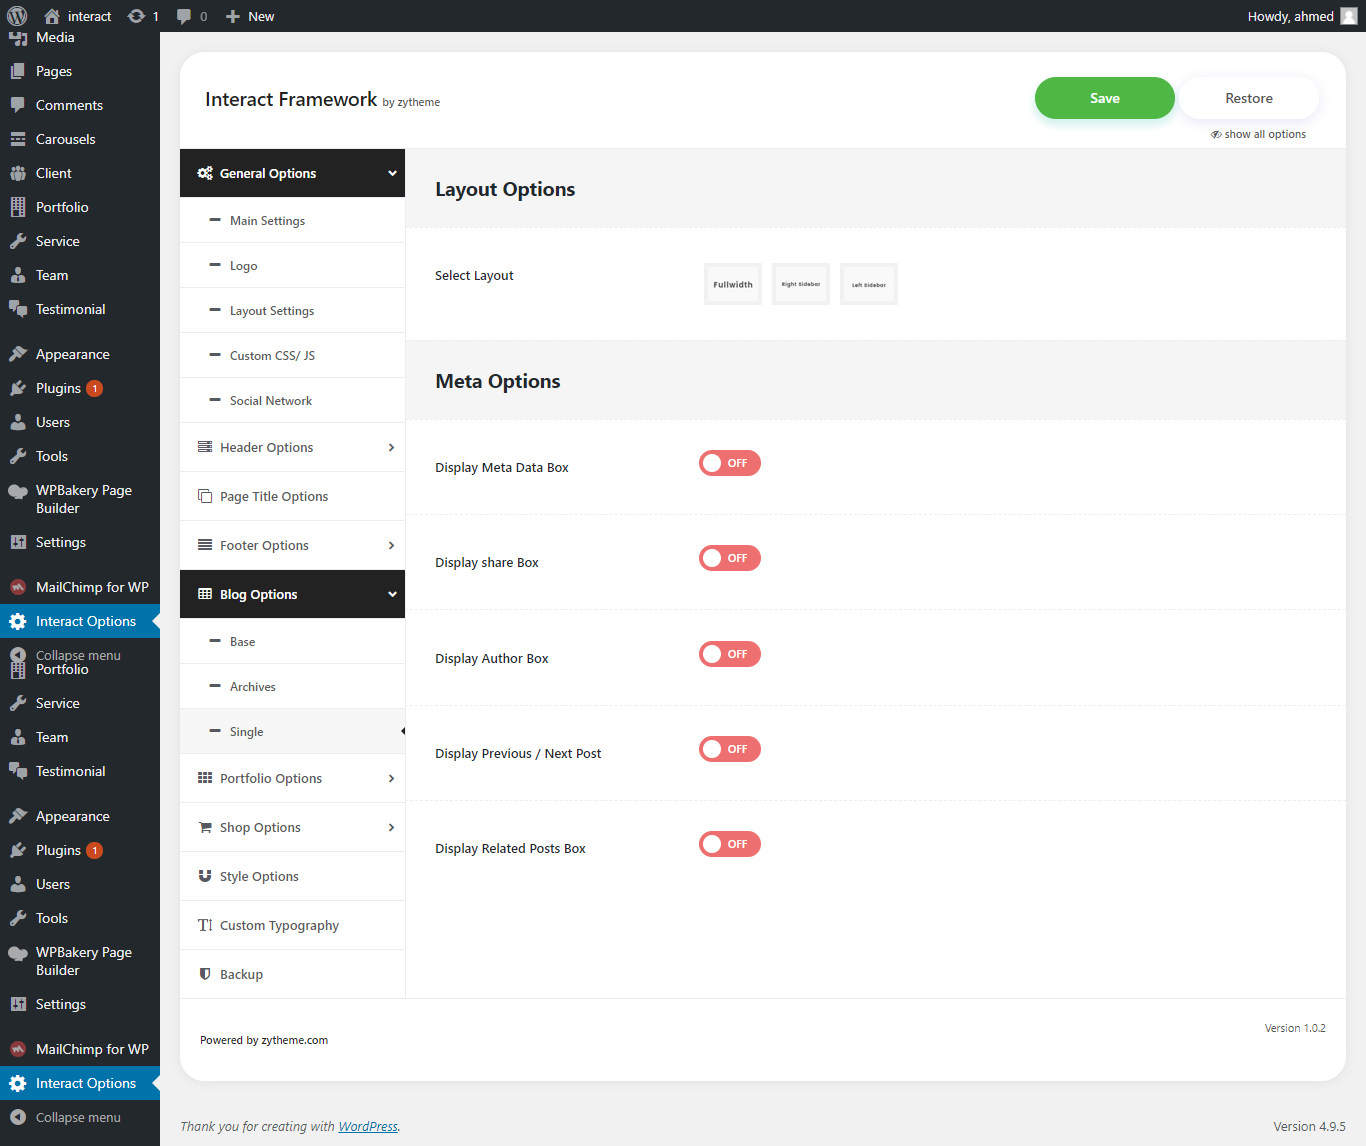
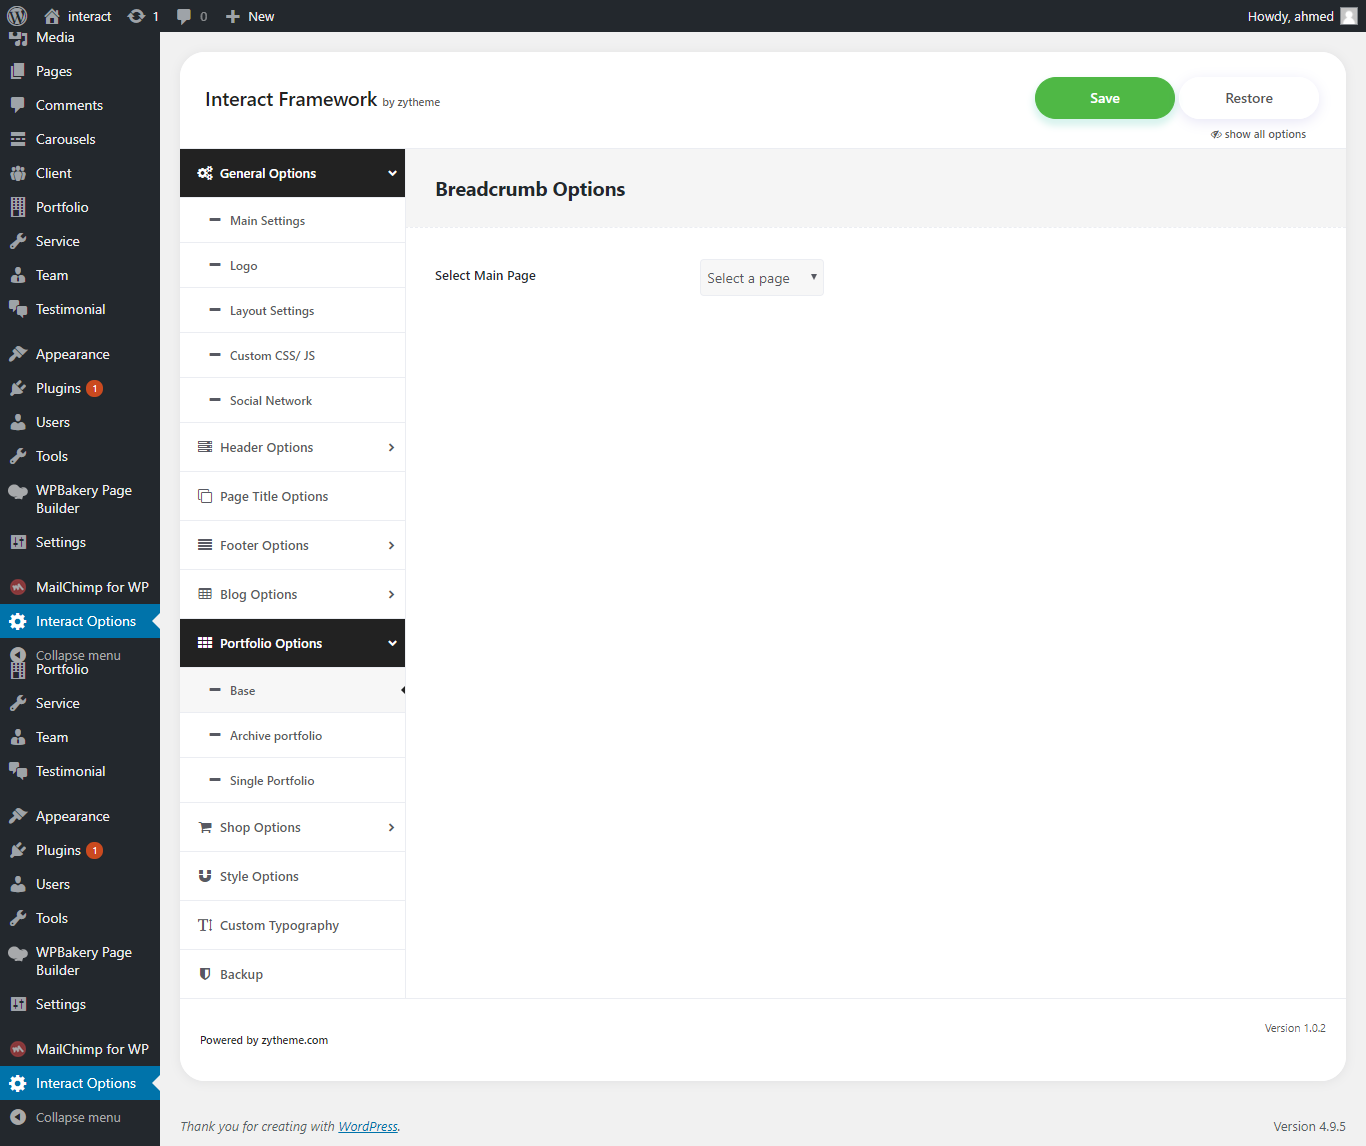 Portfolio Option (Single)
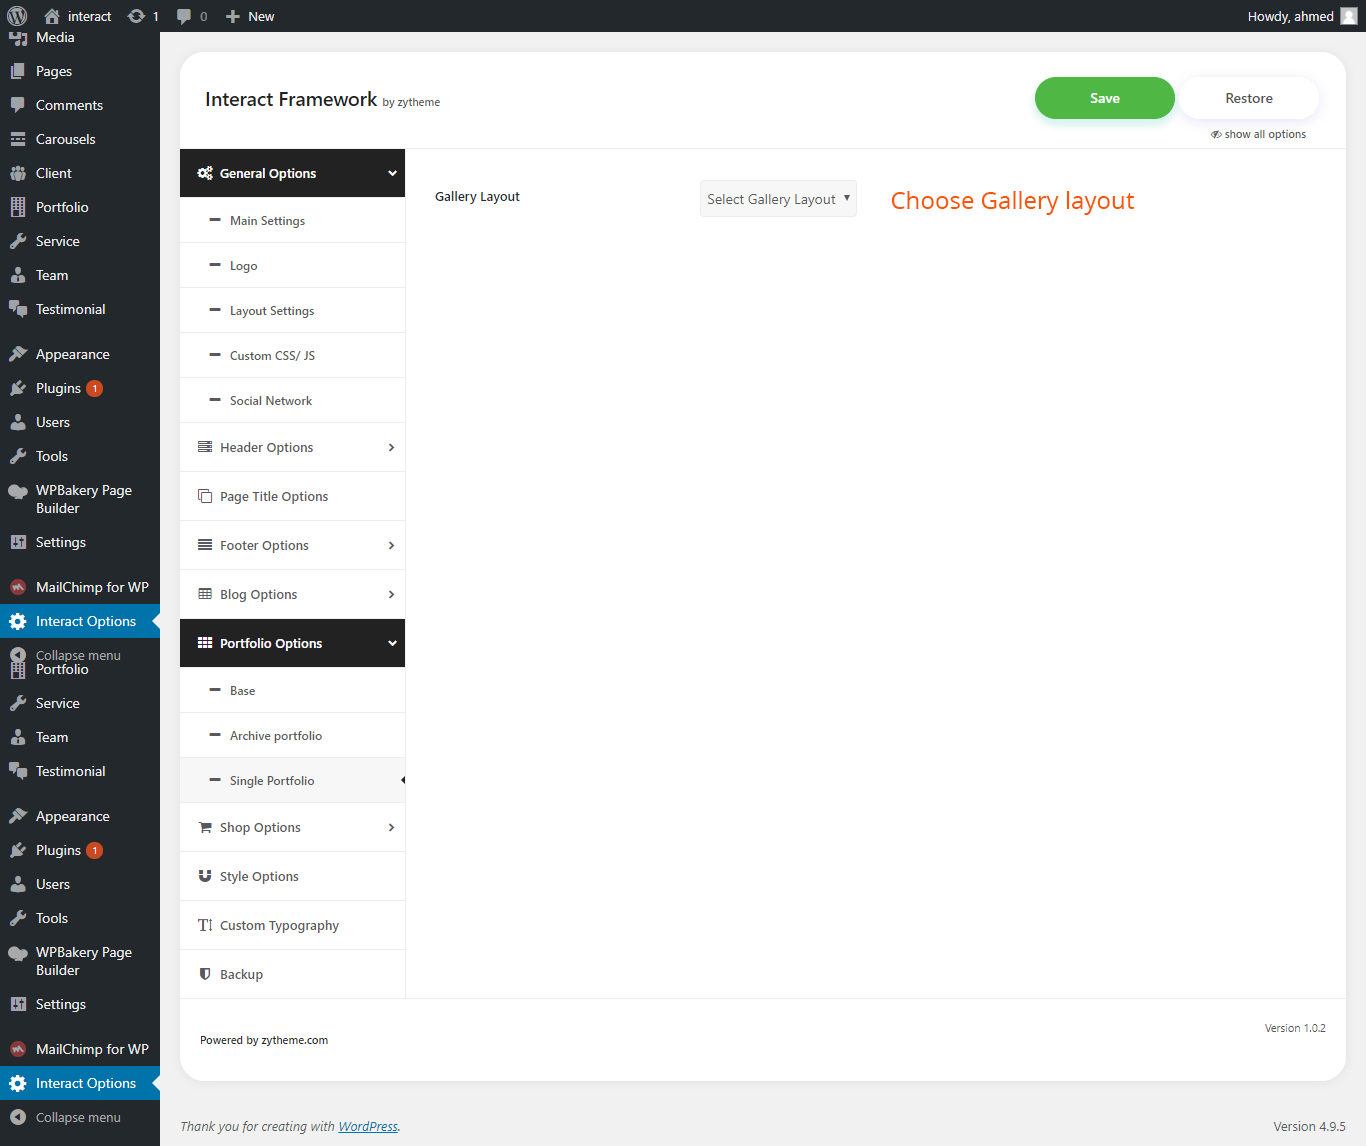
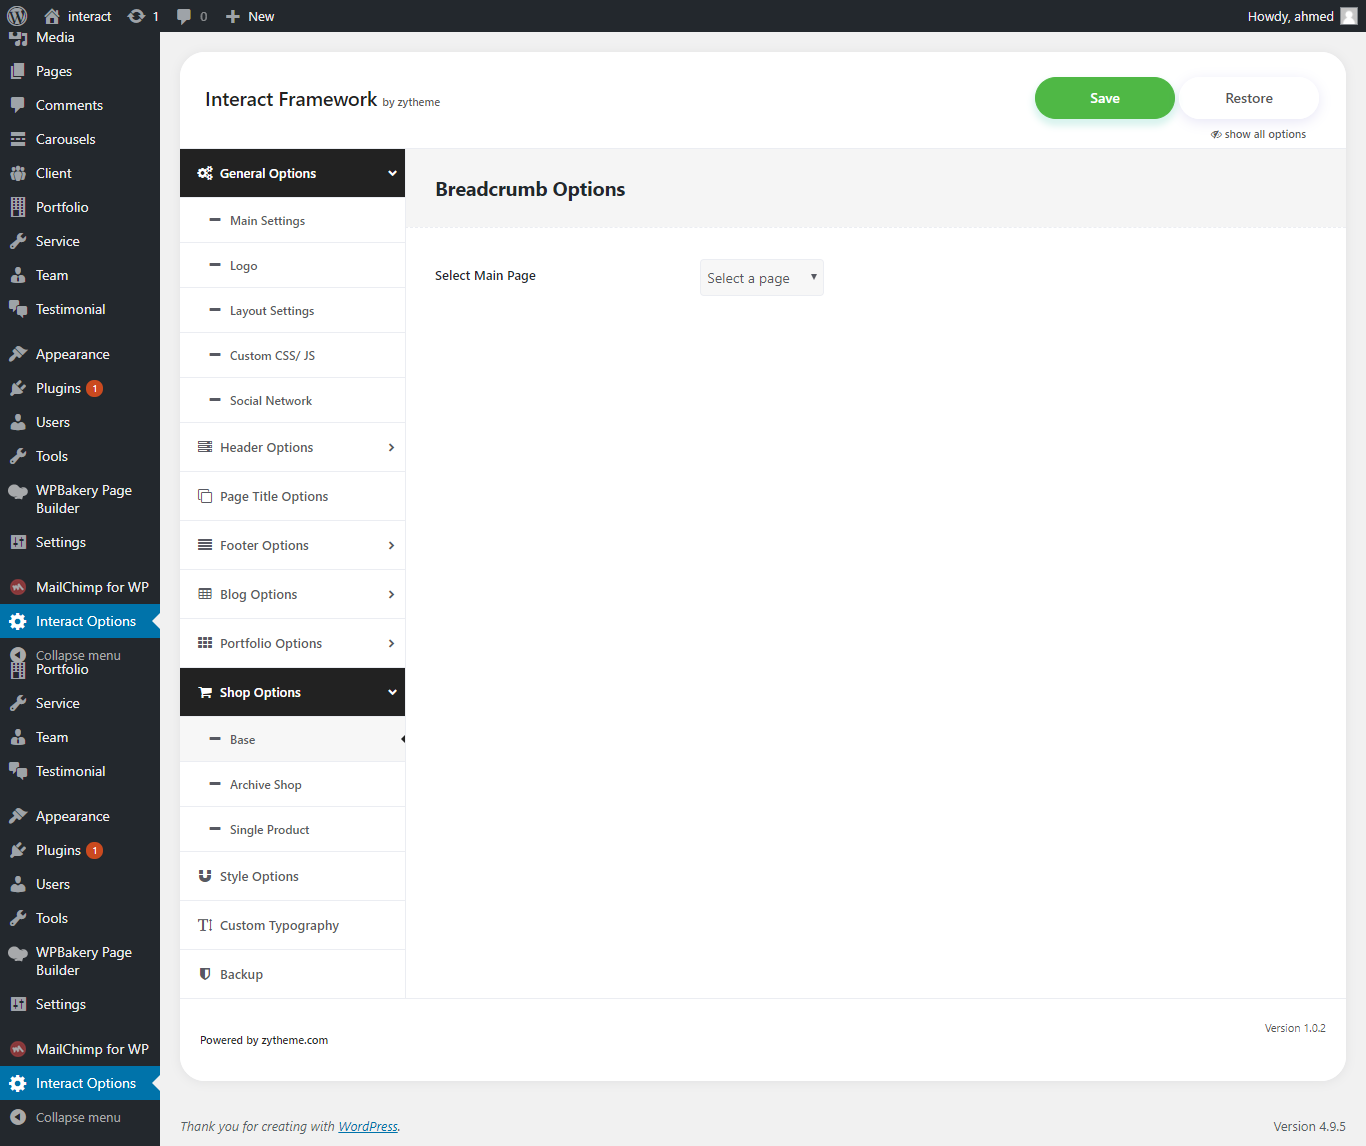 Shop Option (archive page)
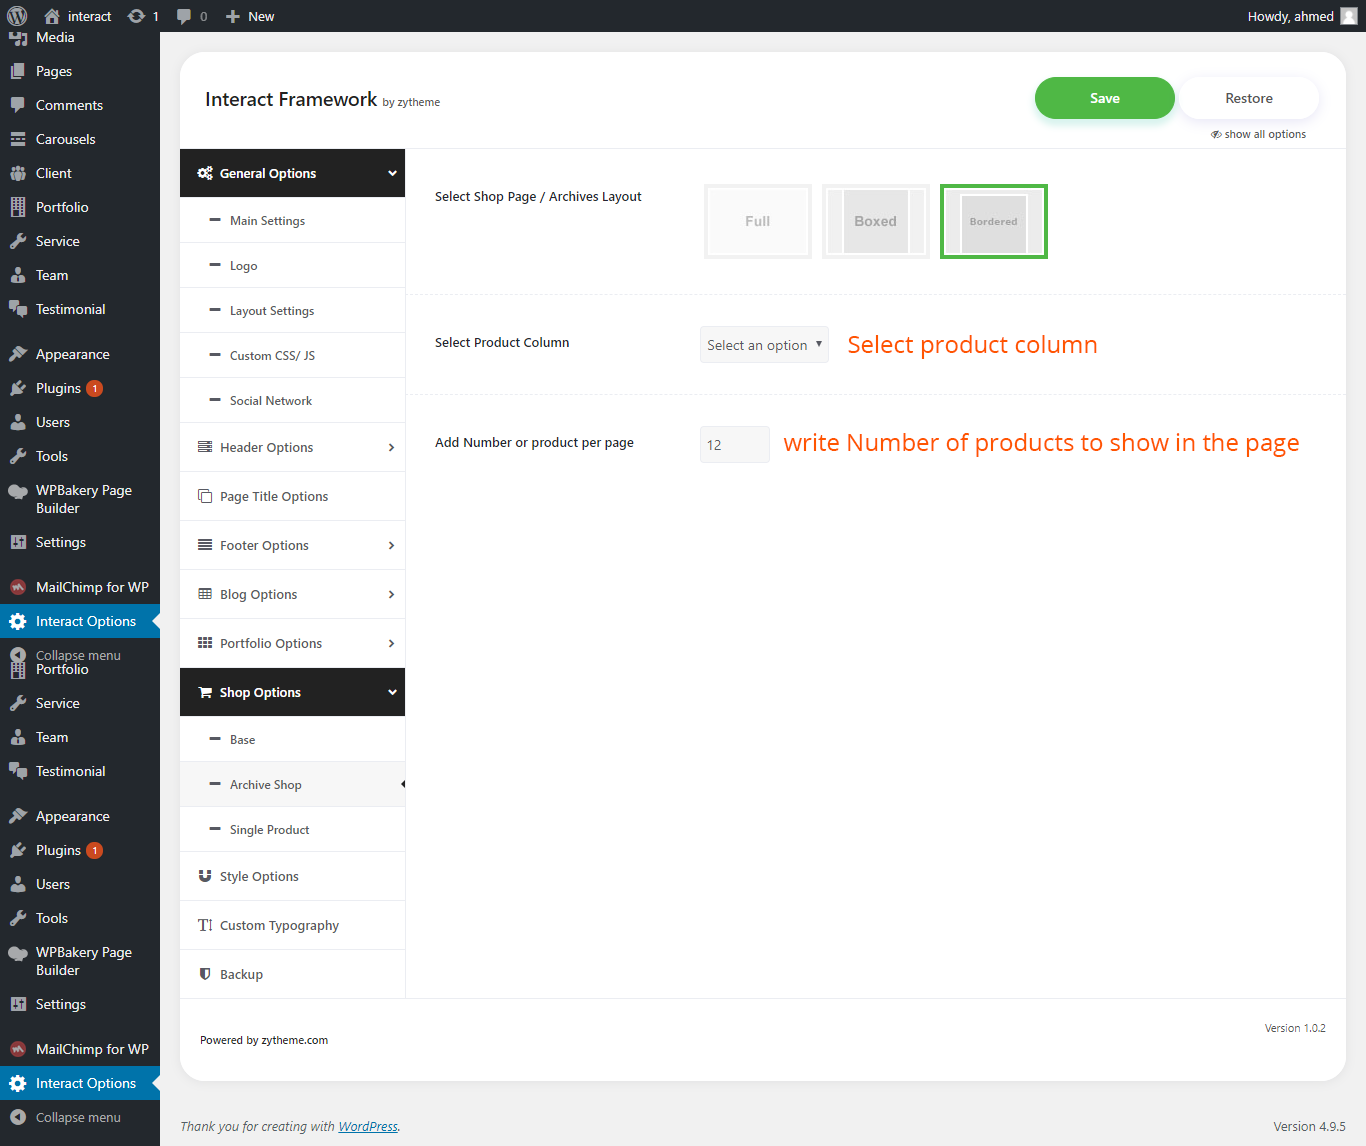
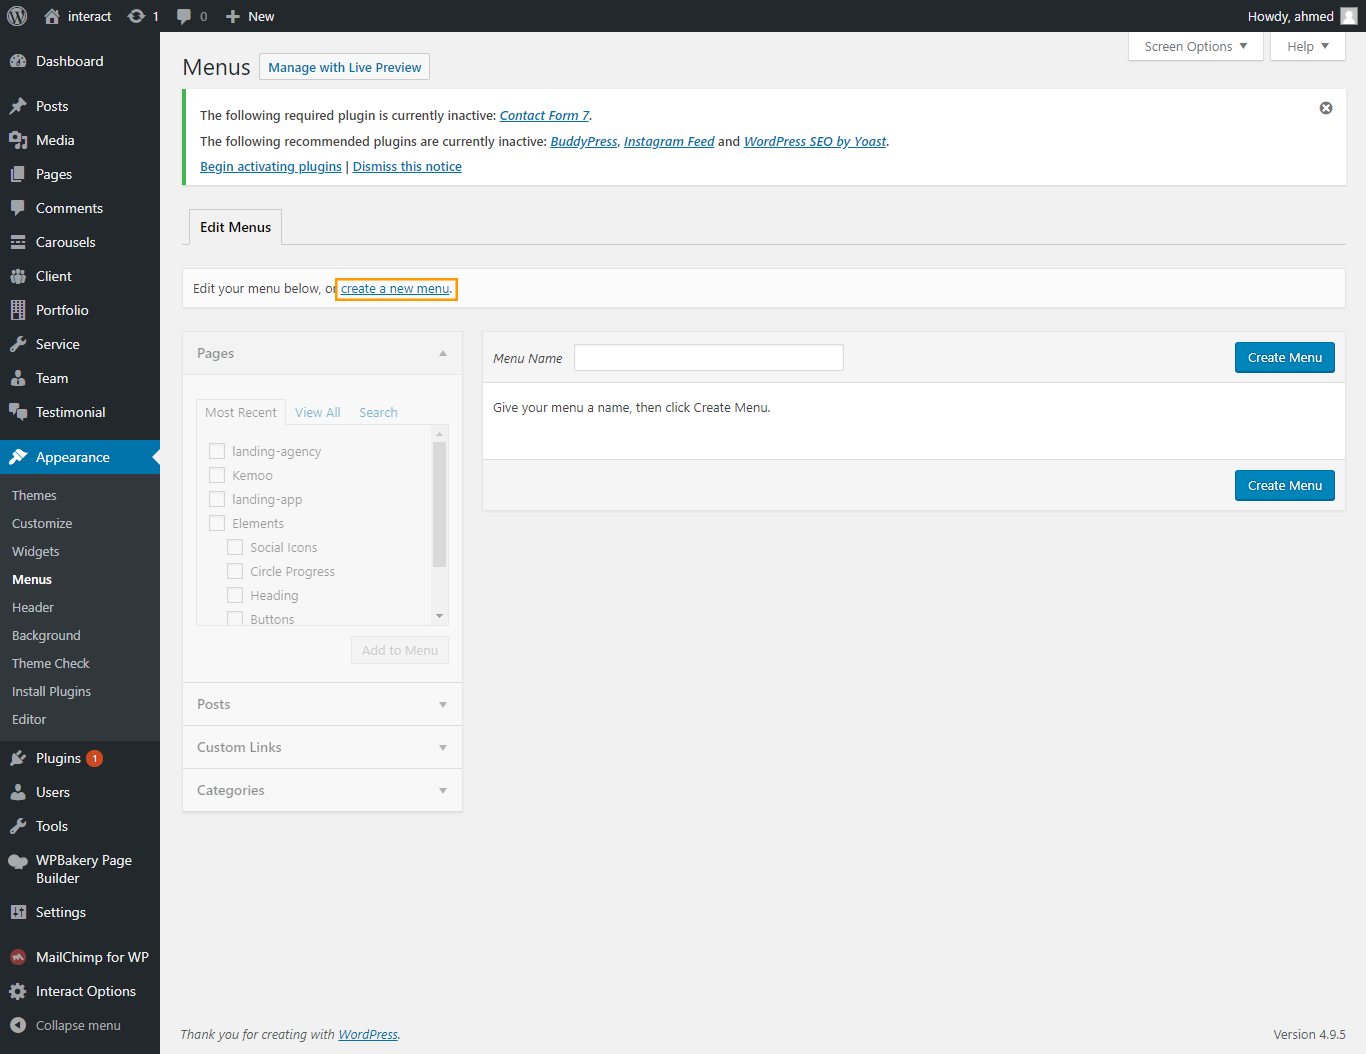
menus
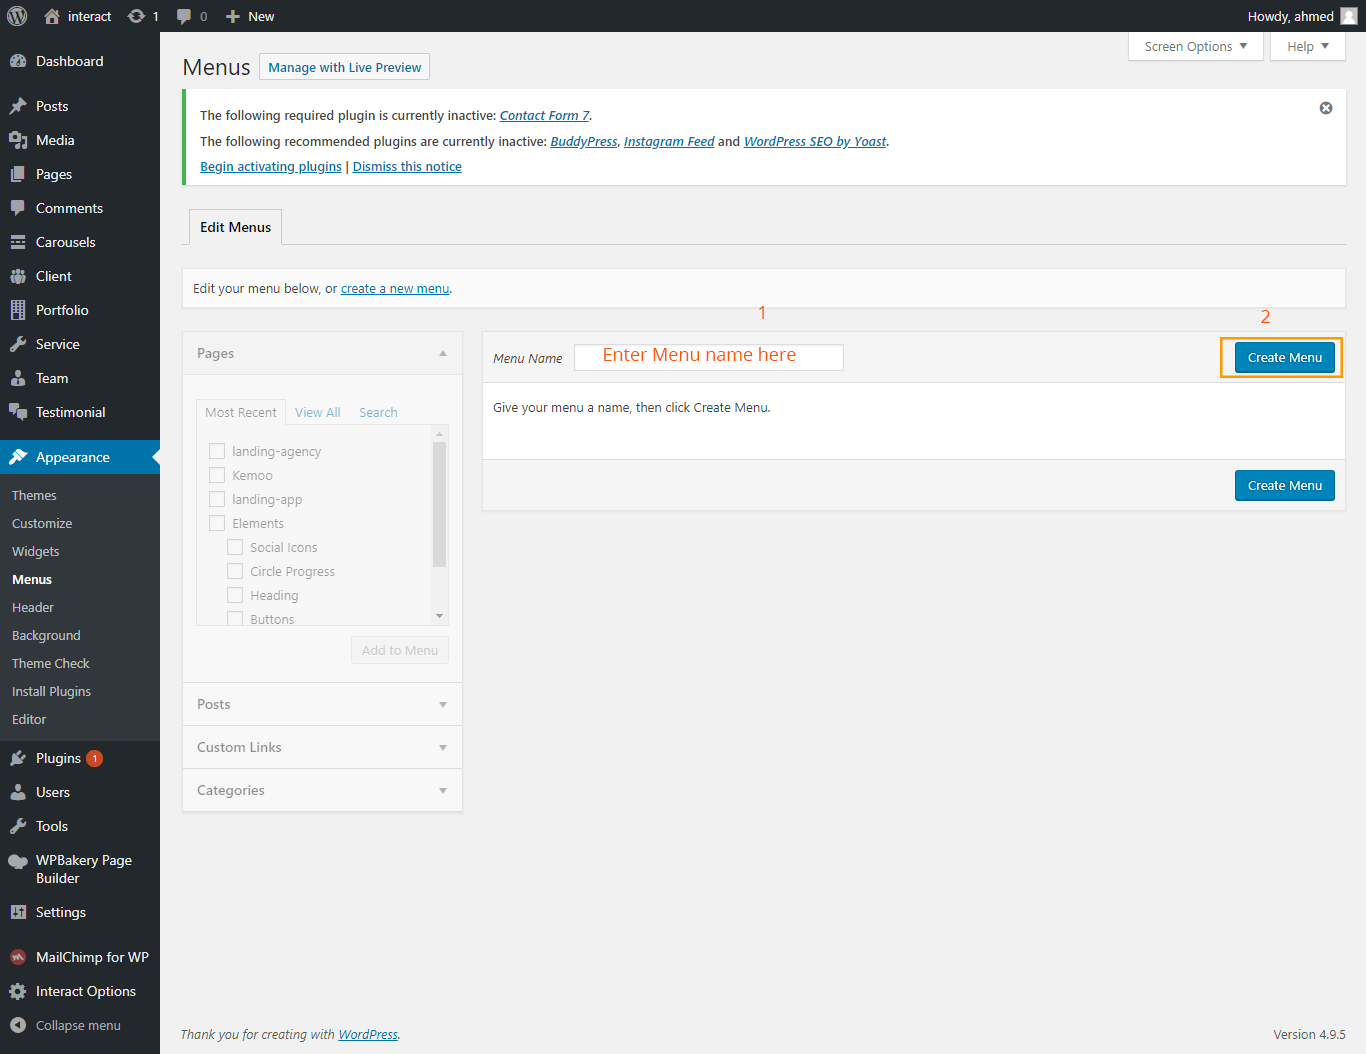
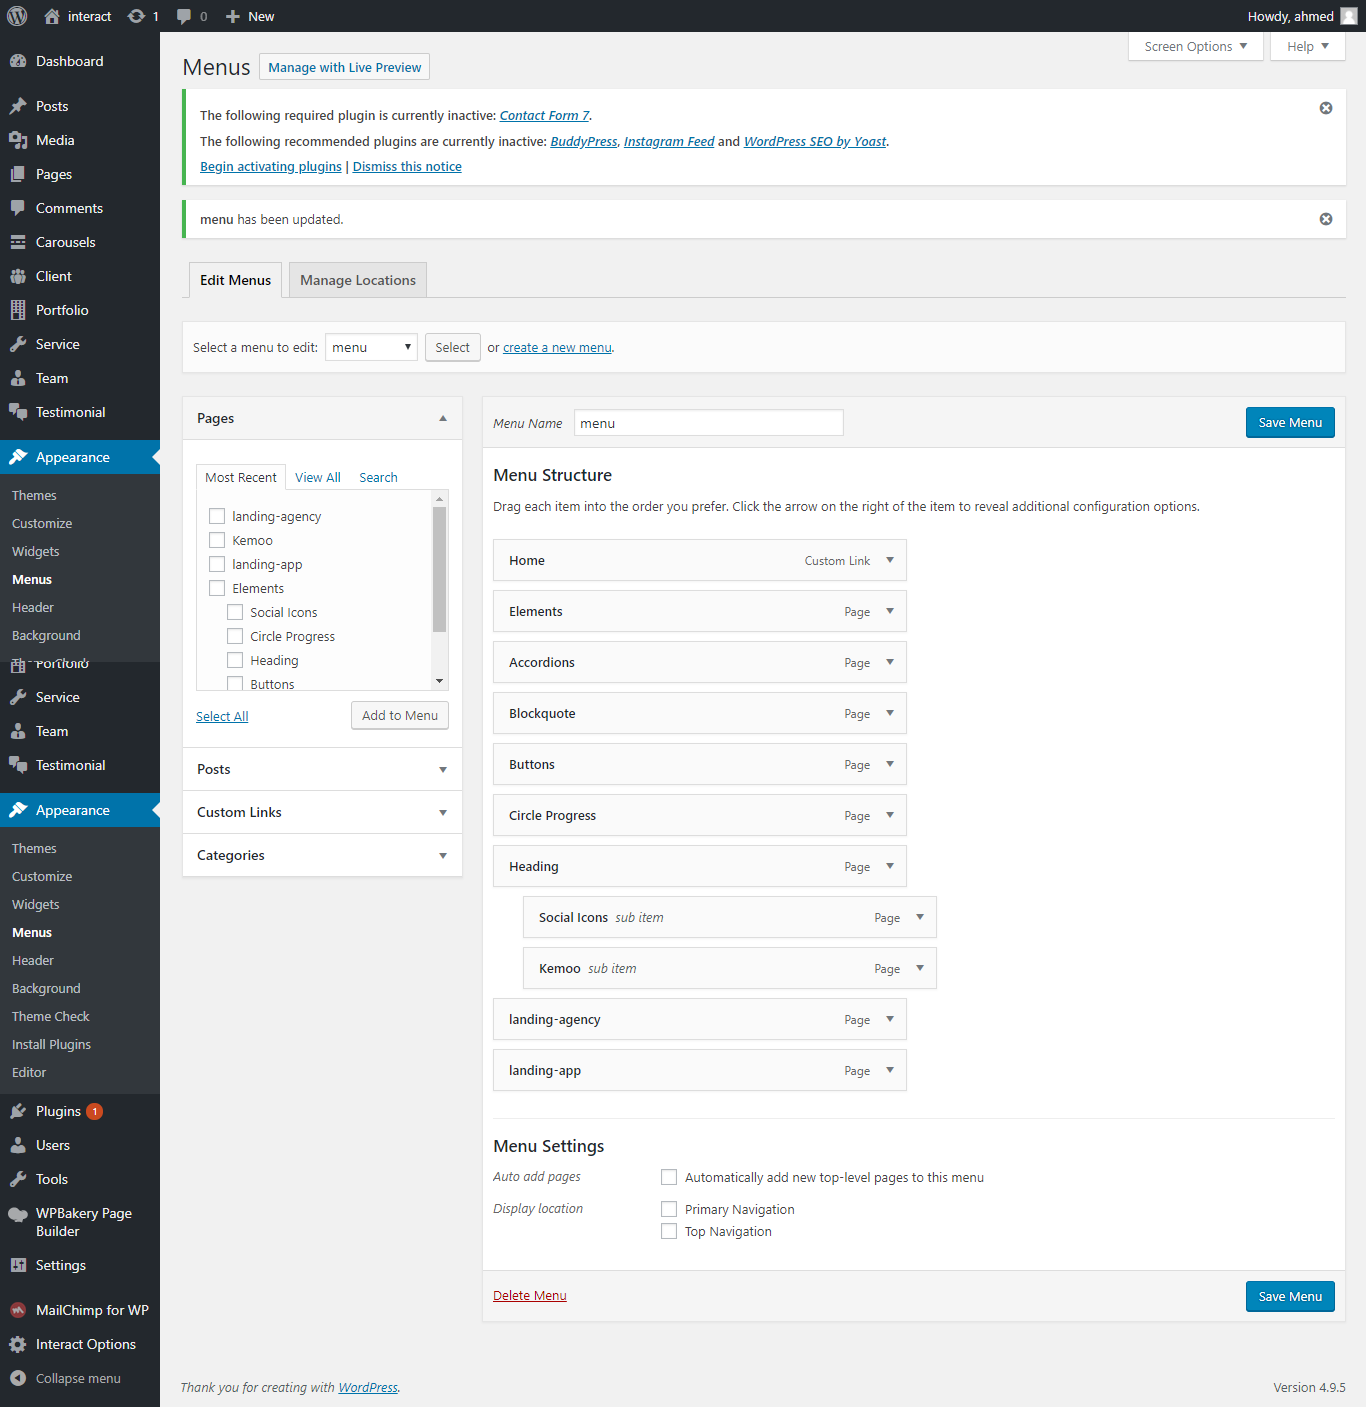
From the 'Appearance' menu select the 'Menus' option to bring up the Menu Editor.

- Select create a new menu
- Enter a name for your new menu in the Menu Name box.
- select menu that you have created.
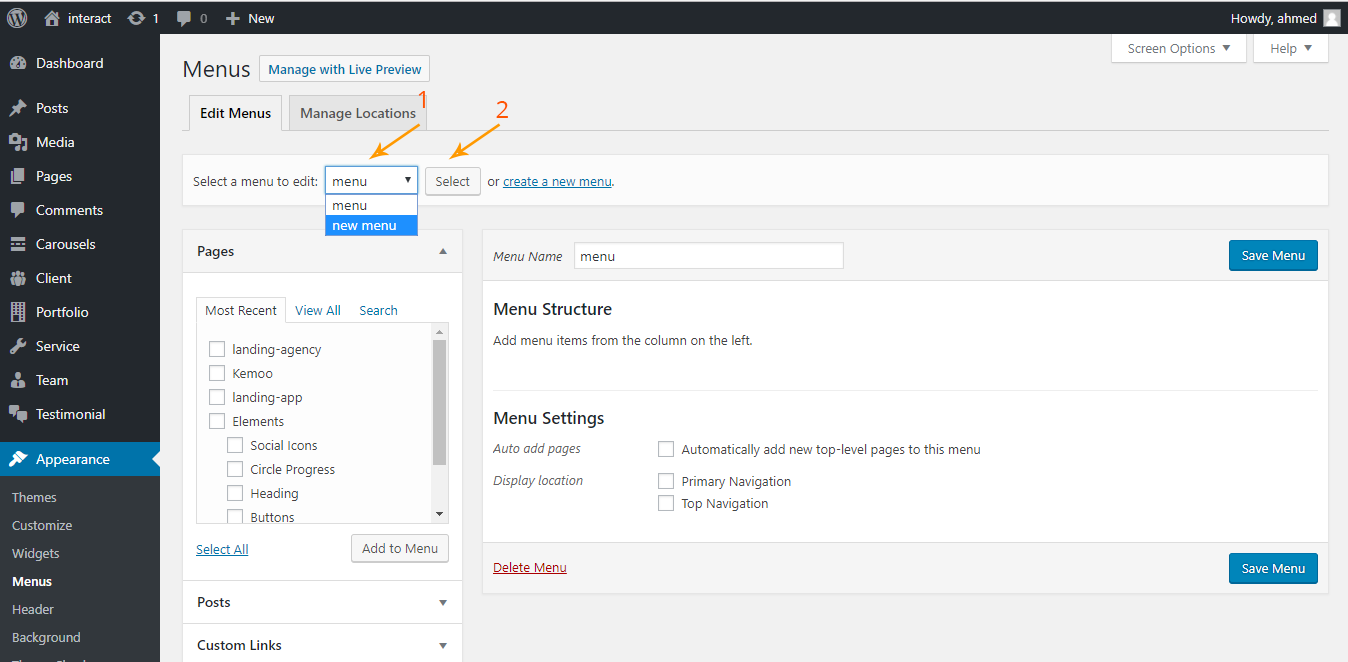
You can add different link types into your menu, these are split between panes left of the menu you're currently editing.
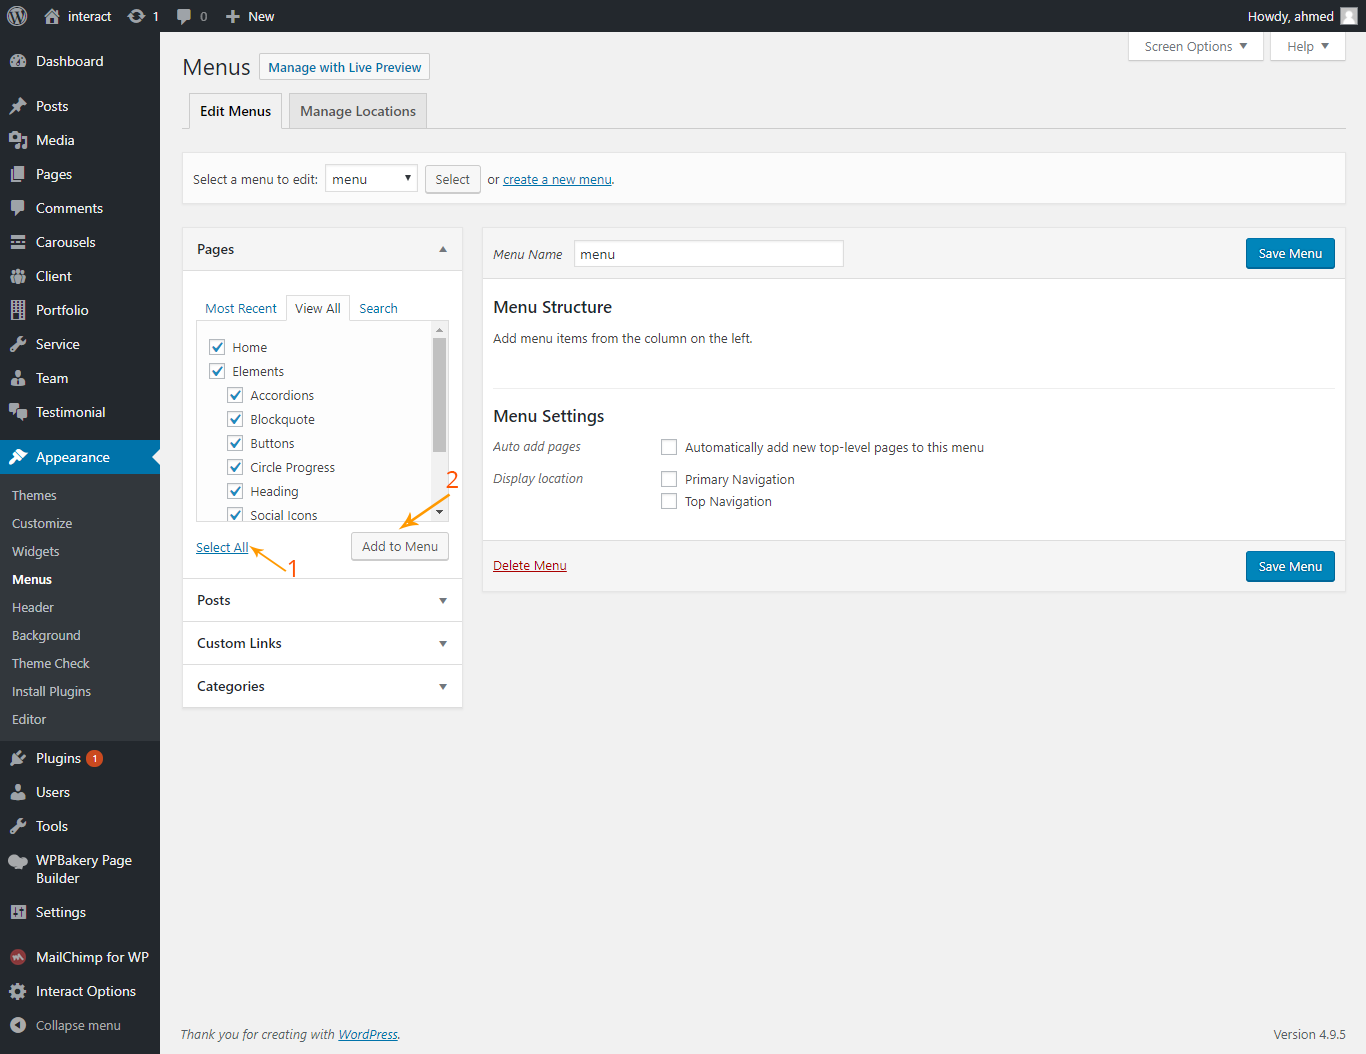
- Locate the pane entitled Pages.
- Within this pane, select the View All link to bring up a list of all the currently published Pages on your site.
- Select the Pages that you want to add by clicking the checkbox next to each Page's title.
- Click the Add to Menu button located at the bottom of this pane to add your selection(s) to the menu that you created in the previous step.
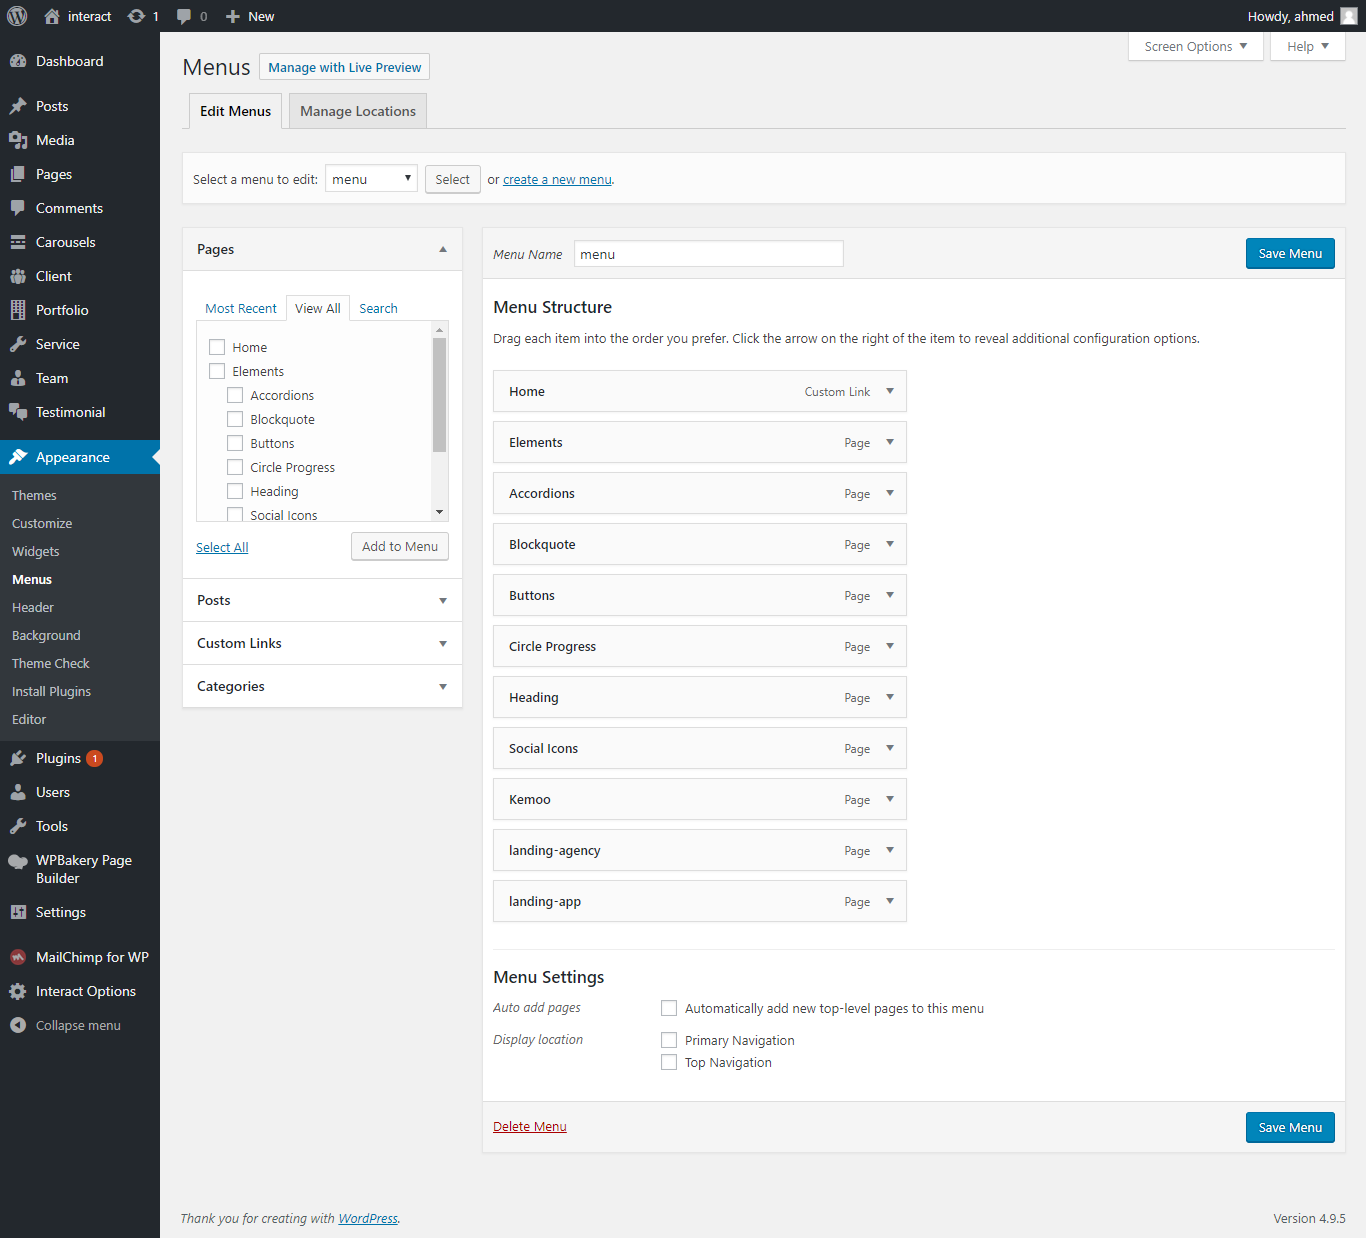
- Click the Save Menu button once you've added all the menu items you want.
Creating Multi-level Menus
- Position the mouse over the 'child' menu item.
- Whilst holding the left mouse button, drag it to the right.
- Release the mouse button.
- Repeat these steps for each sub-menu item.
- Click the Save Menu button in the Menu Editor to save your changes.
Adding Your Menu to Your Site
- Scroll to the bottom of the menu editor window.
- In the section titled Theme locations, click the check box for the location where you want your menu to appear.
- Click Save menu to save your selection.
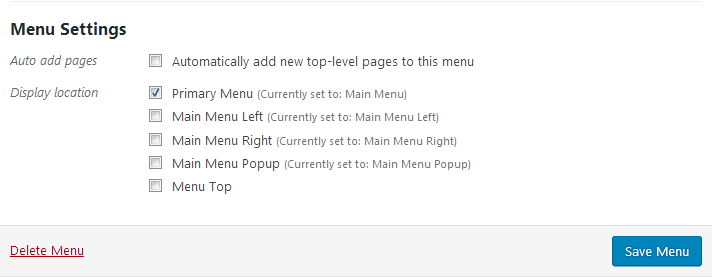
Manage Menu Locations
You can set any menu as Primary menu here.
Mega menus
From the 'Appearance' menu select the 'Menus' option to bring up the Menu Editor.
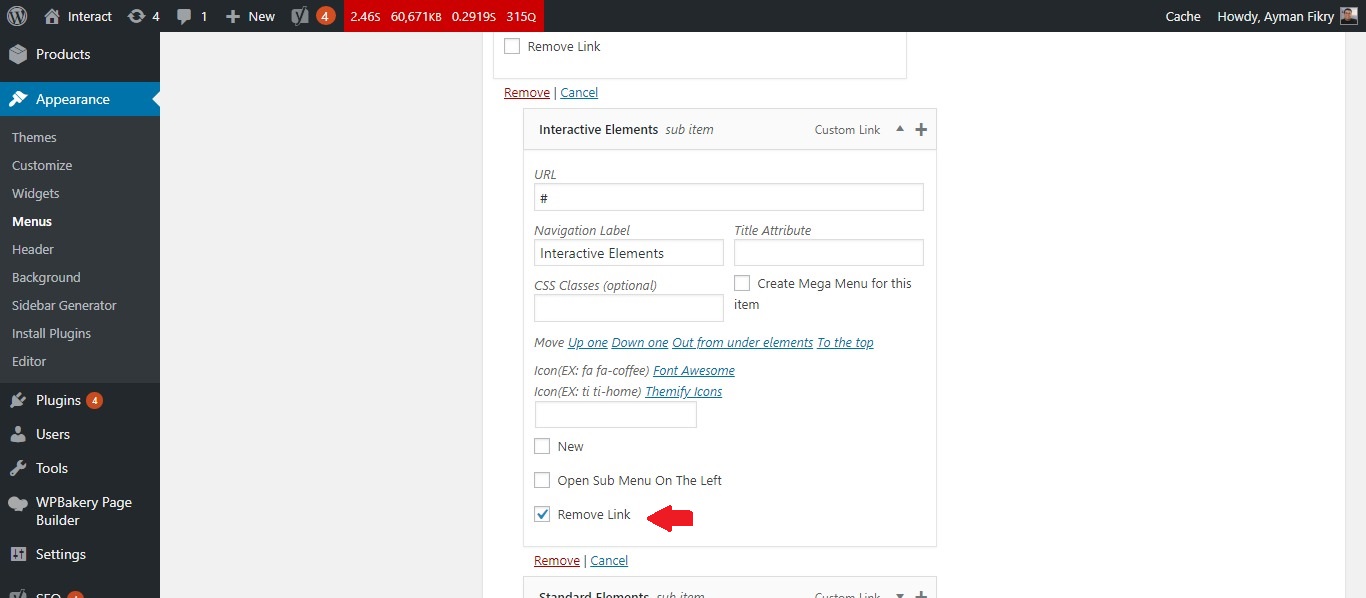
1. select form custom link and check create mega menu for this item
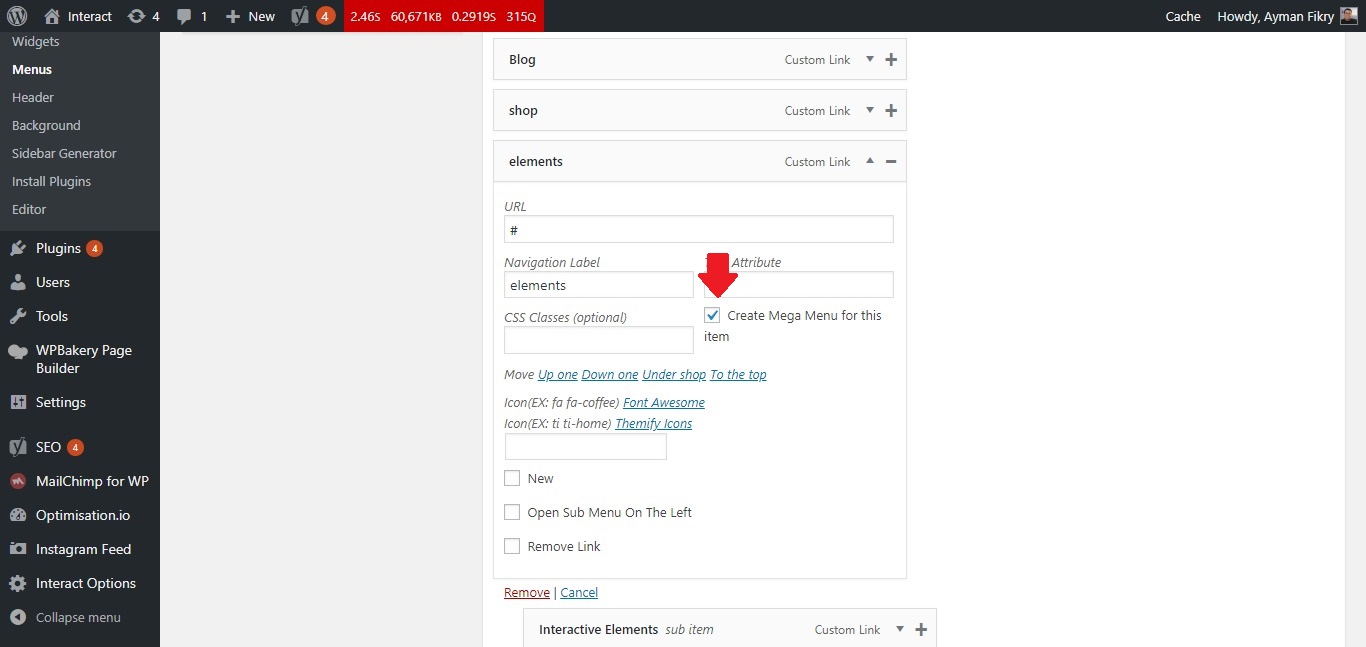
2. Create Columns for what you want and remove link
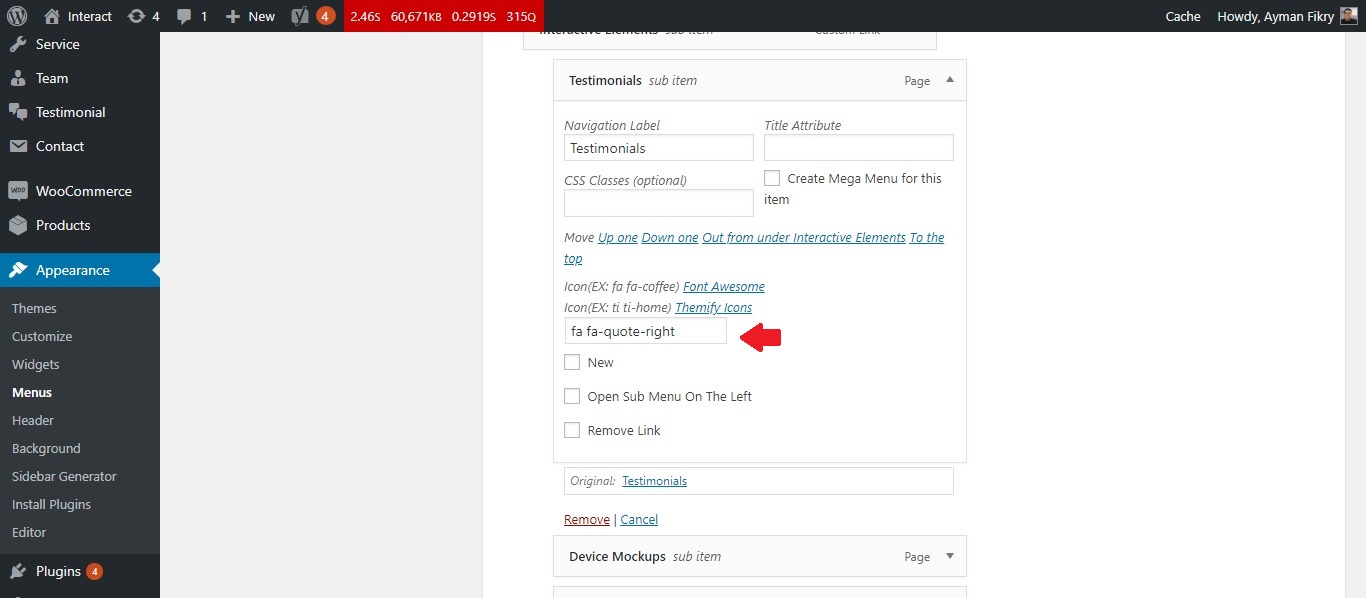
3. Add link if you need to add icon you can add icon code from Font Awesome Library or Themify Icons
page
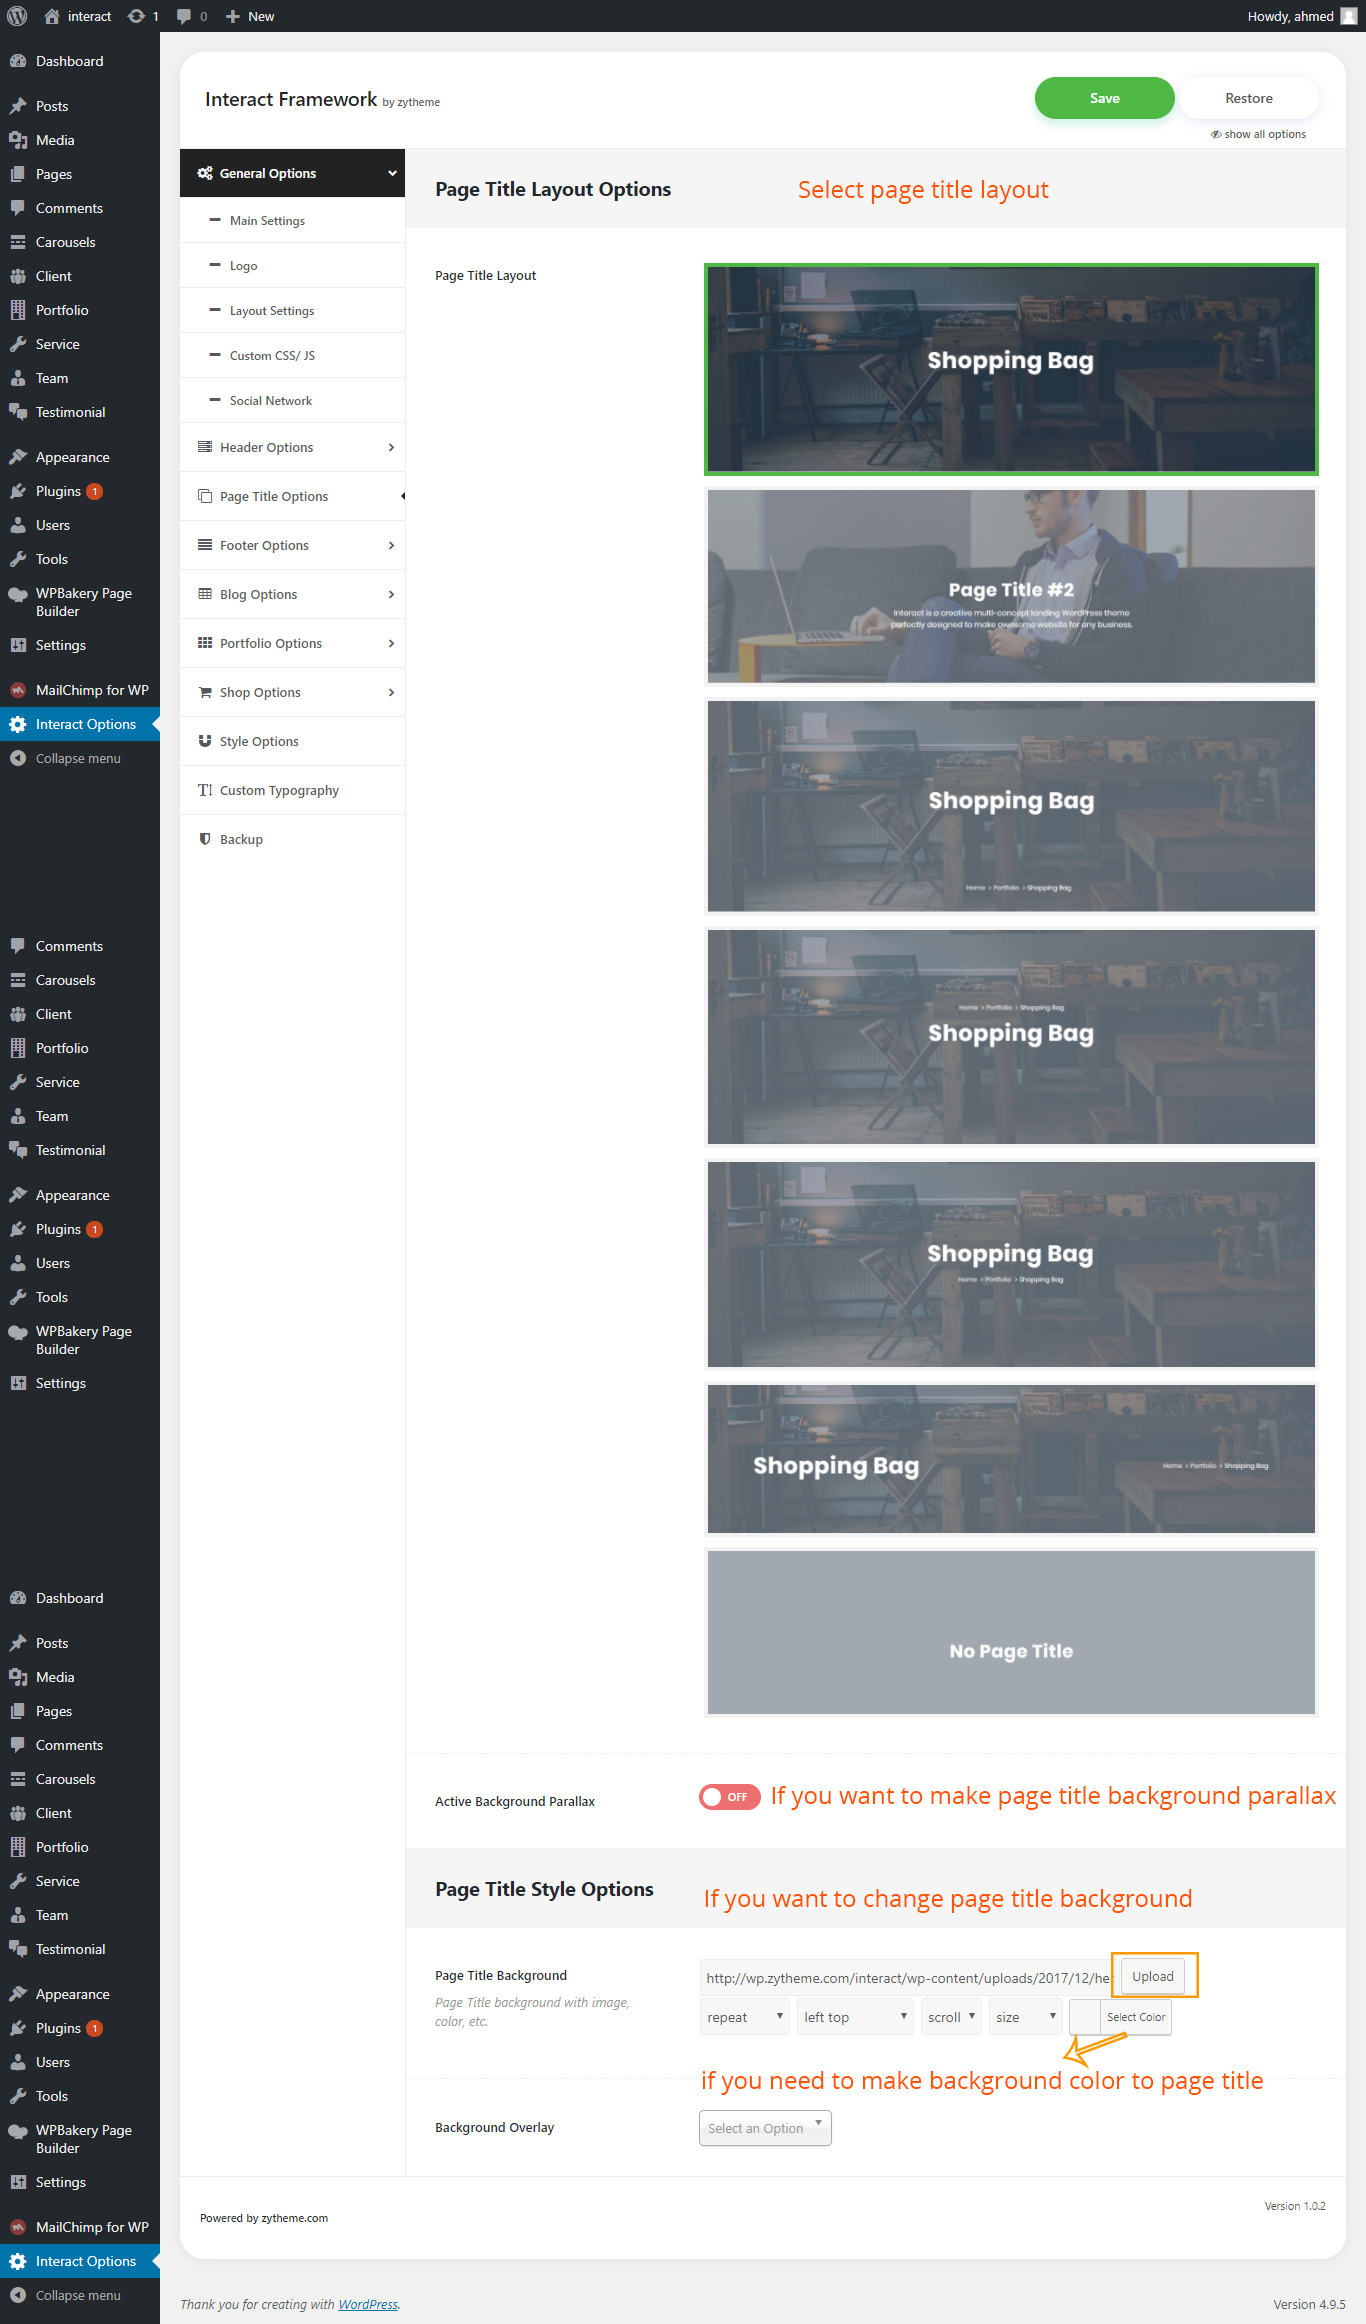
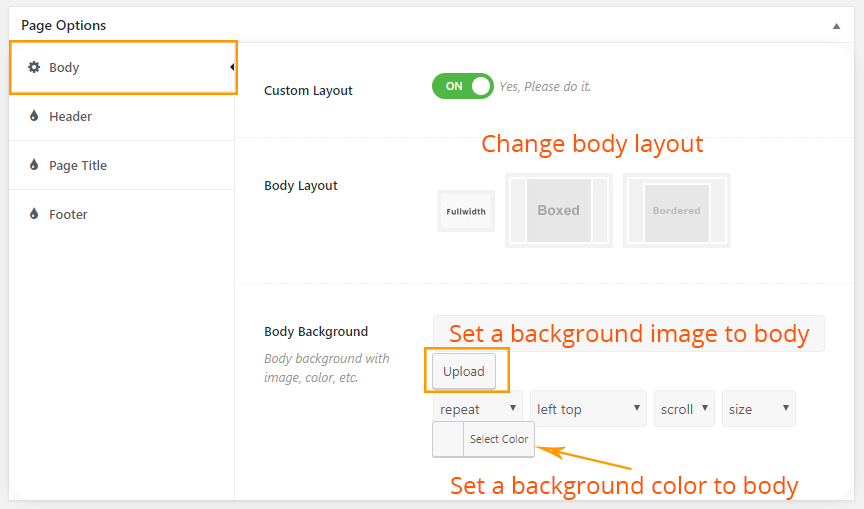
page OptionsWith the Page Options specially built for our themes, you can easily customize Header, Page Title, Footer, Page Option, One Page of every page.
NoteThis Edits For Current page Onlybody
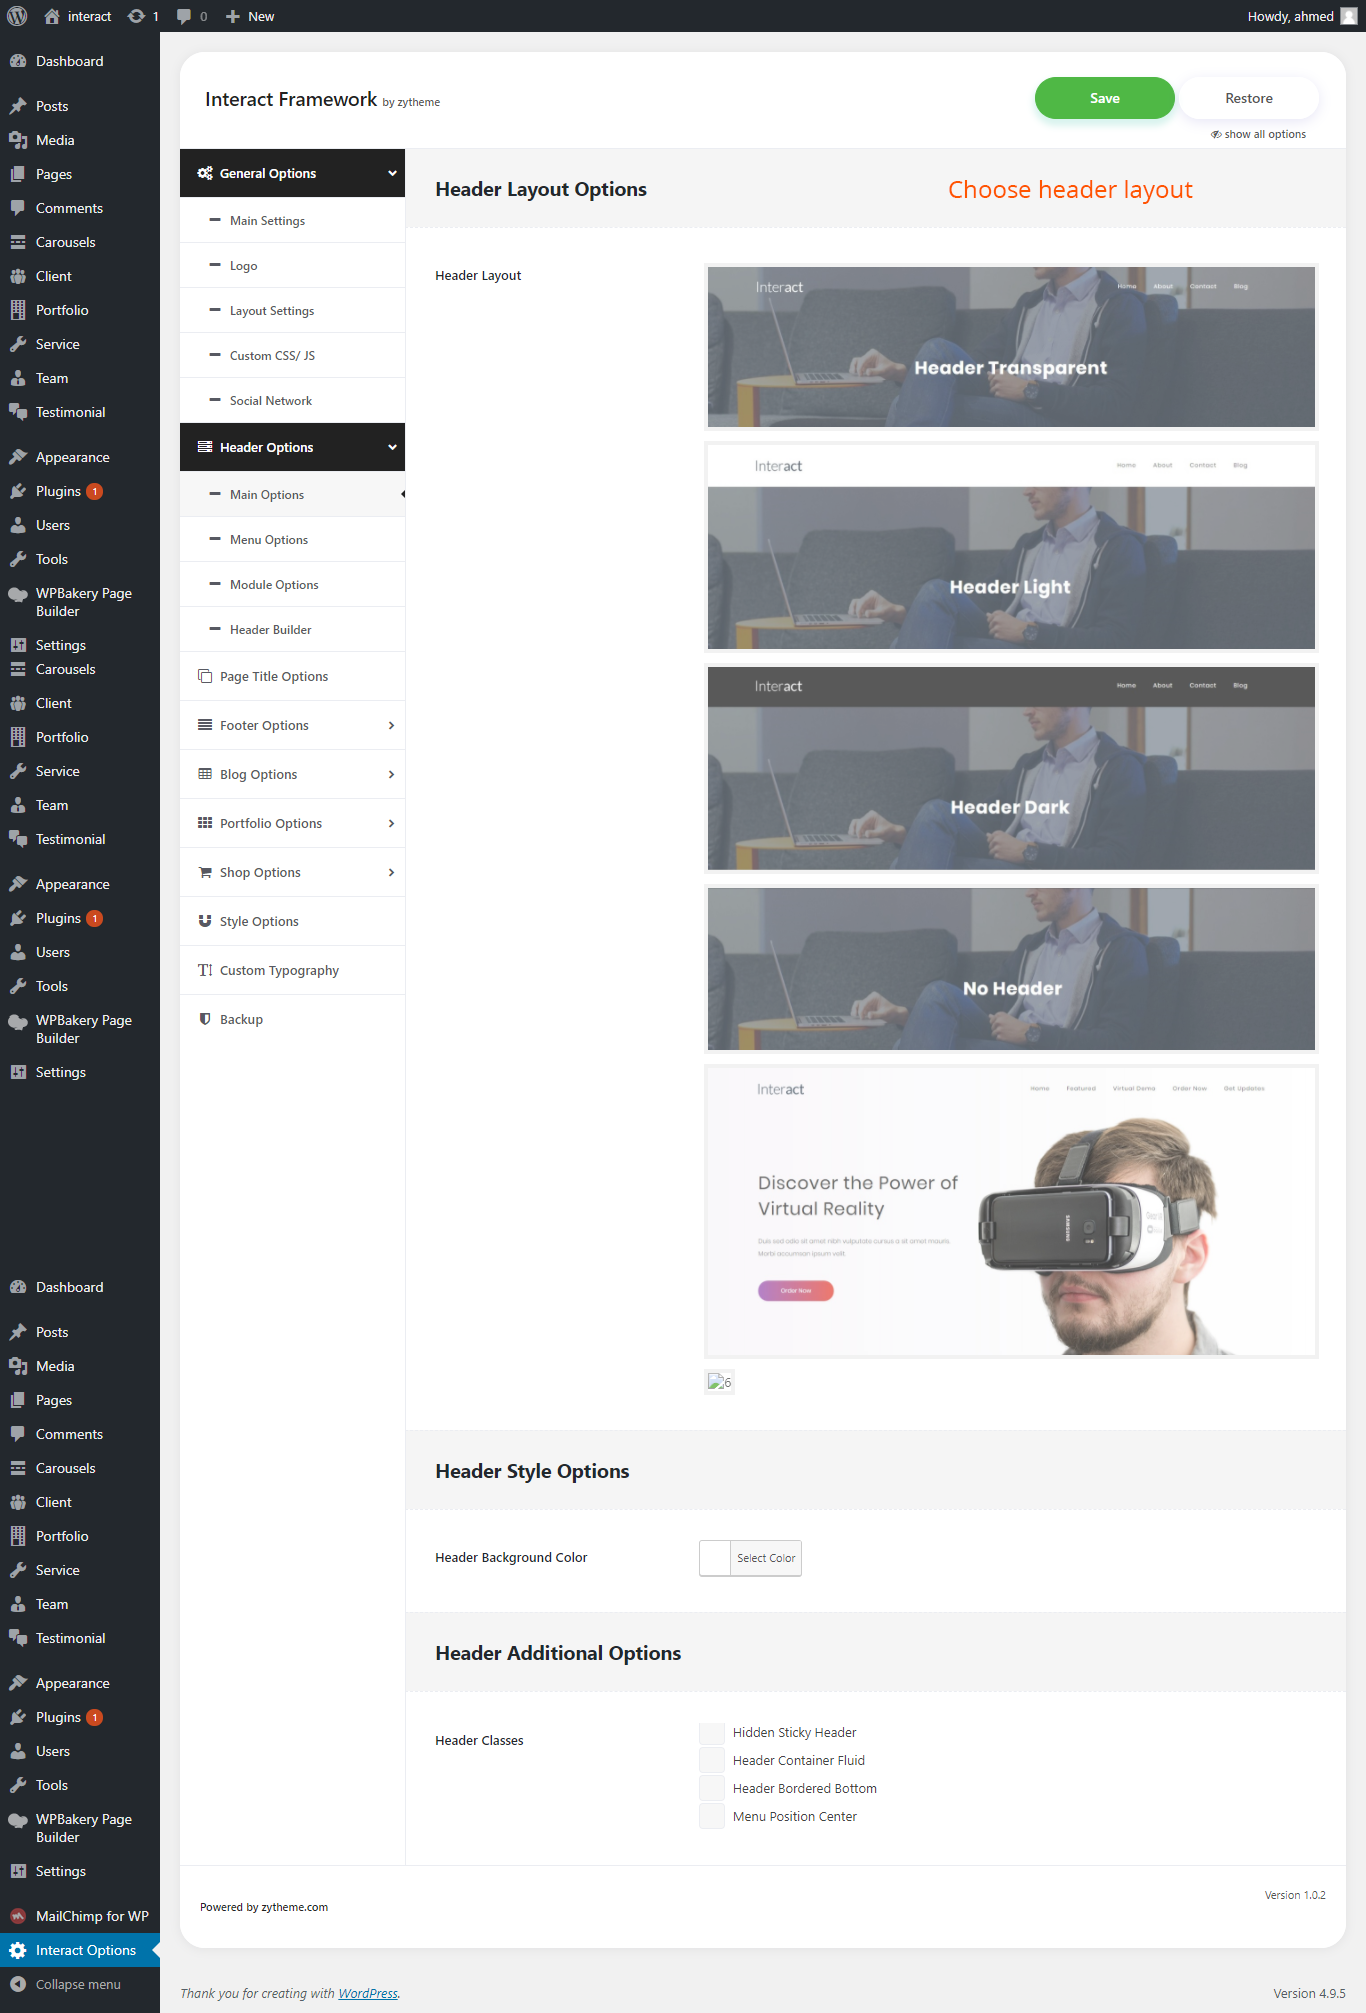
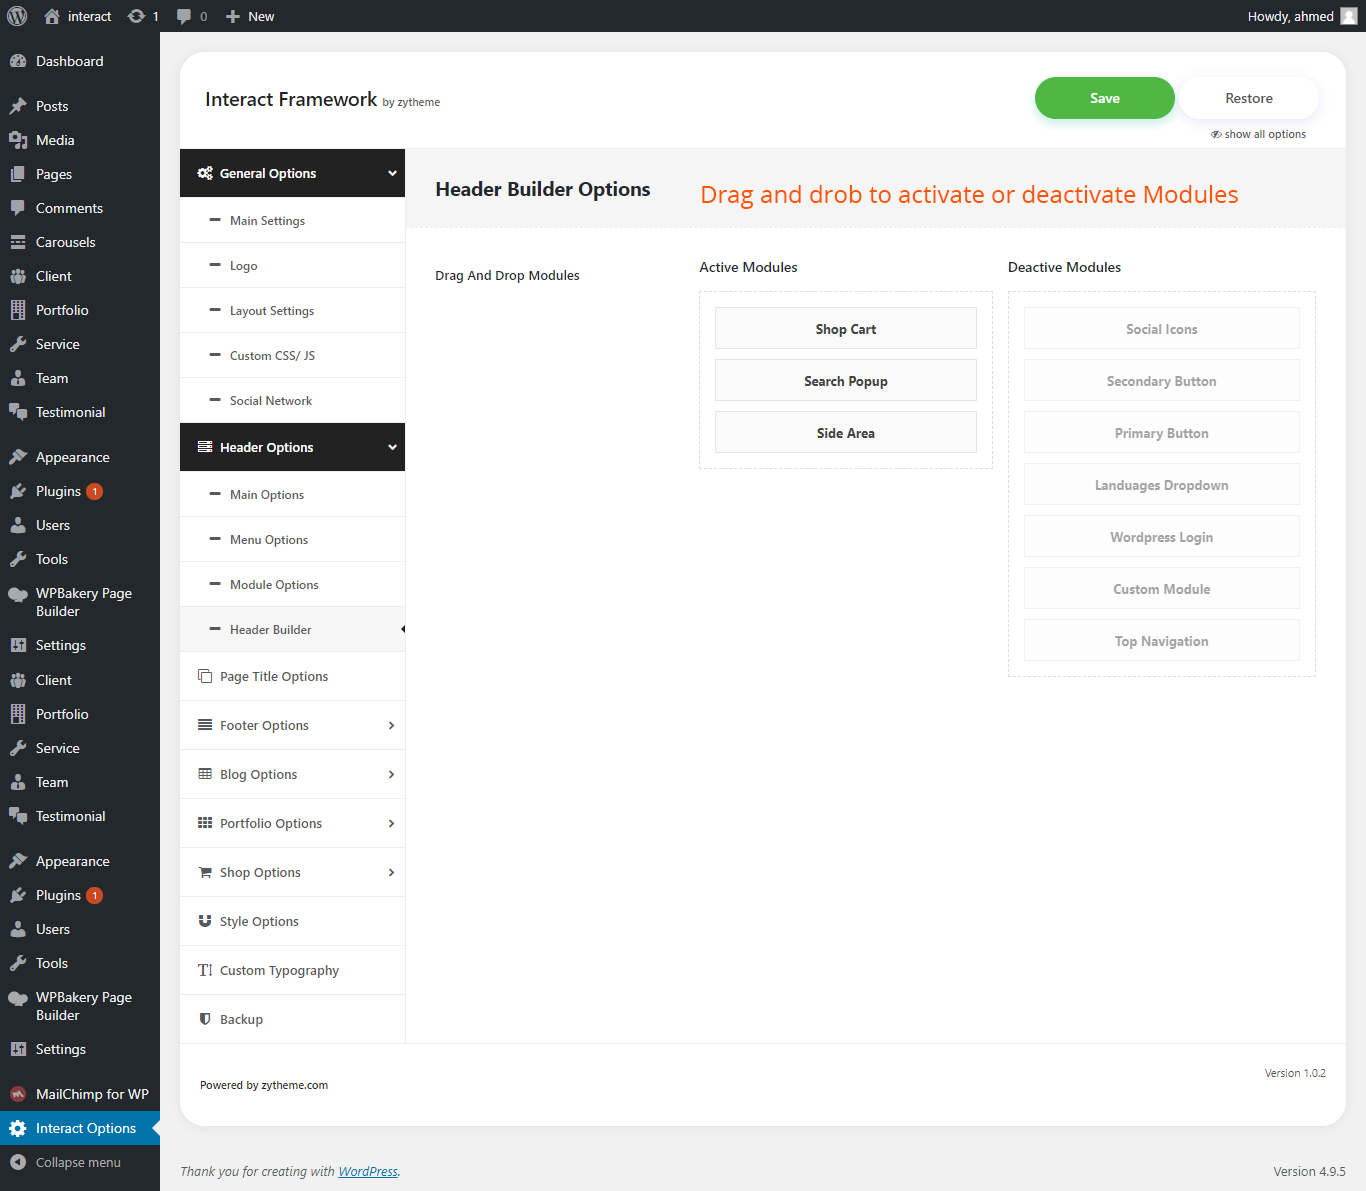
 Header
 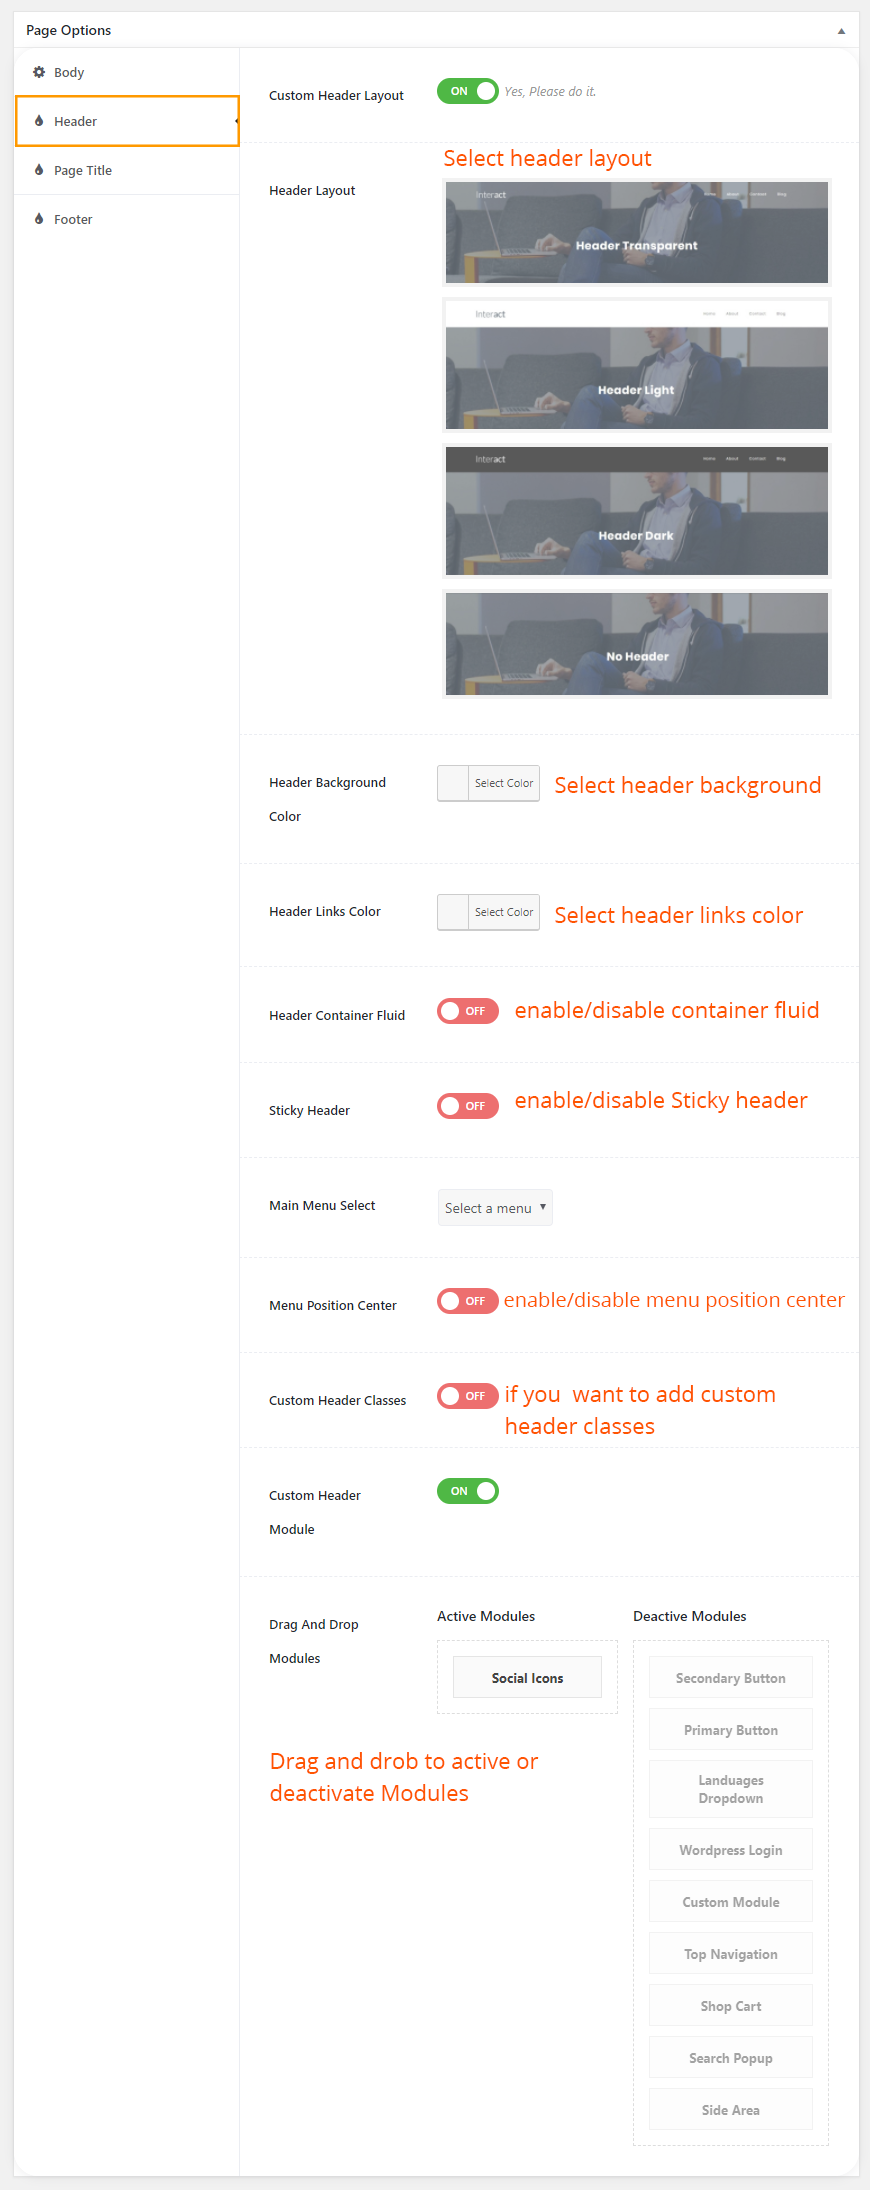 page title
 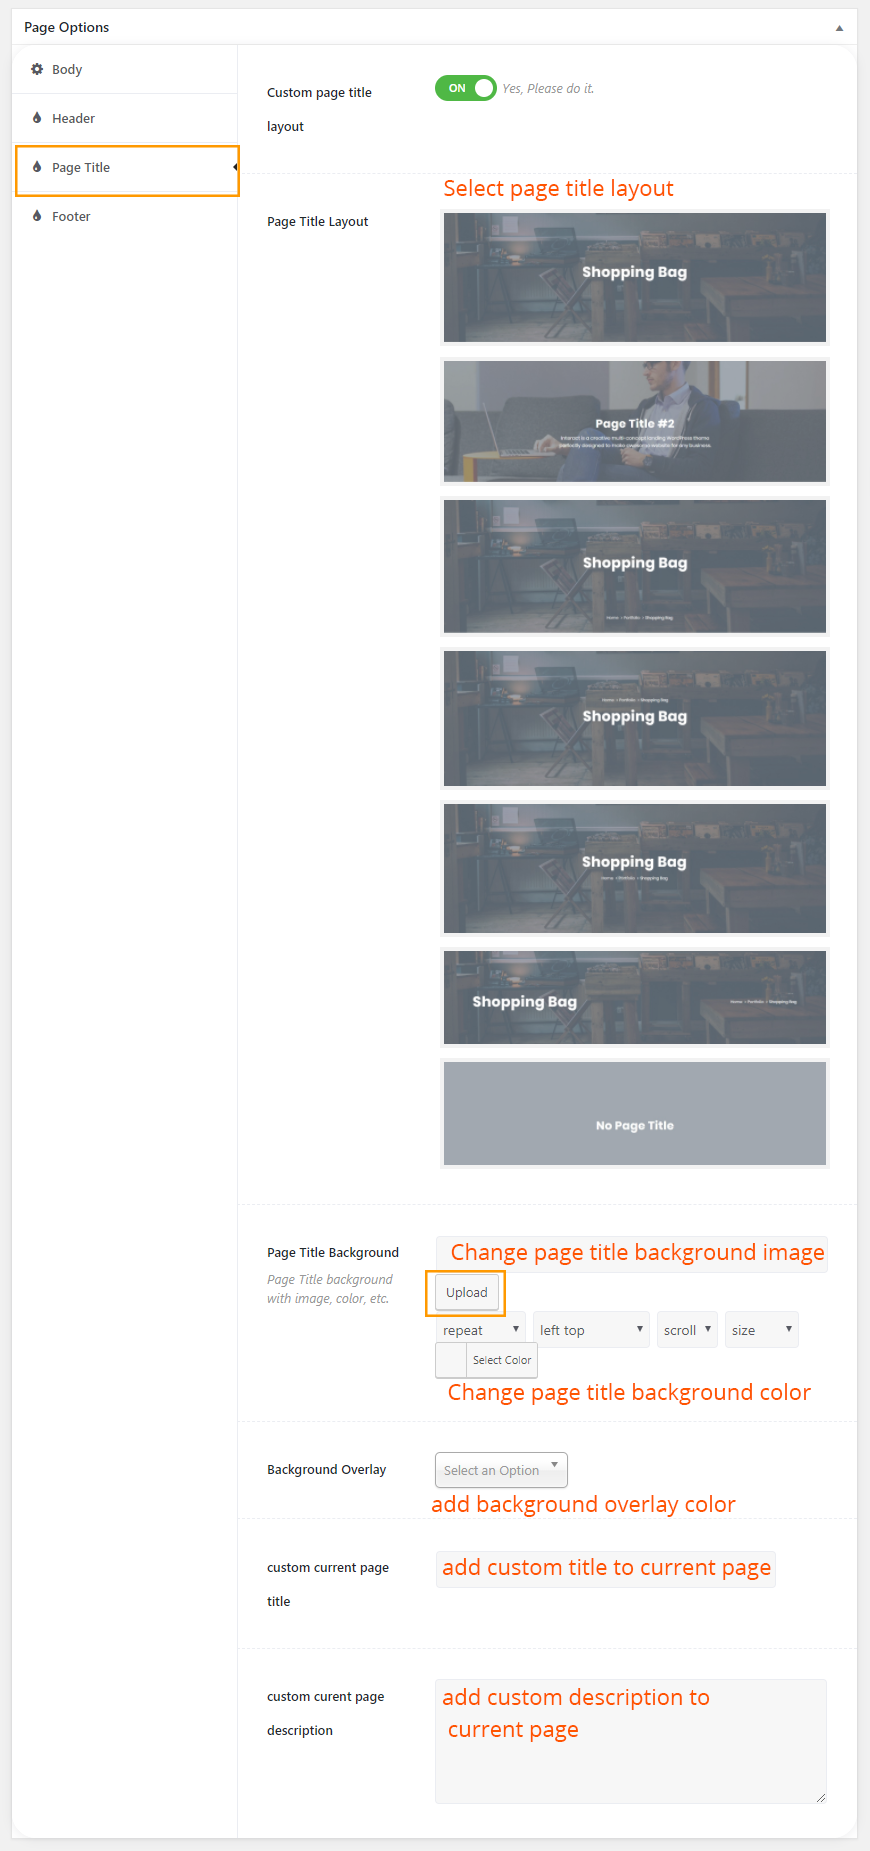 Footer
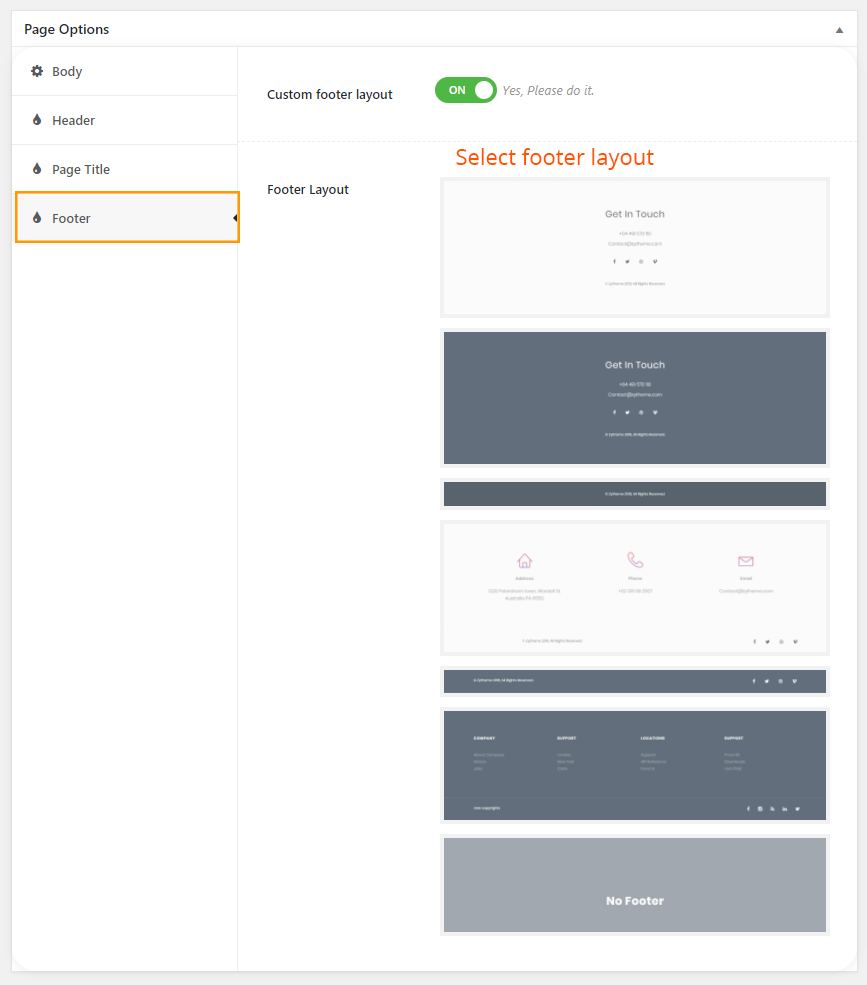
Home page
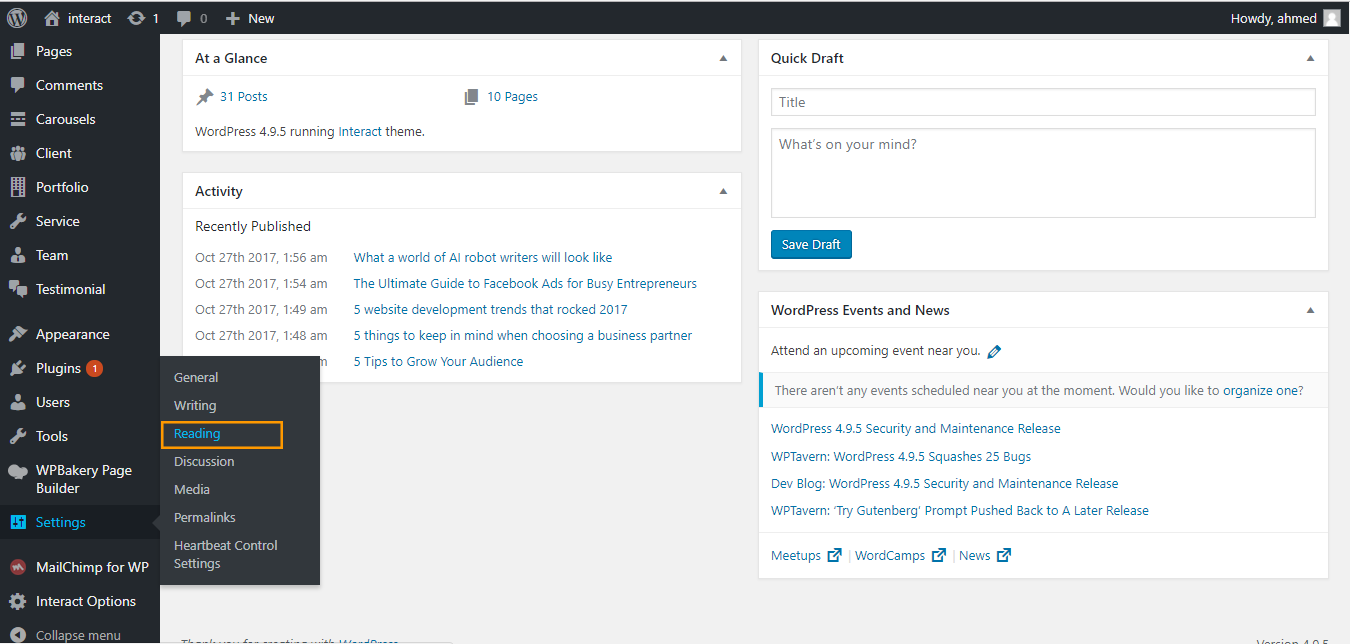
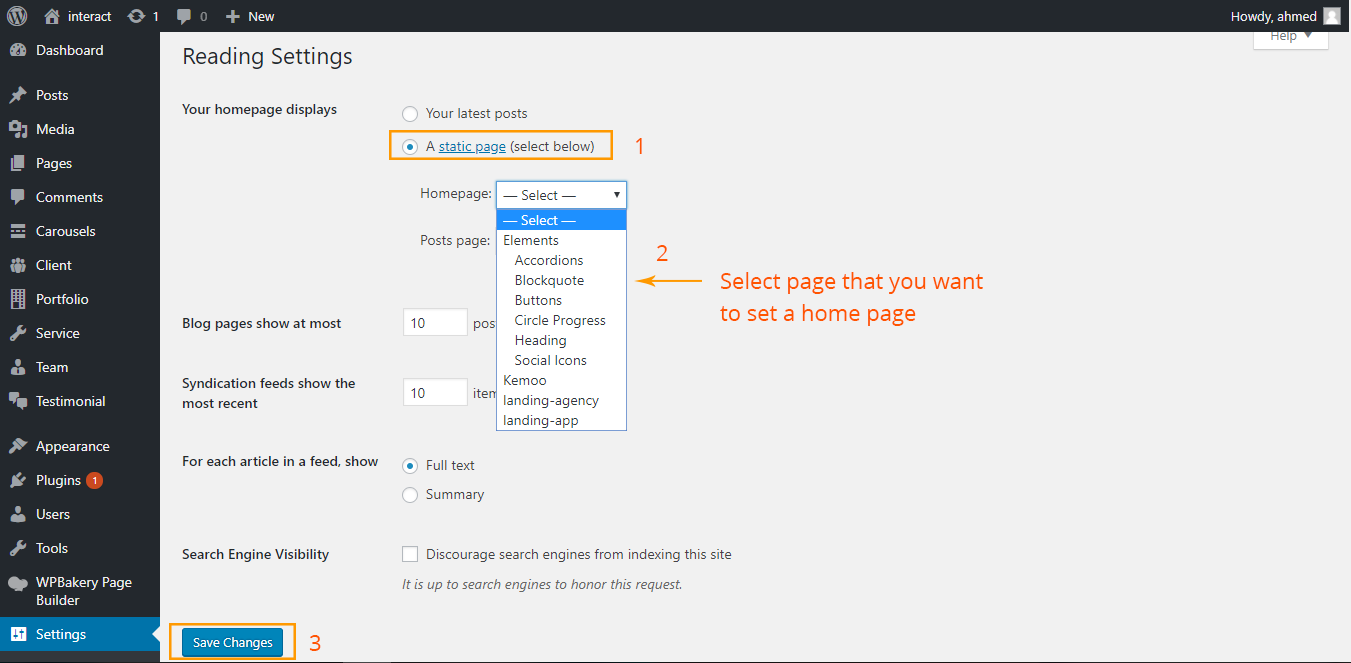
To set a page as Home page, go to Settings > Reading in your WordPress Dashboard panel.
Standard Format
Video Format

Quote Format

Link Format

Gallery Format

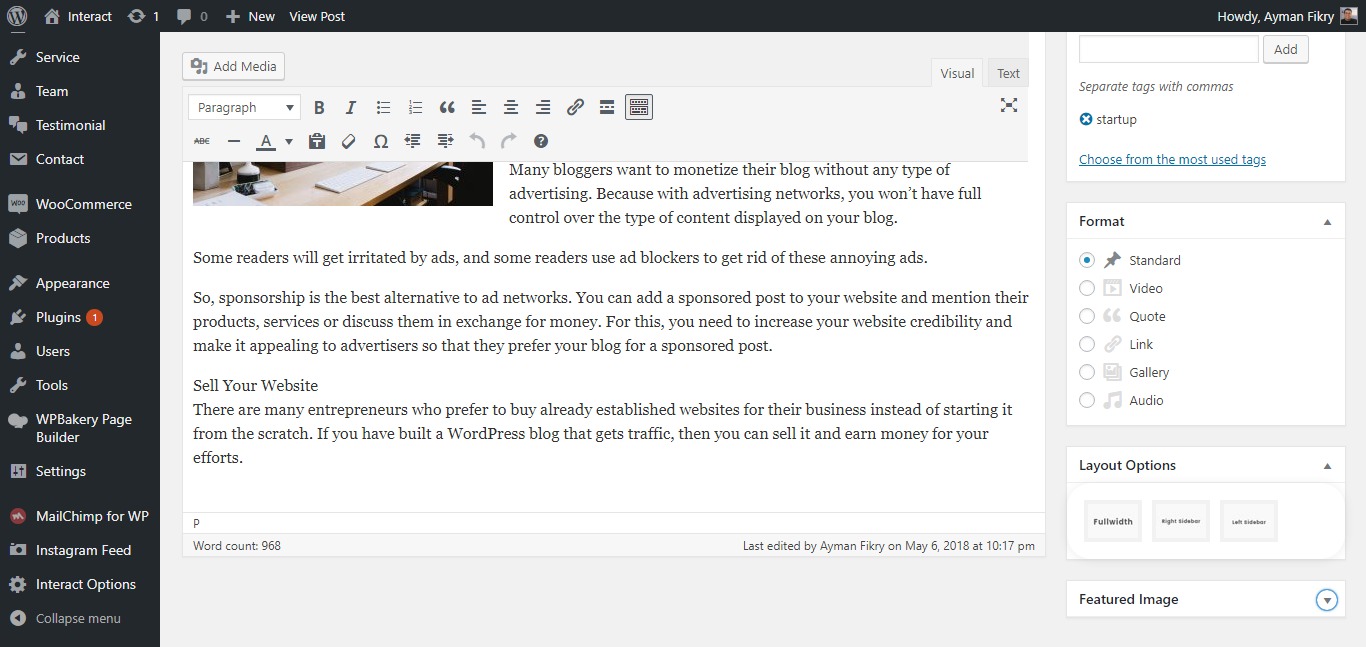
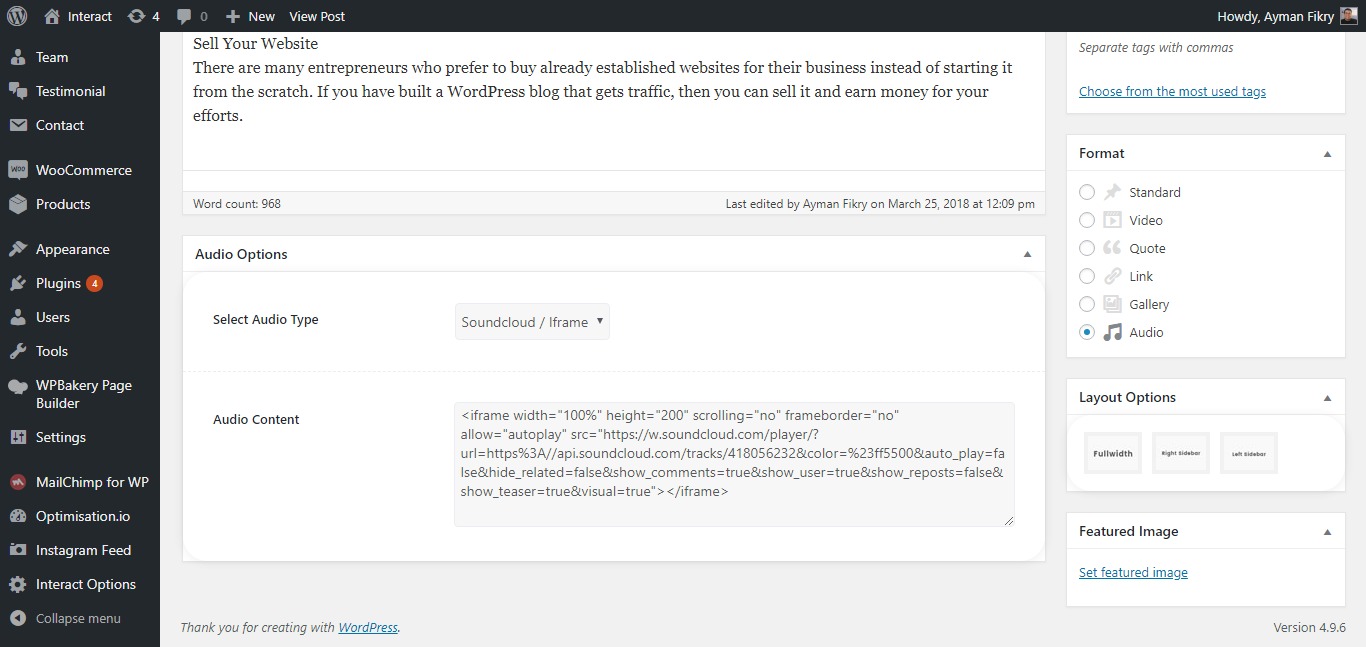
Audio Format
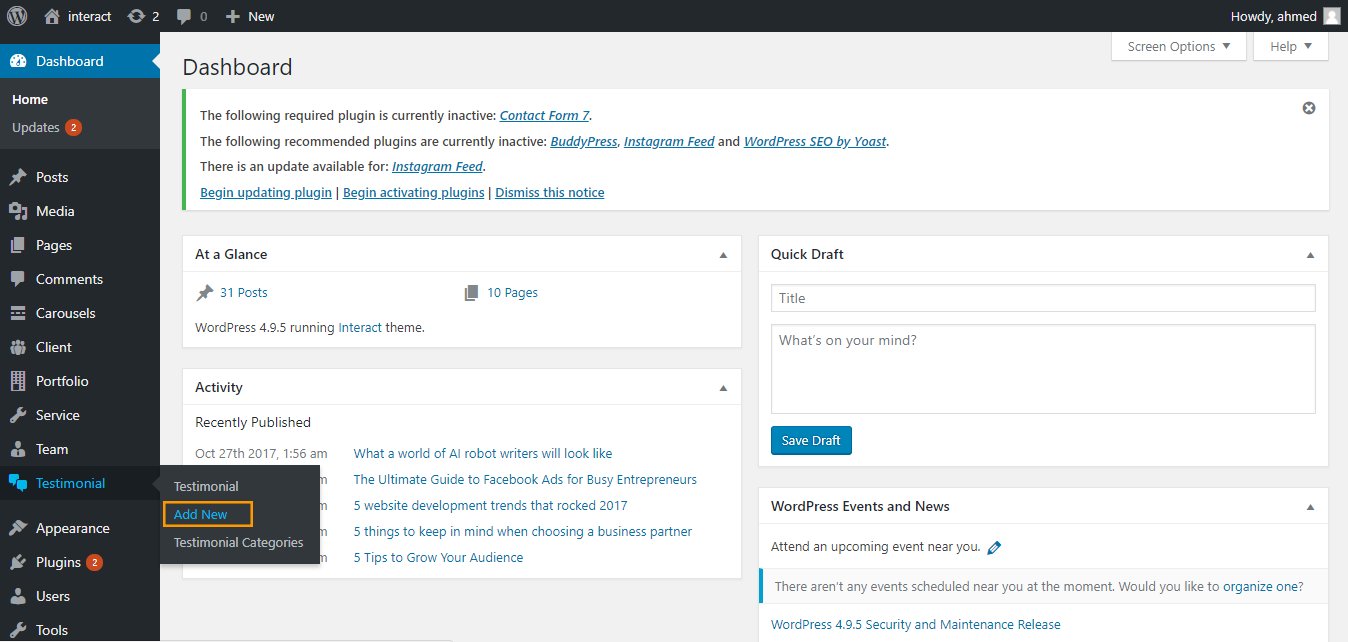
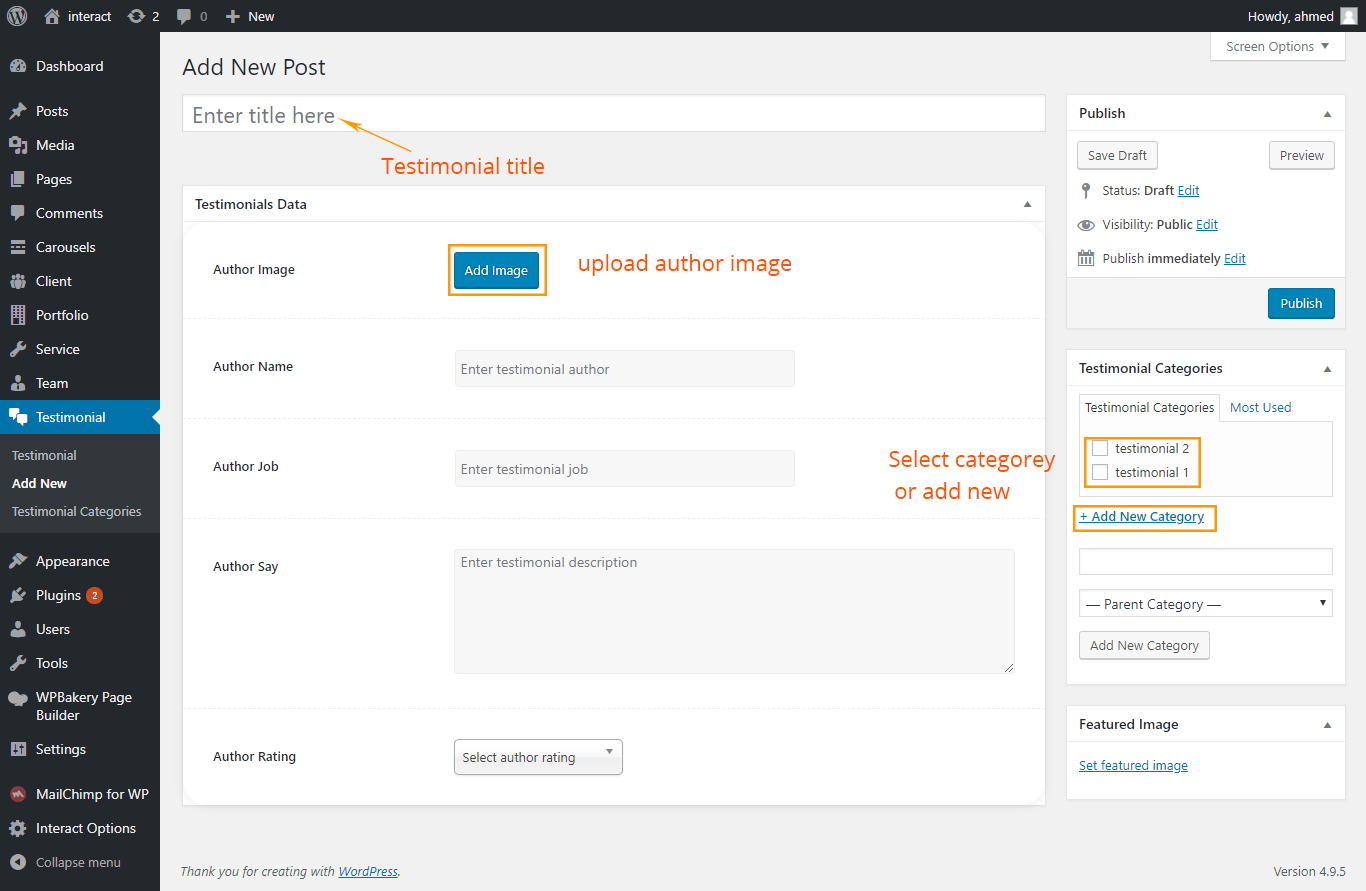
Testimonial
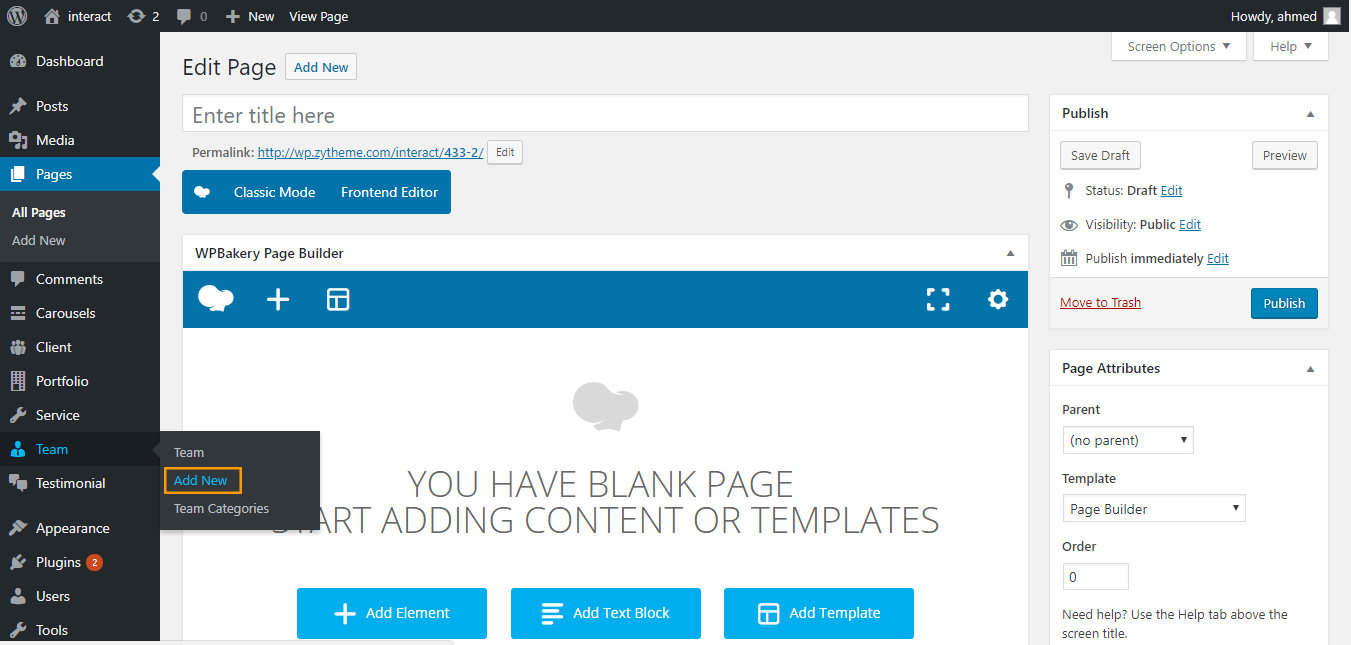
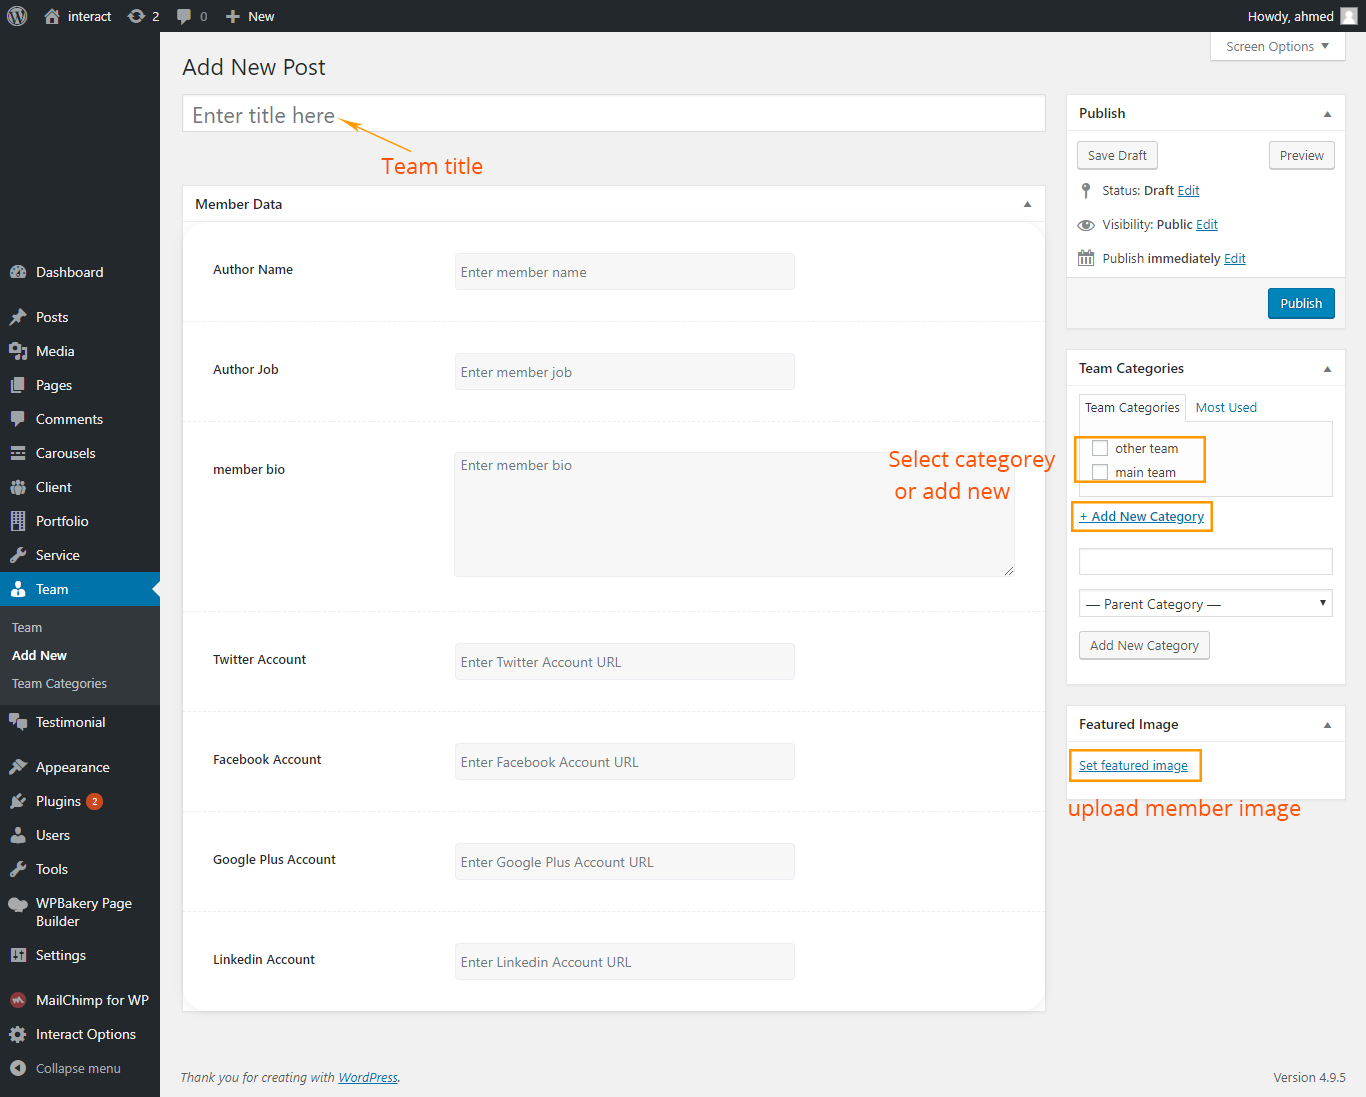
Team Member
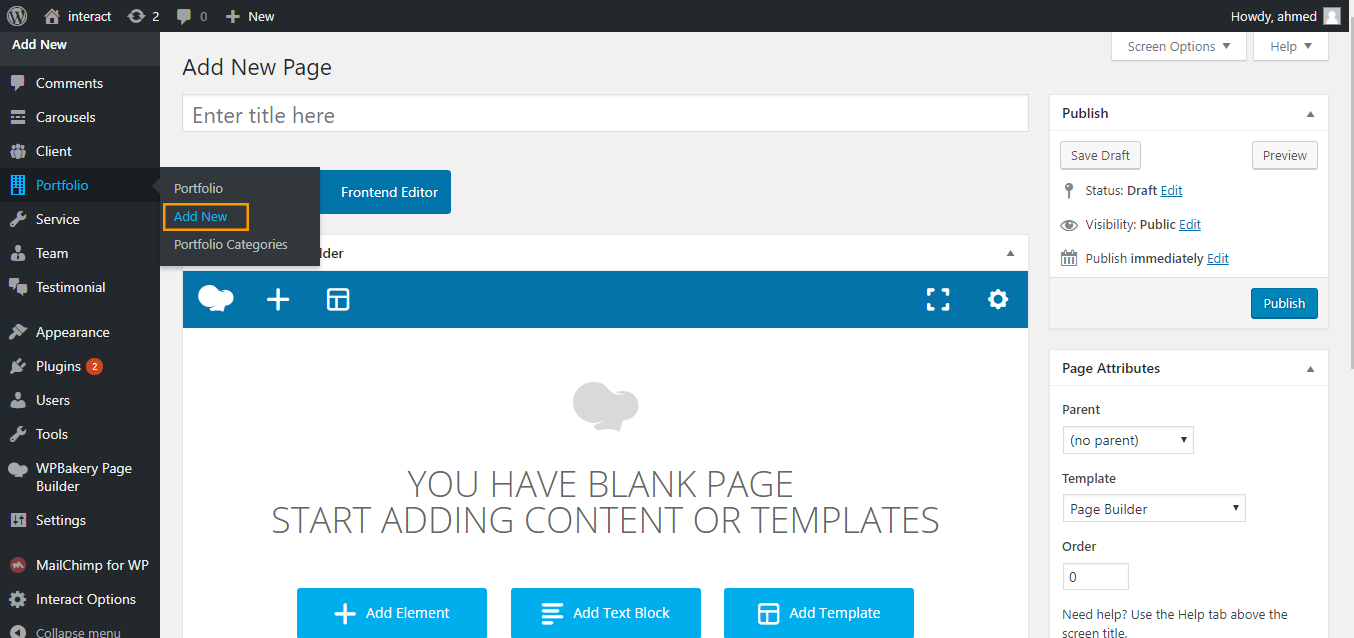
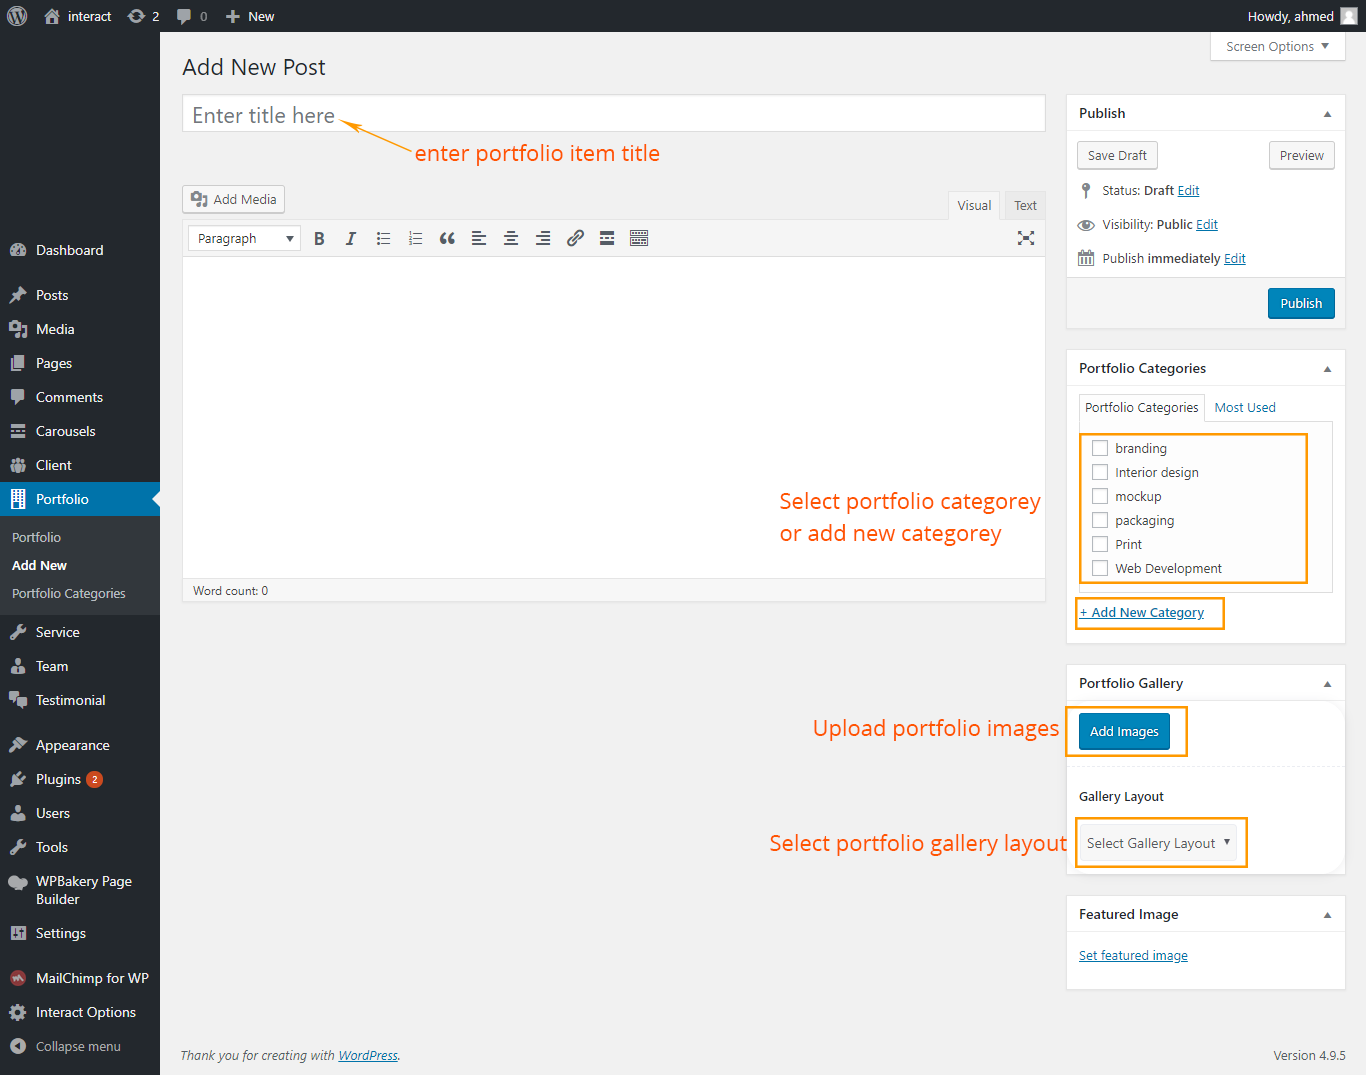
Portfolio
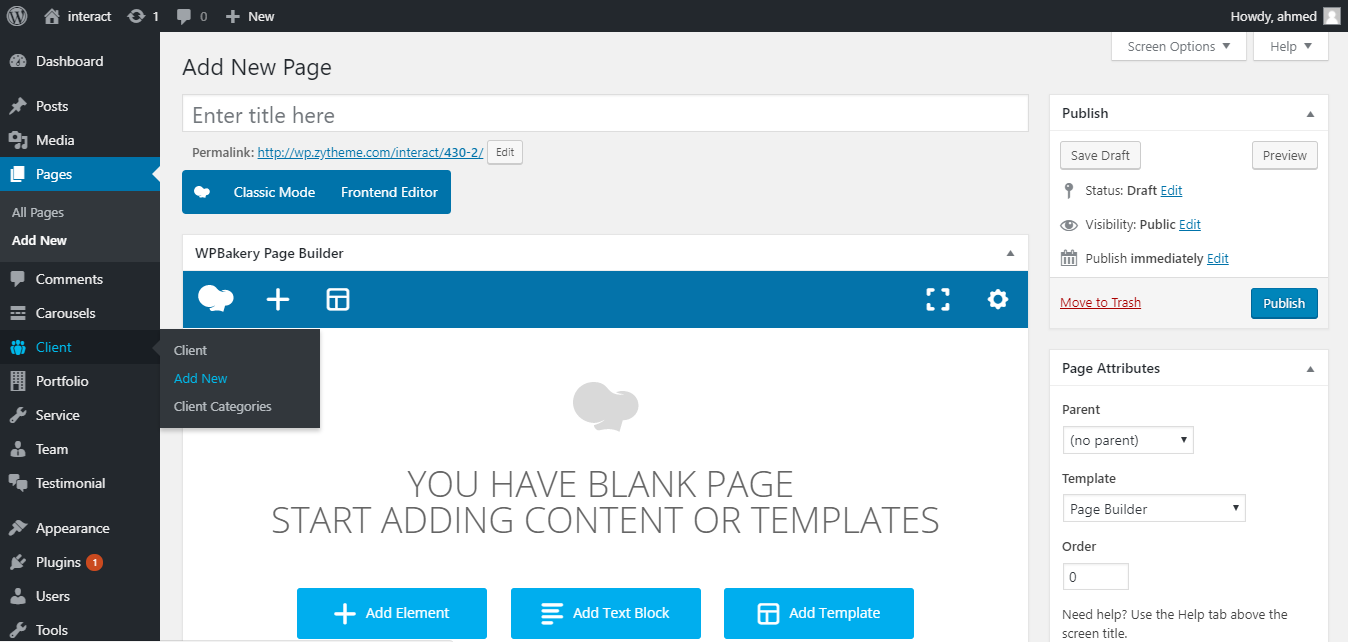
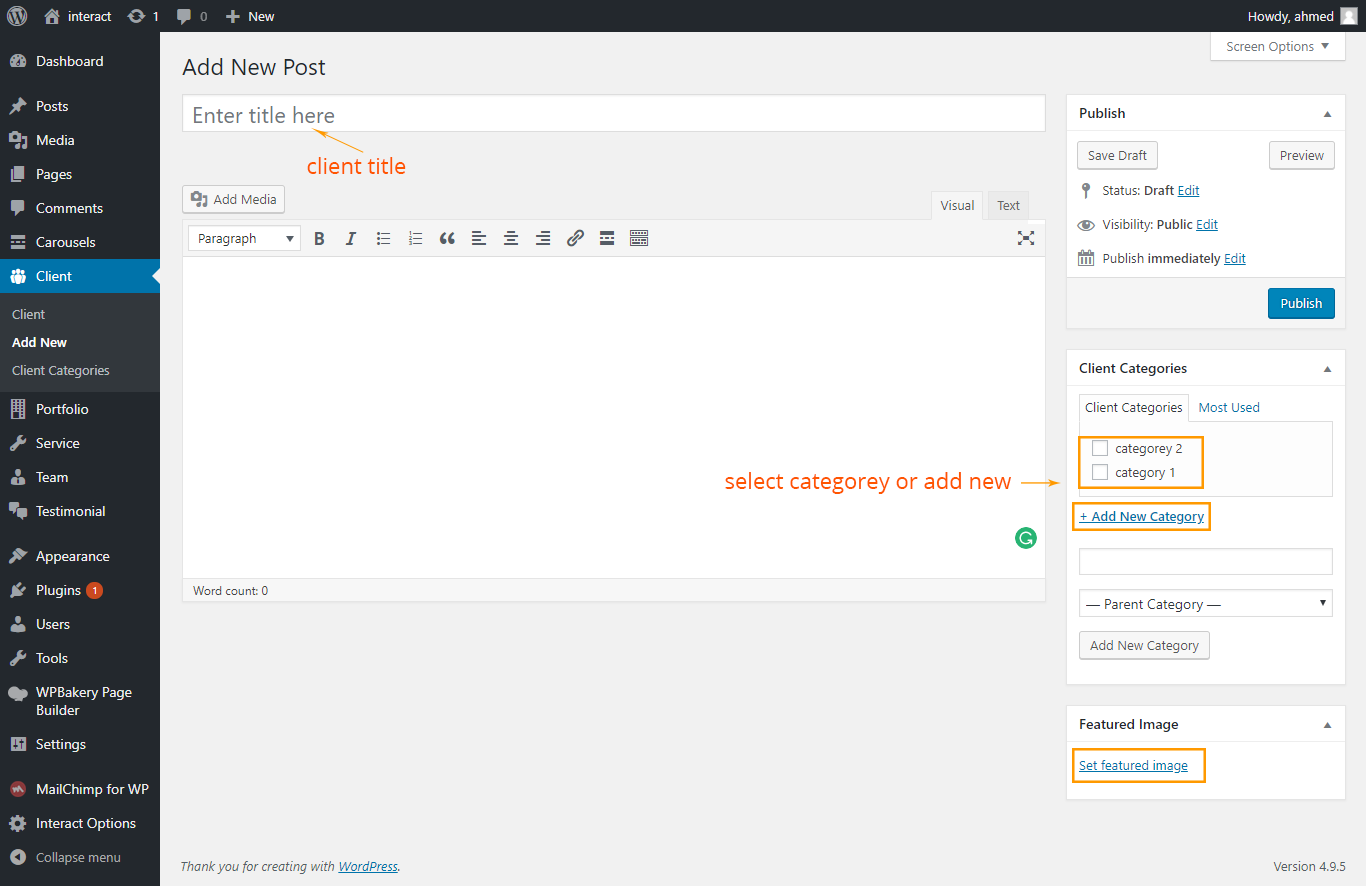
Client Logo
elements
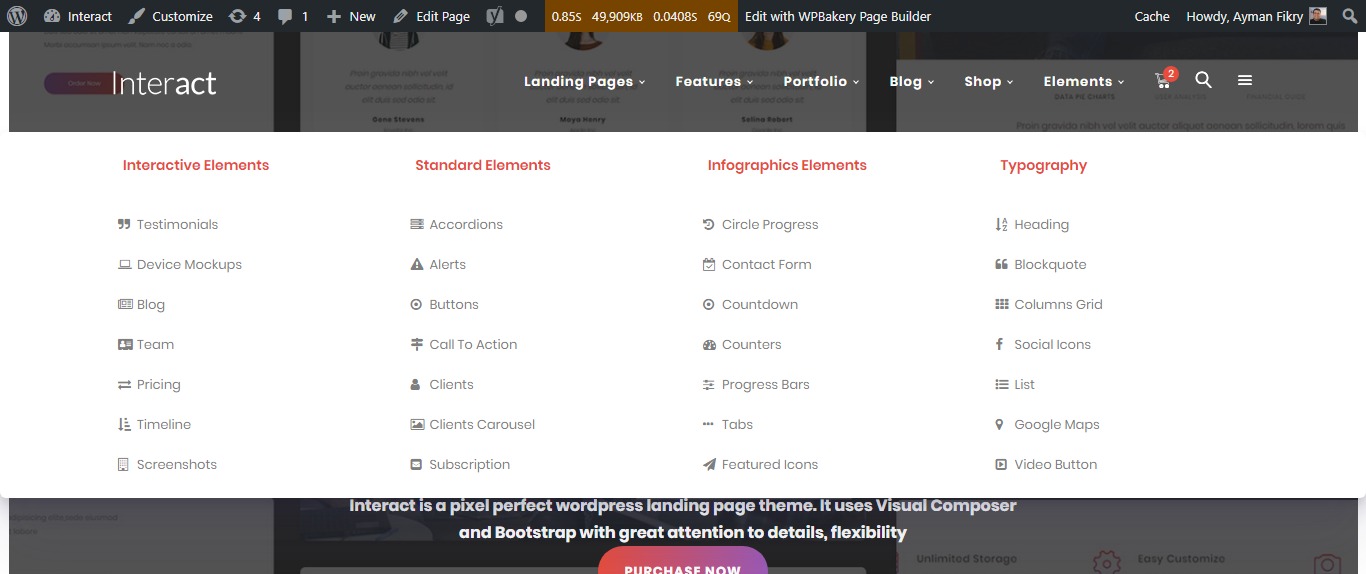
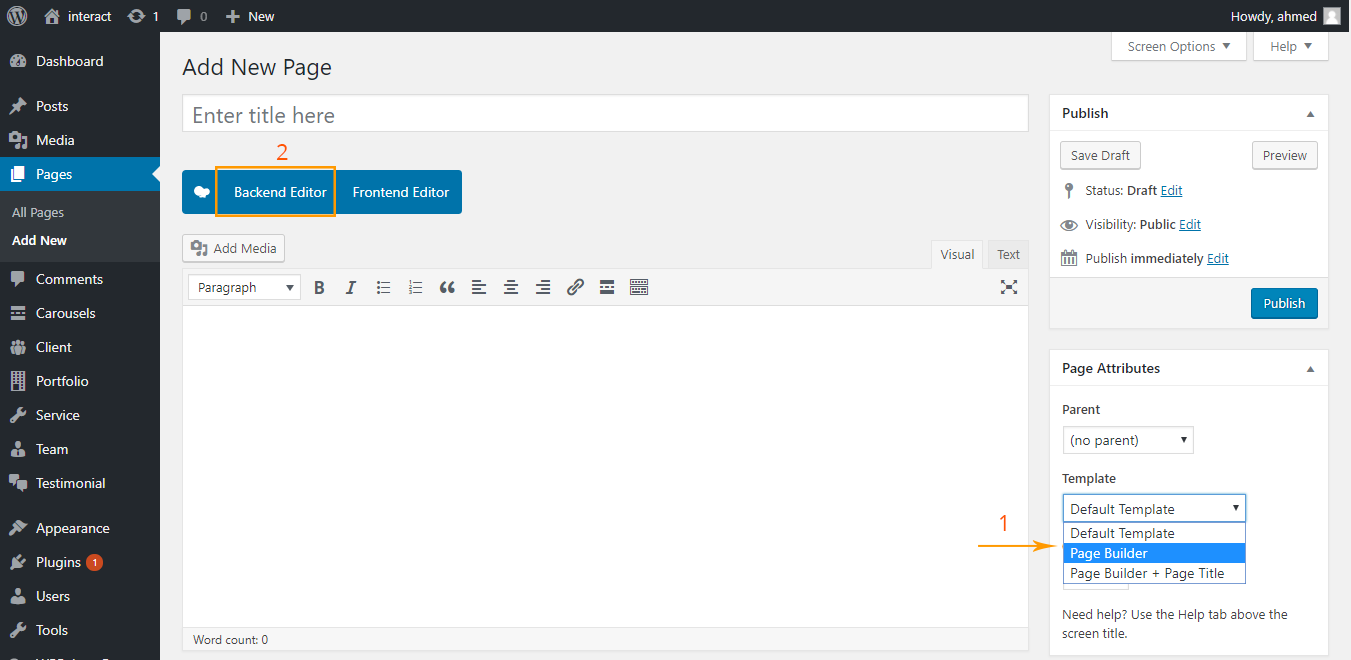
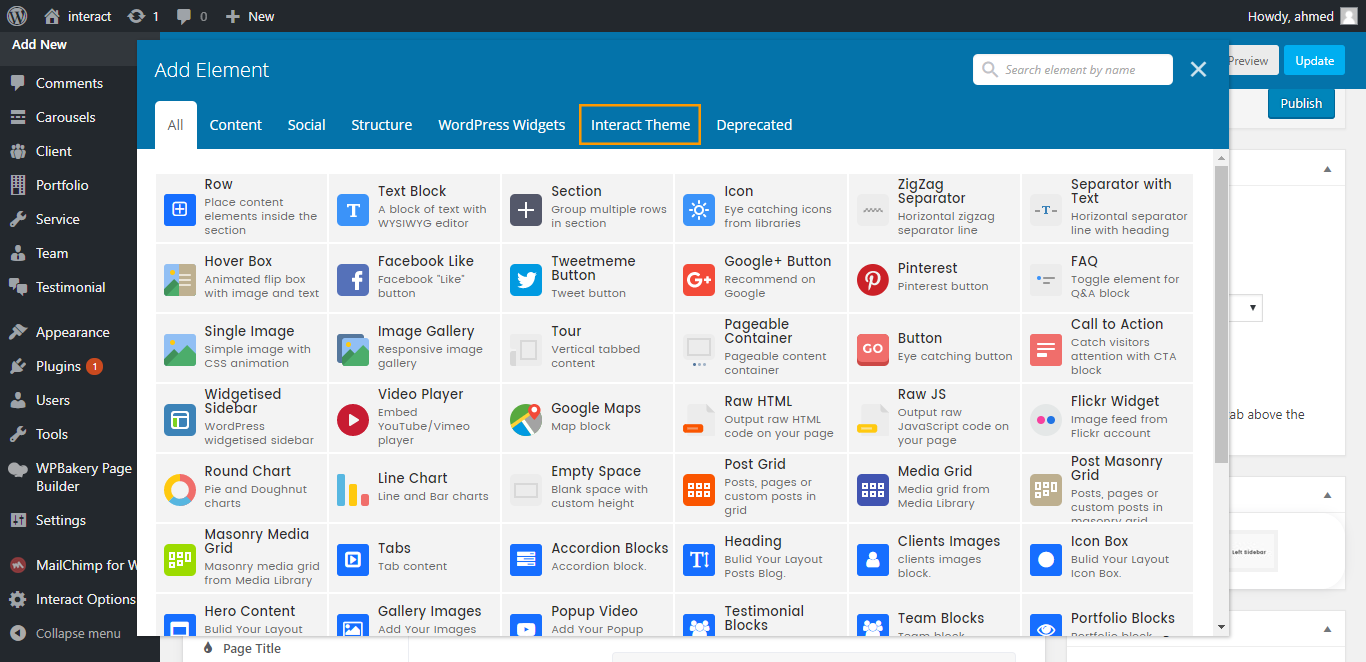
Visual Composer is a powerful Wordpress page builder that allows you to create complex page layouts without touching a single line of code. To switch to Visual Composer's Backend Editor, click on this button:
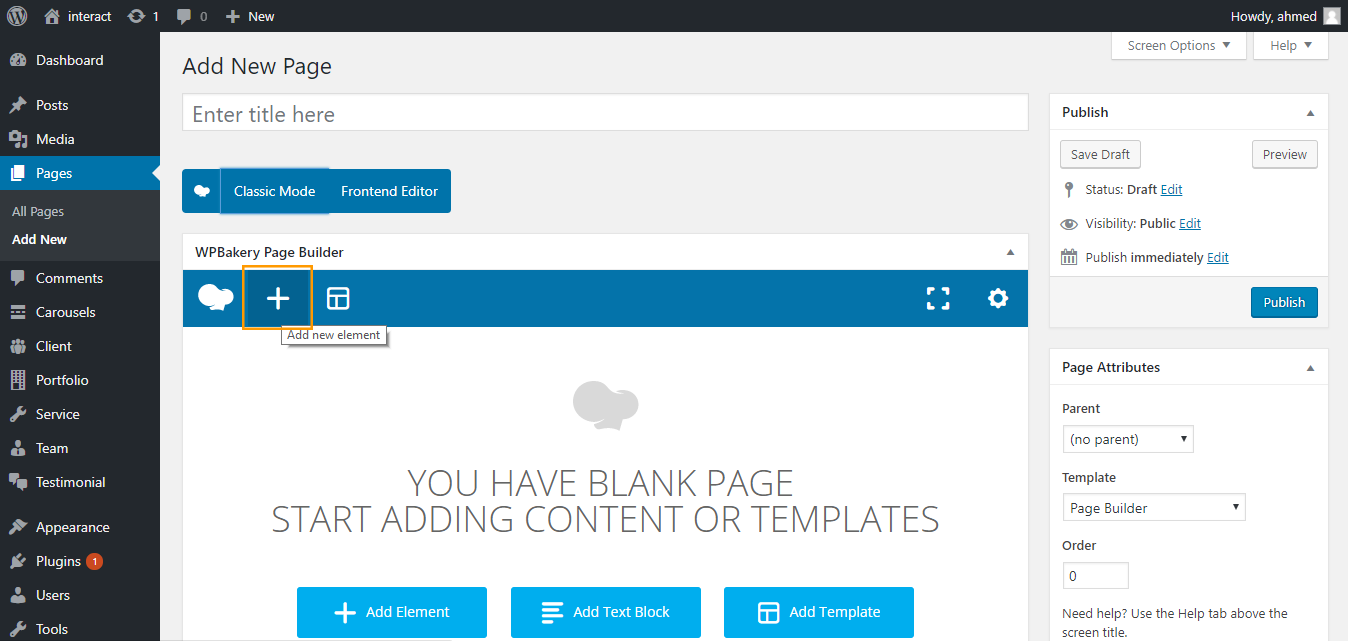
A shortcode selecting panel will show up, you can see all the shortcode available in the theme. Select the one you would like to use.
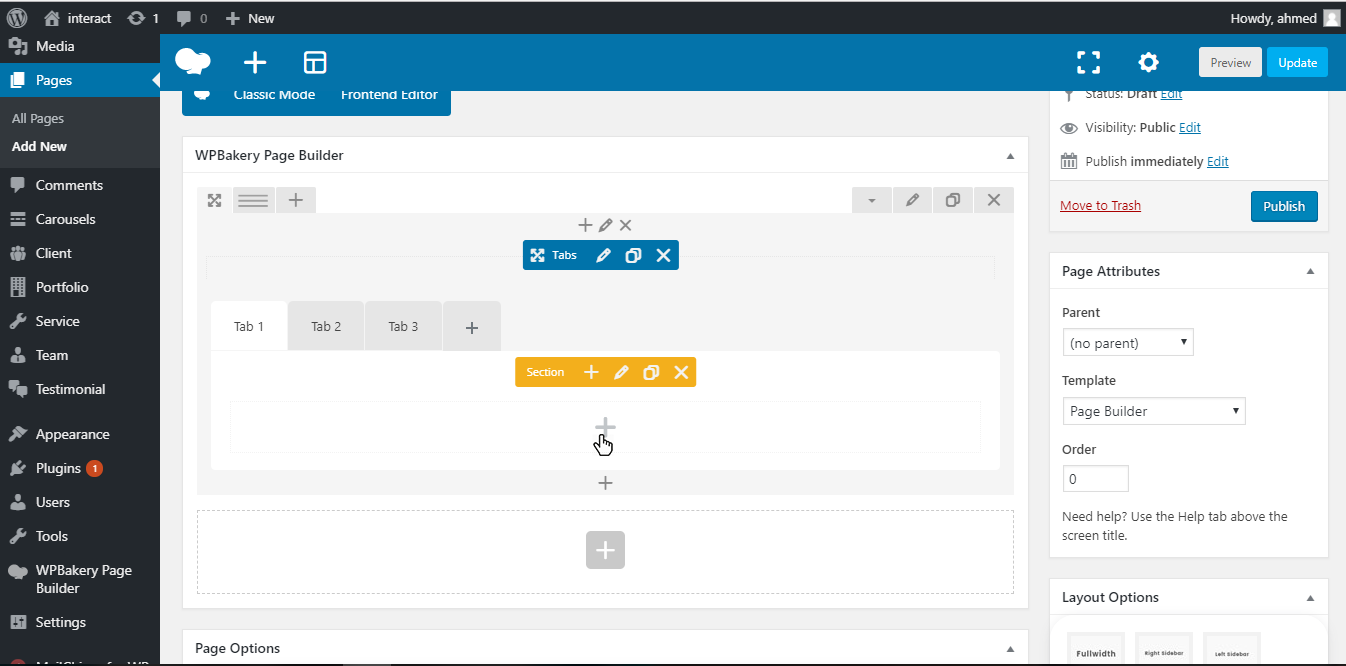
tabs
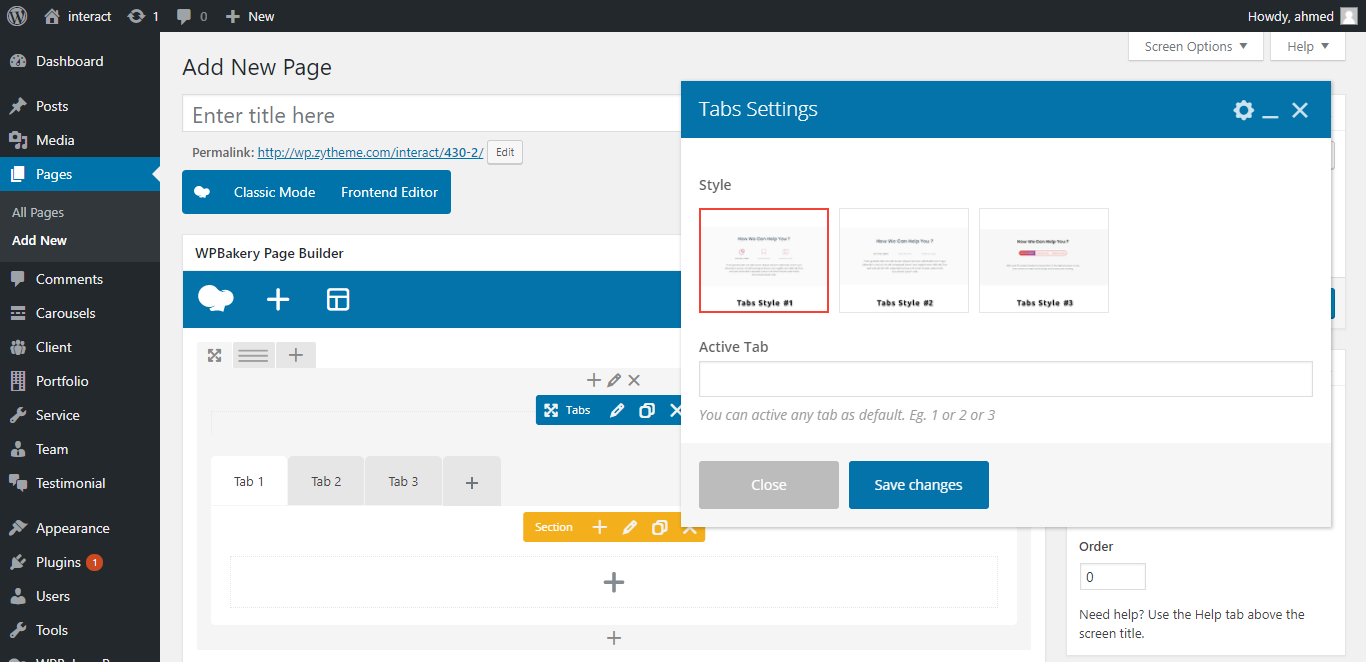
- Style: select tab style
- active tab: You can active any tab
- Then you can add any elements you need to put it inside tabs
Accordion
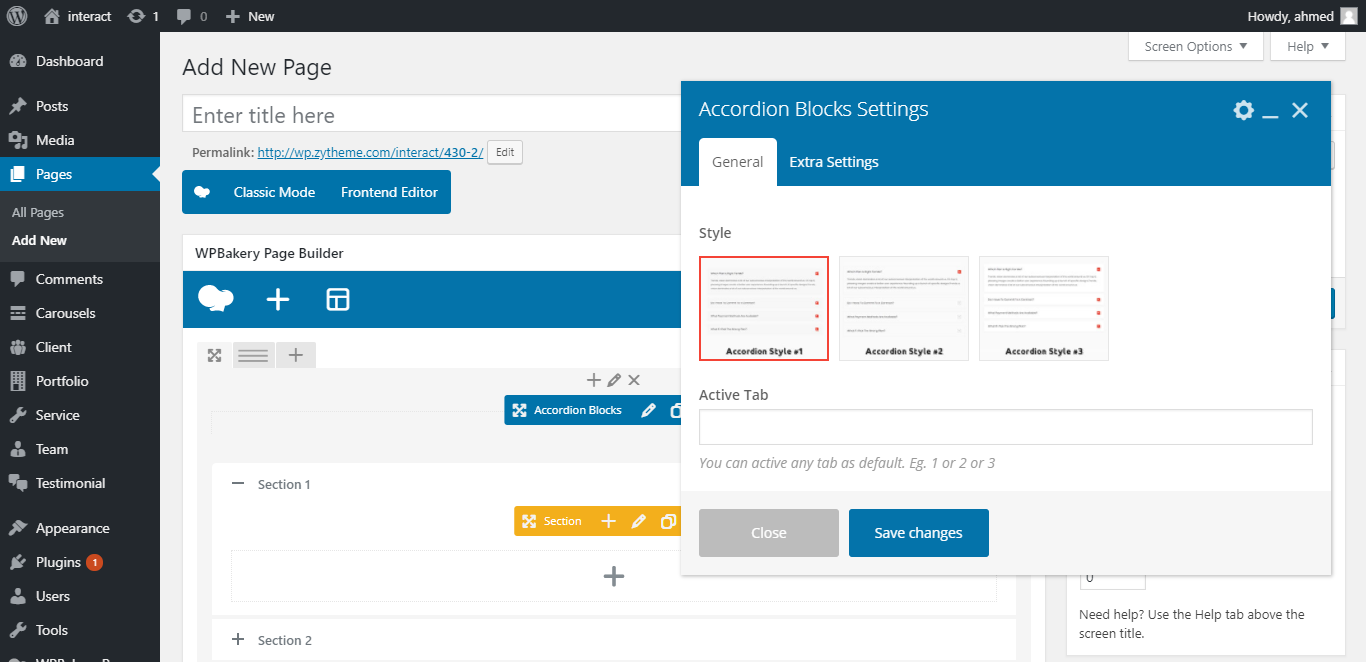
- active tab: You can active any accordion
- Style: select accordion style
Heading
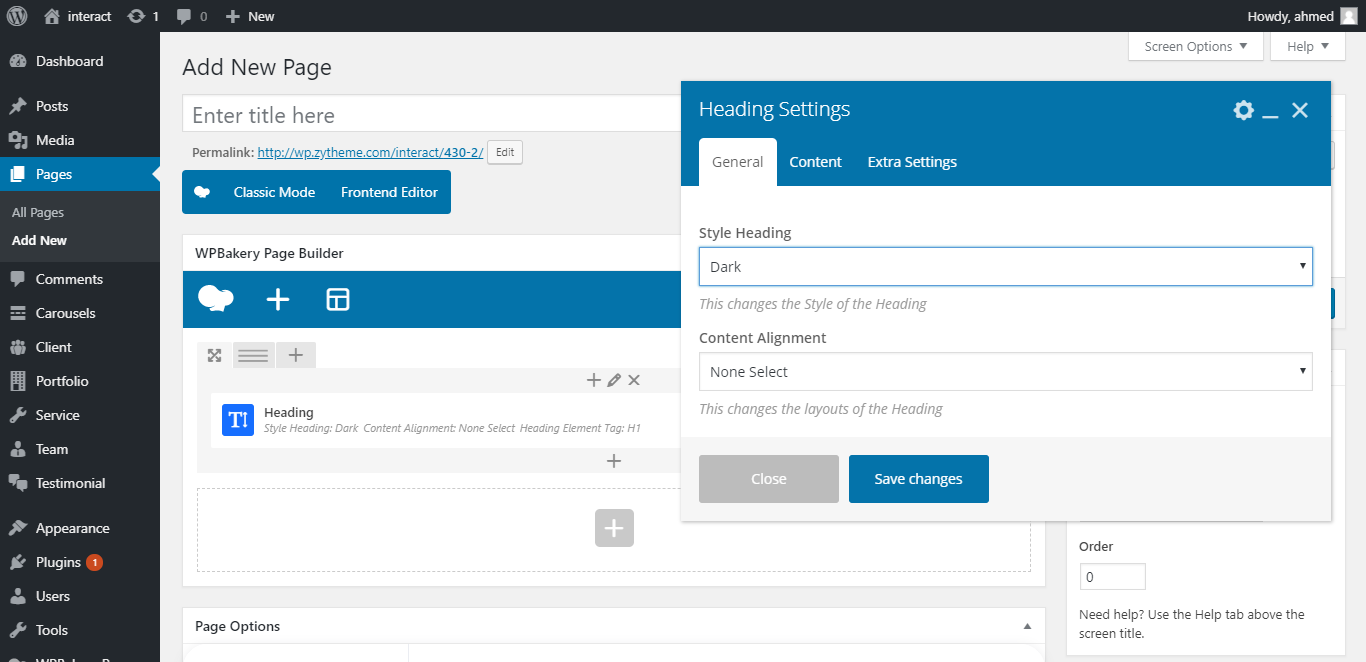
- Style Heading: Select Heading color "Dark", "light"
- Content Alignment: Select content align "Text Center" , "Text Right" and "Text Left"
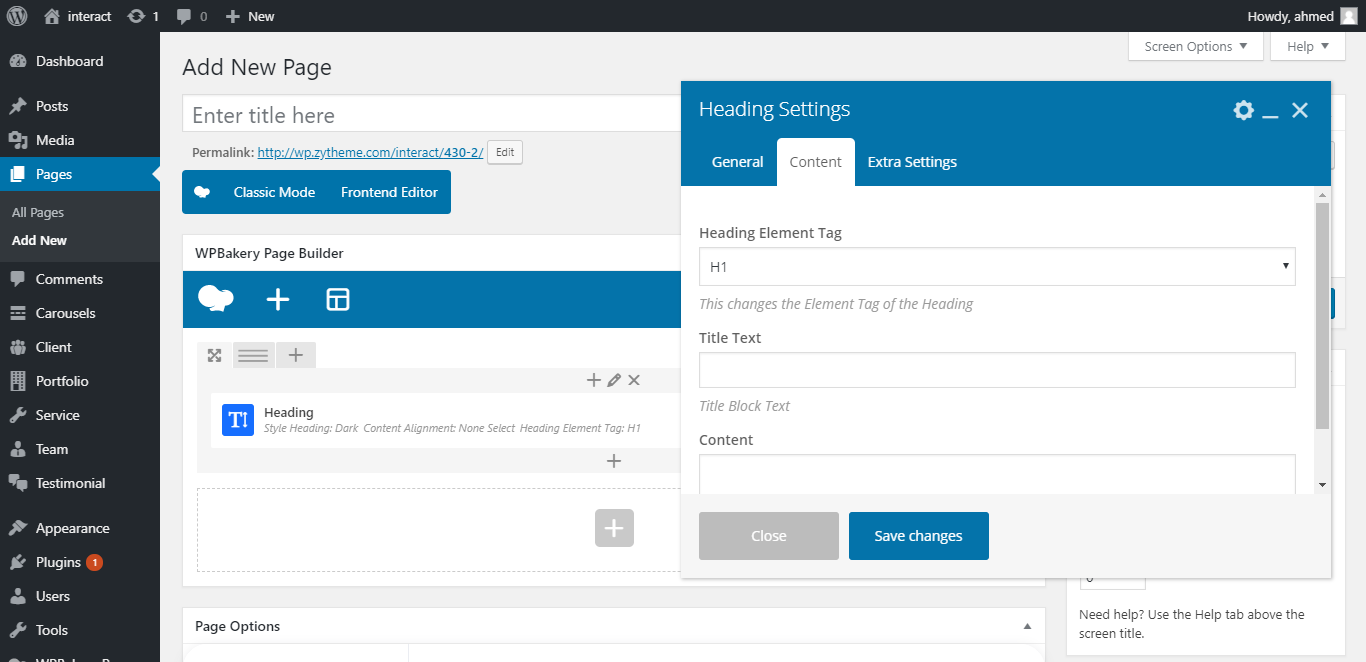
- Heading Element Tag: Select Heading Tag "h1", "h2", "h3", "h4", "h5" and "h6"
- Title Text: write title heading
- Content: write title description
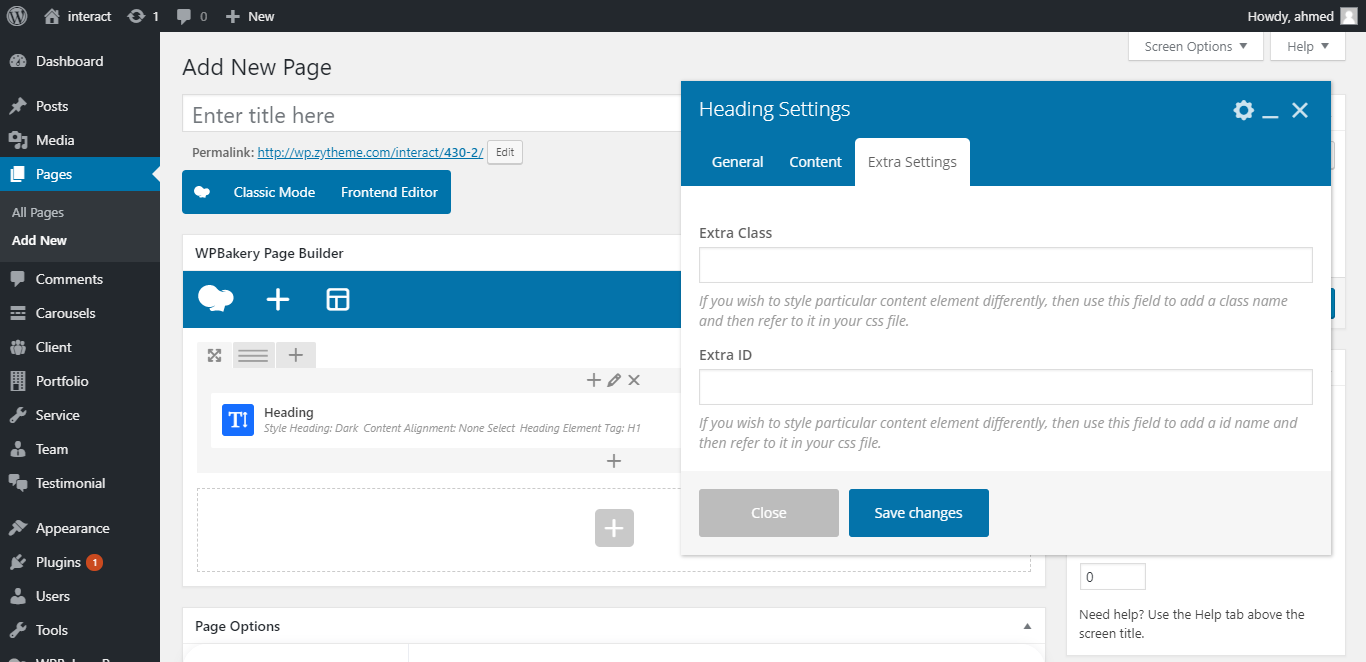
- Extra Class: If you wish to add extra class to this element
- Extra id: If you wish to add extra id to this element
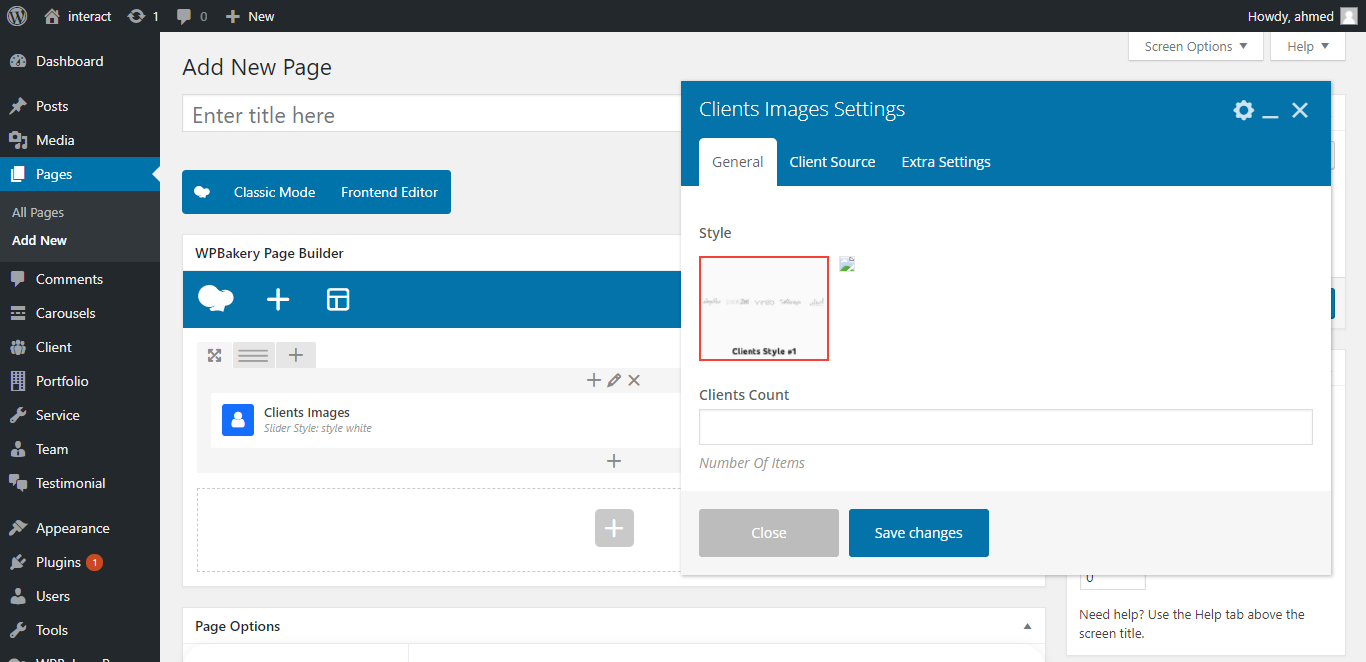
Clients image
- Style: select clients style
- Clients Count: Number Of Items to show

- Client Categories: select Which categories would you like to show
icon box
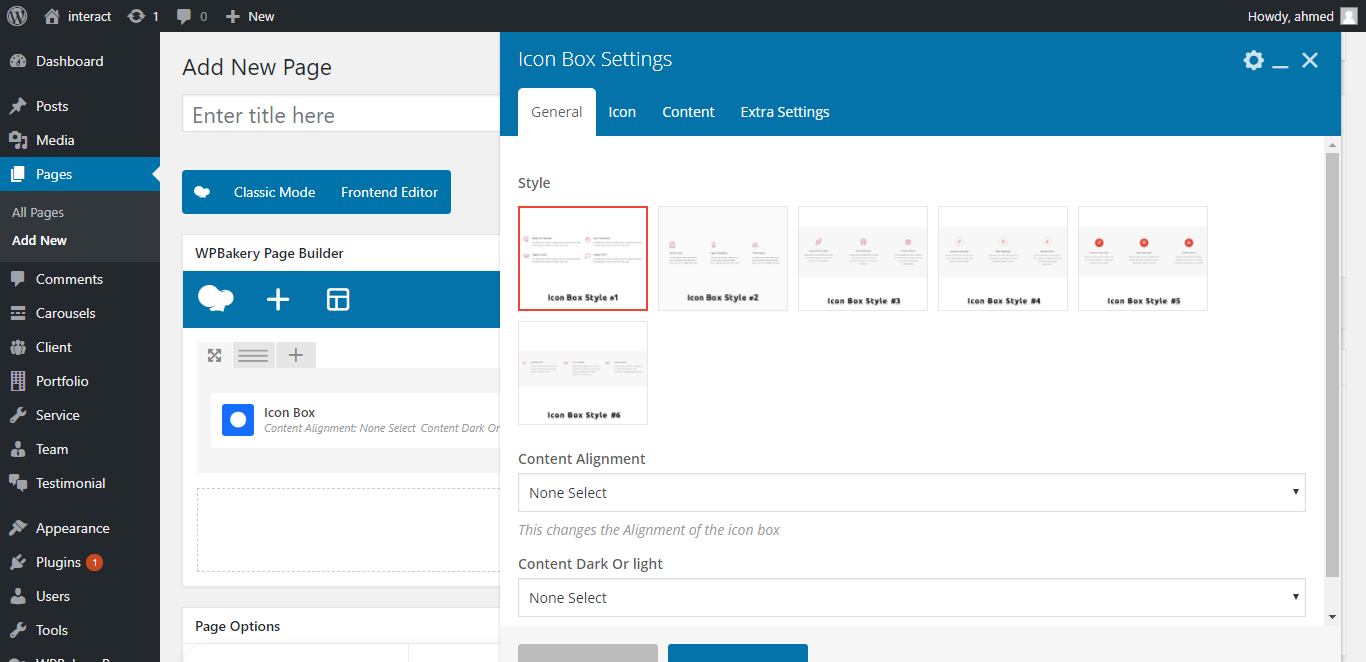
- Style: select icon box style
- Content Alignment: Select content align "Text Center" , "Text Right" and "Text Left"
- Content Dark Or light Select Content color "Content Dark", "Content light"
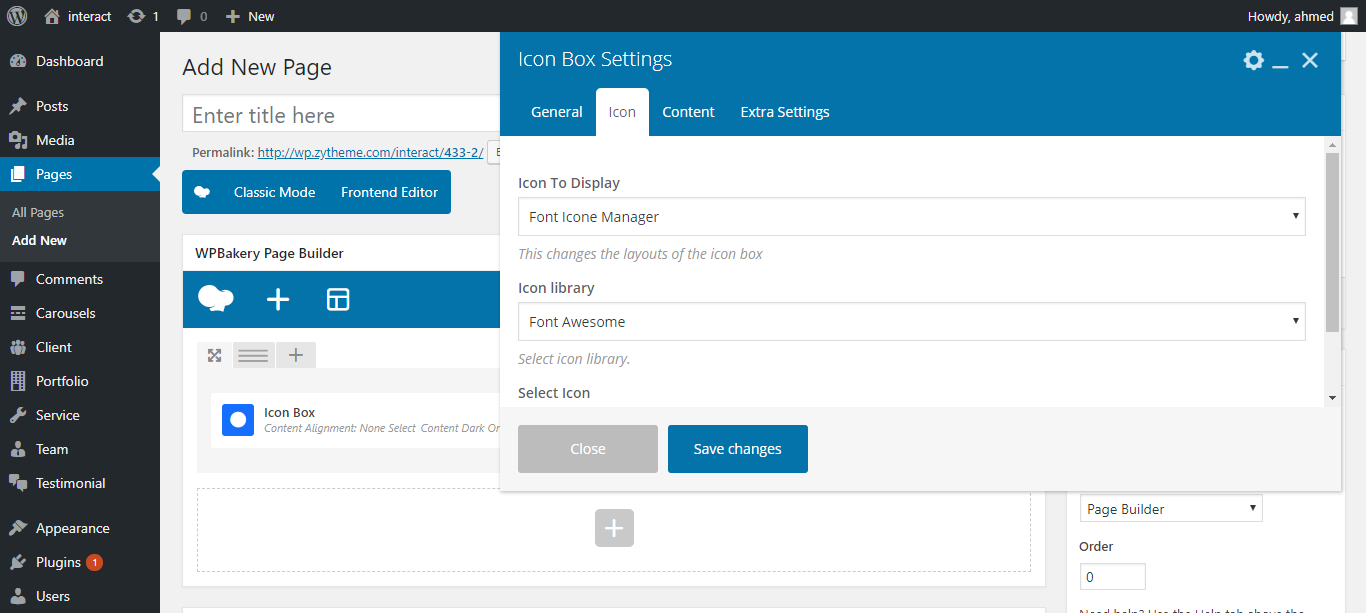
- Icon To Display: select icon to display
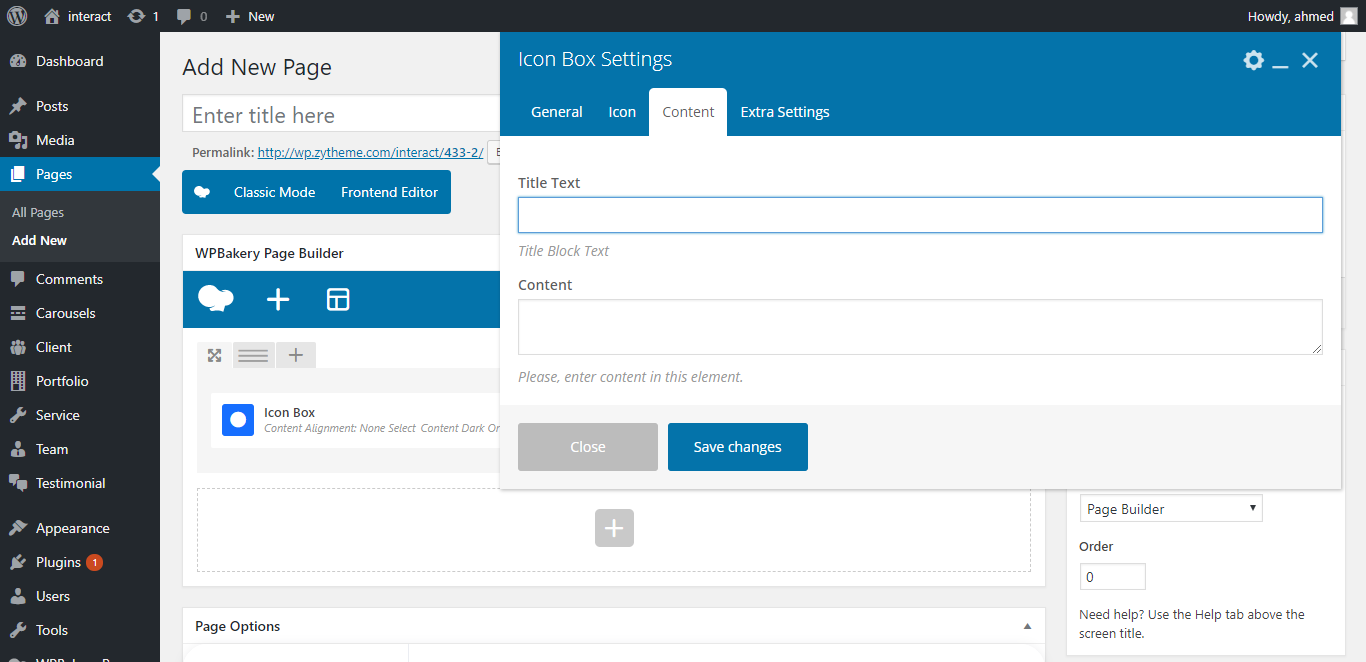
- Title Text: write Title Text
- Content Text: write Content Text
Hero Content
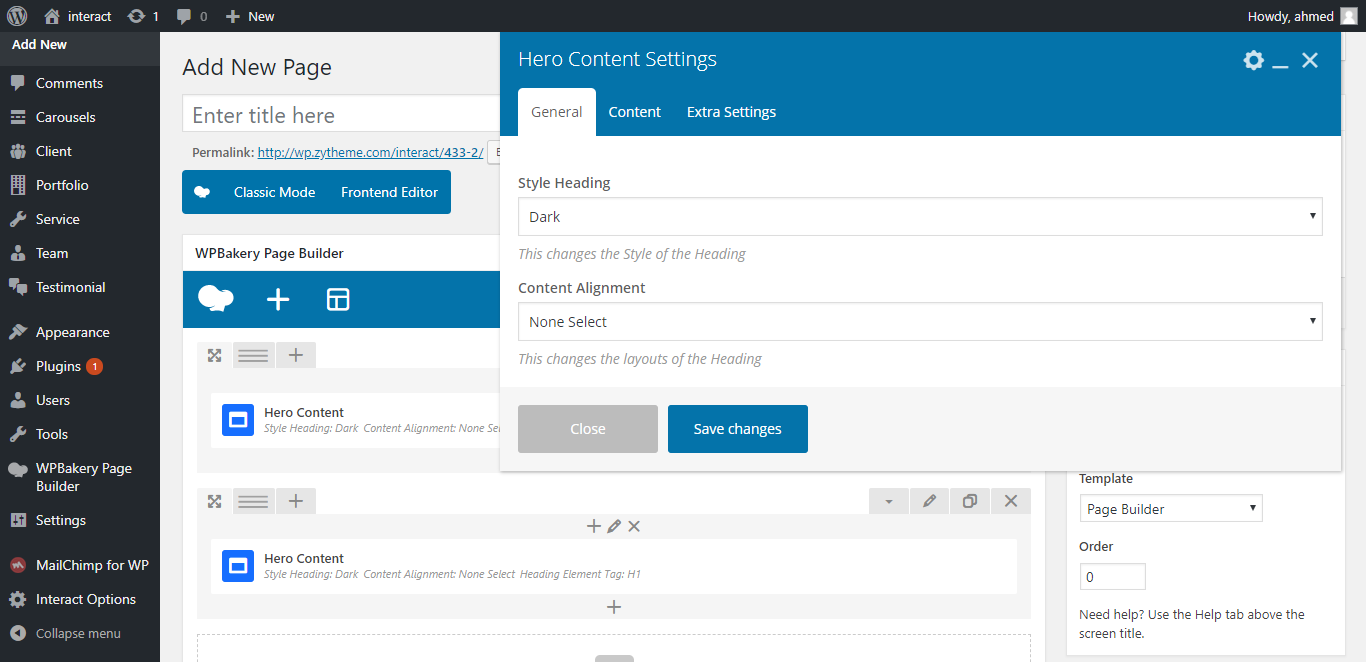
- Style Heading: Select Heading color "Dark", "light"
- Content Alignment: Select content align "Text Center" , "Text Right" and "Text Left"
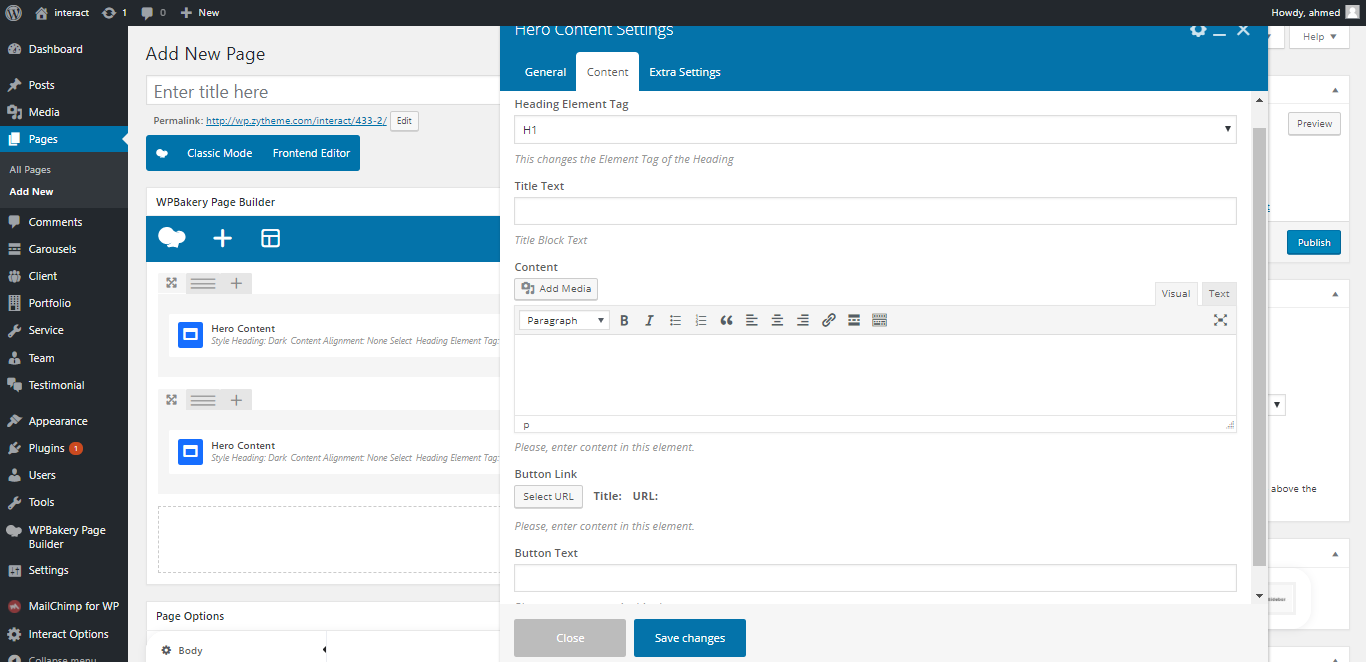
- Heading Element Tag: Select Heading Tag "h1", "h2", "h3", "h4", "h5" and "h6"
- Title Text: write title heading
- Content: write description text
- Button Link: click on select url to Add link for button.
- Button Text: Enter text for button.
Gallery Images
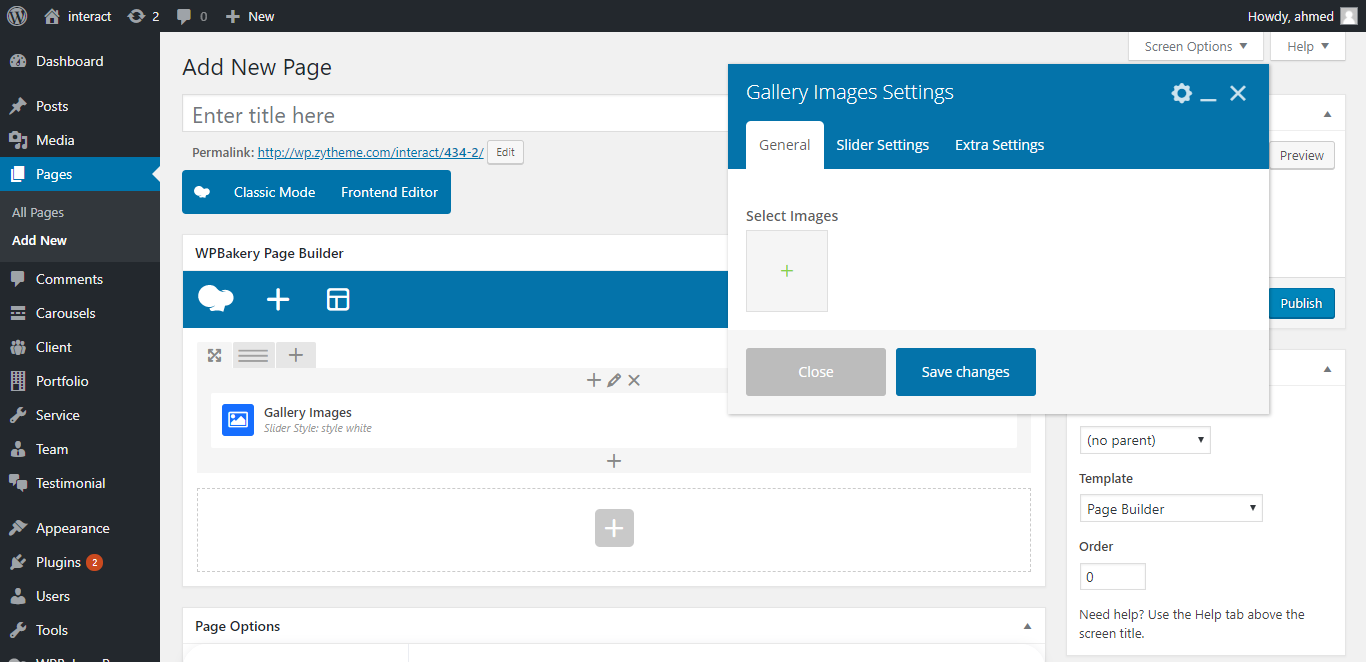
- Select images: Upload images you want to show in gallery

- Slider Style: Select Slider Style "Style white", "Style Dark" and "style theme"
- Slider items number: Select Number Of Items to show"
- Slider items number scroll:Select Number Of active items"
- Slider items speed: control Slider items speed
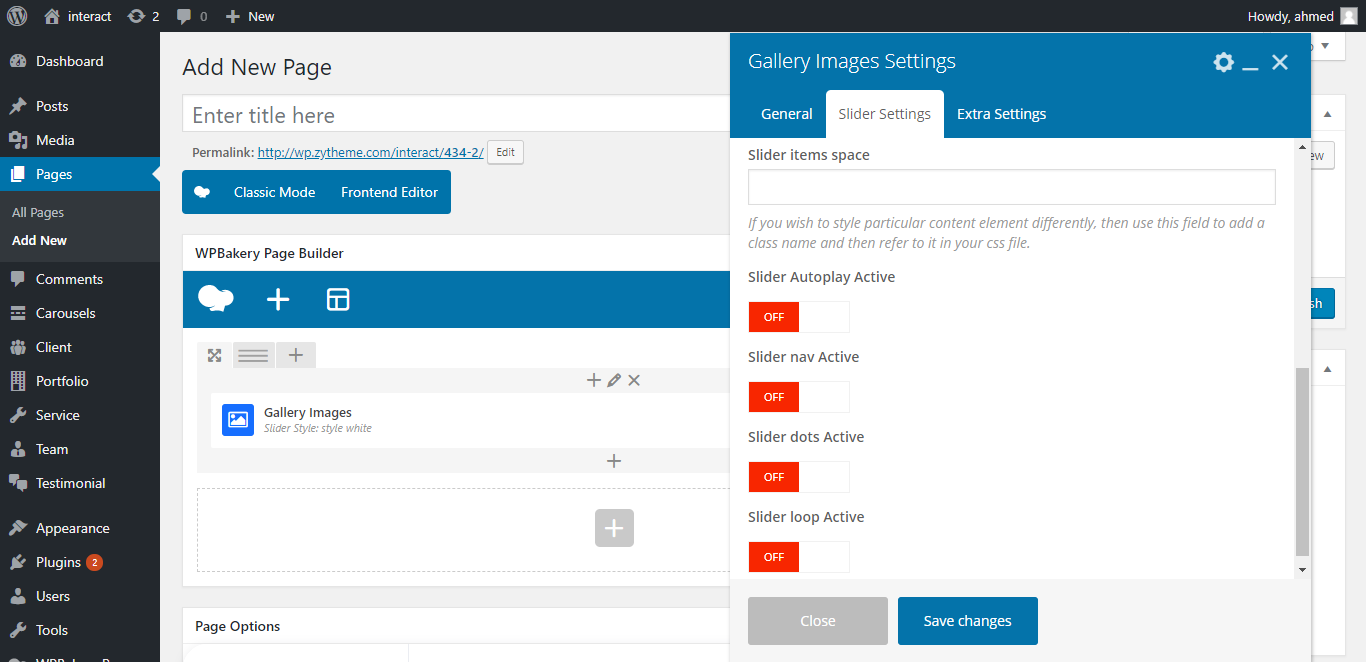
- Slider items space: control space size between slide items
- Slider Autoplay Active: enable / disable slider autoplay
- Slider nav Active: enable / disable Navigation arrows
- Slider dots Active: enable / disable Slider dots
- Slider loop Active: enable / disable Slider repeat
Popup Video Style
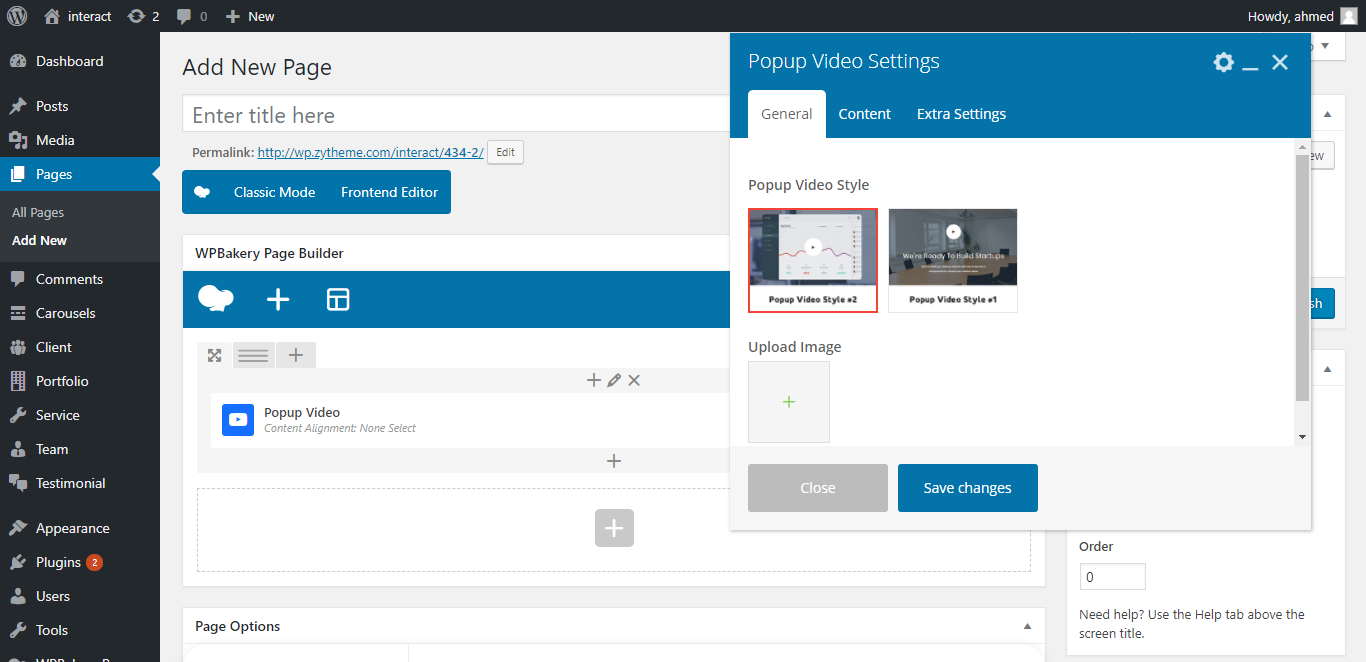
- Popup Video Style: Select Popup Video Style
- Upload images: Upload images you want to show in gallery
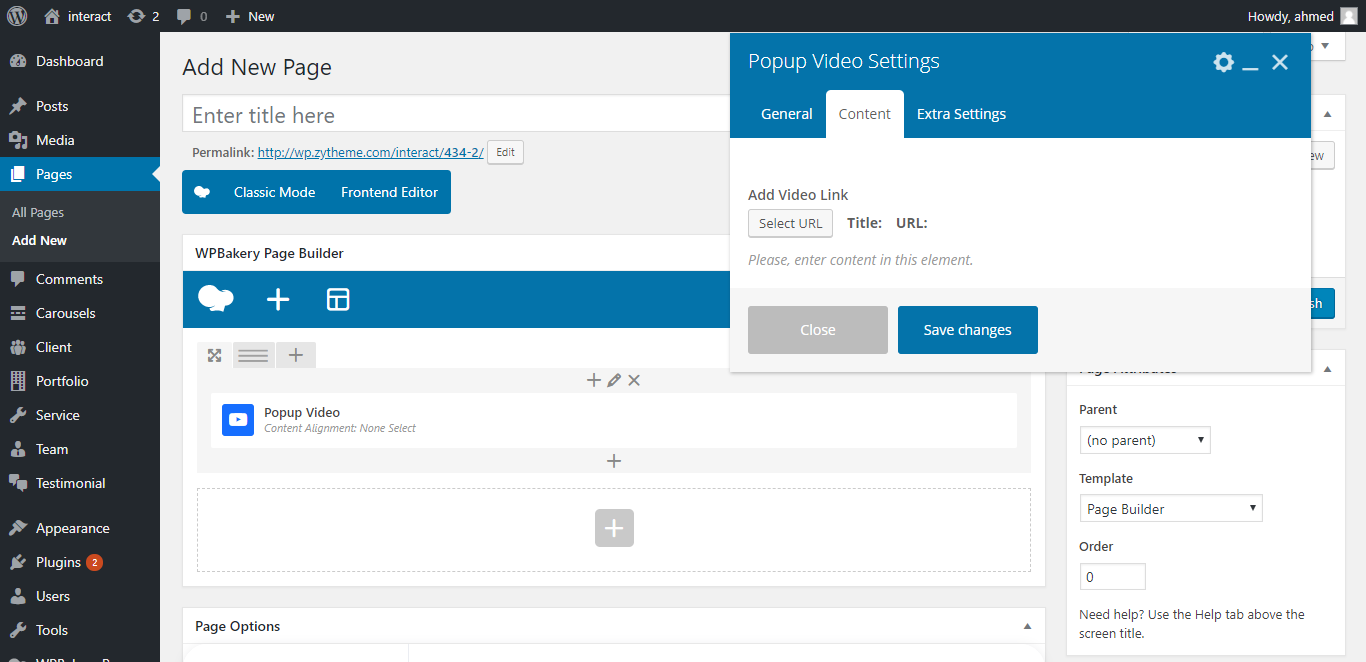
- Add Video links: click on select url to Add Url link and text link
Testimonial Block
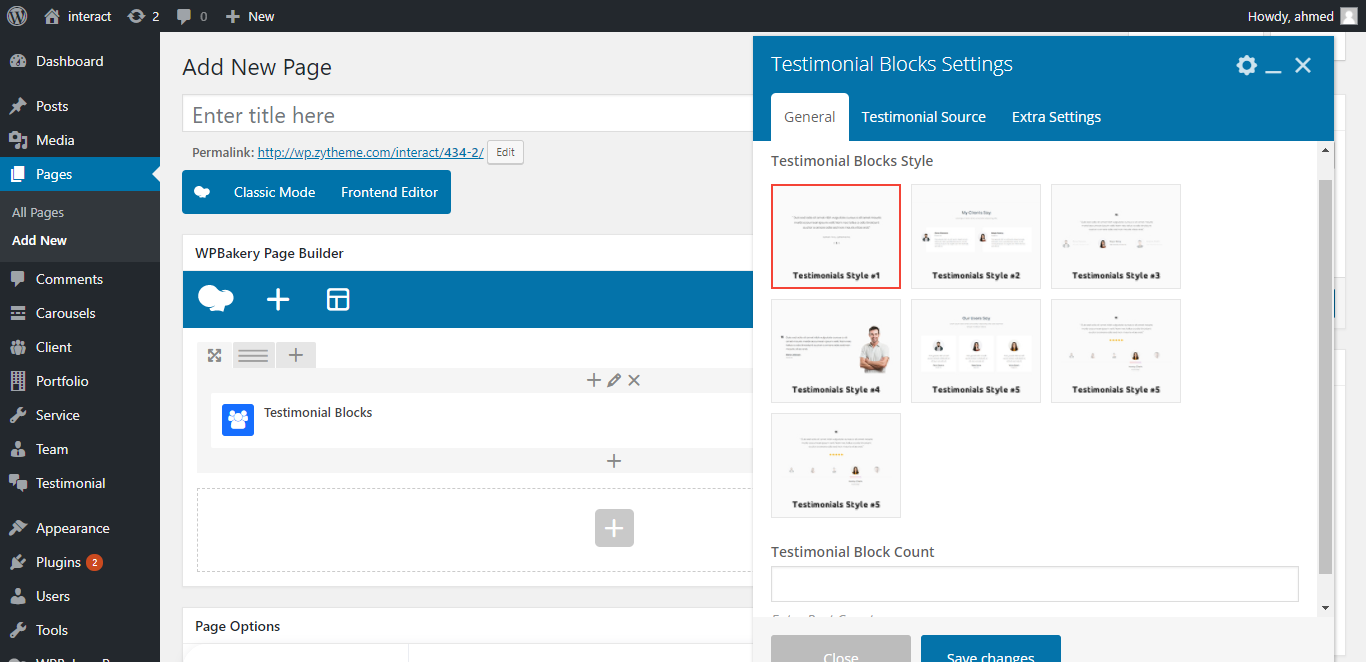
- Testimonial Block style: select Testimonial Block style.
- Testimonial Block Count: Enter Post Count.
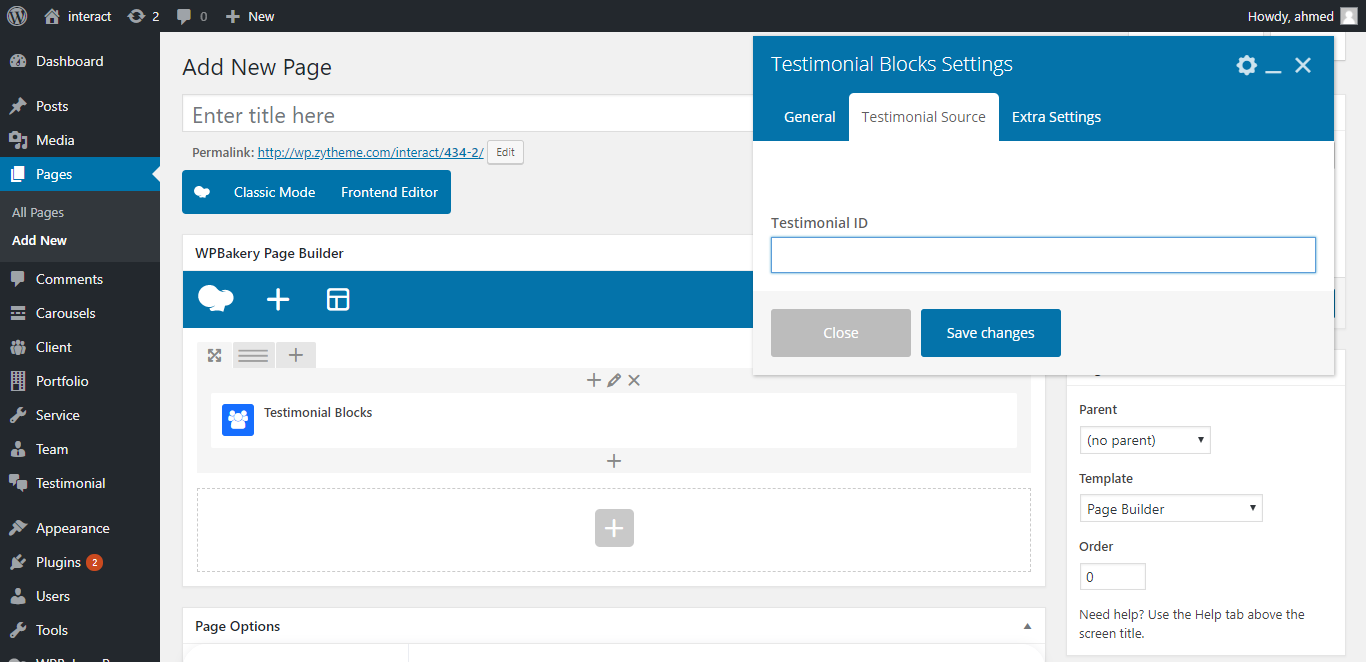
- Testimonial ID: Enter Testimonial id.
Team Block
- Team Block style: select Testimonial Block style.
- Team Block Count: Enter Post Count.
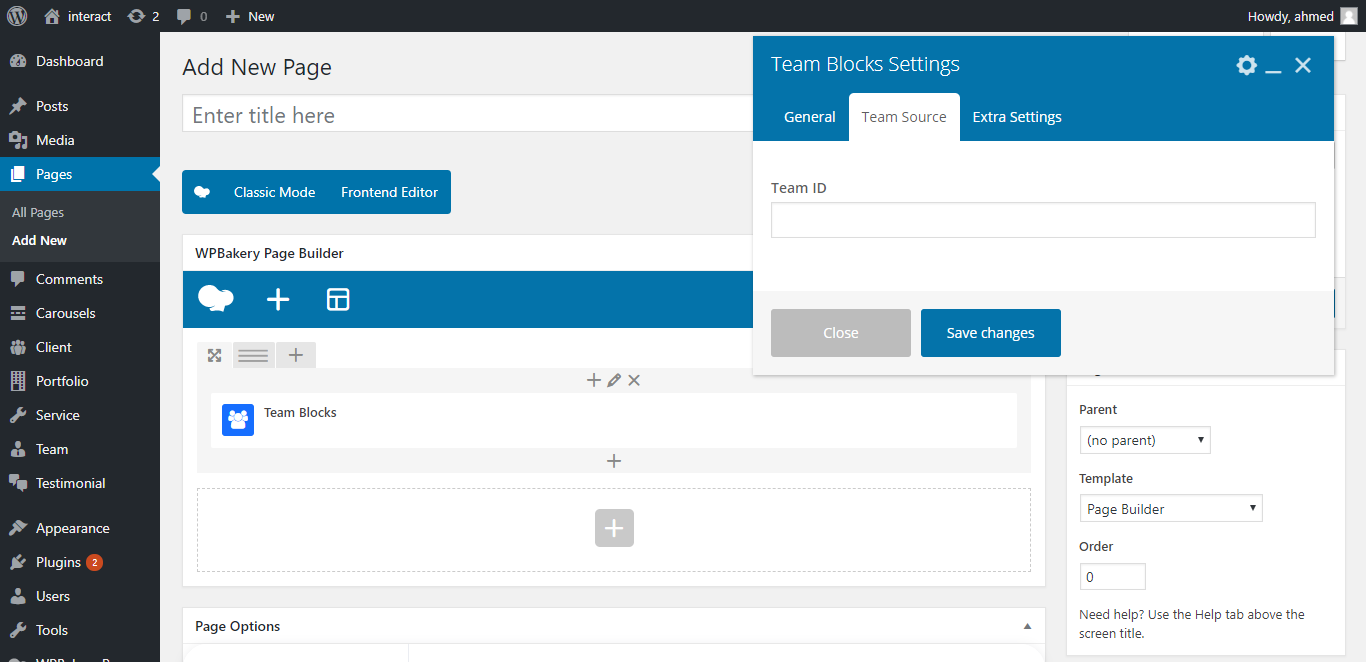
- Team ID: Enter Team id.
Portfolio Block
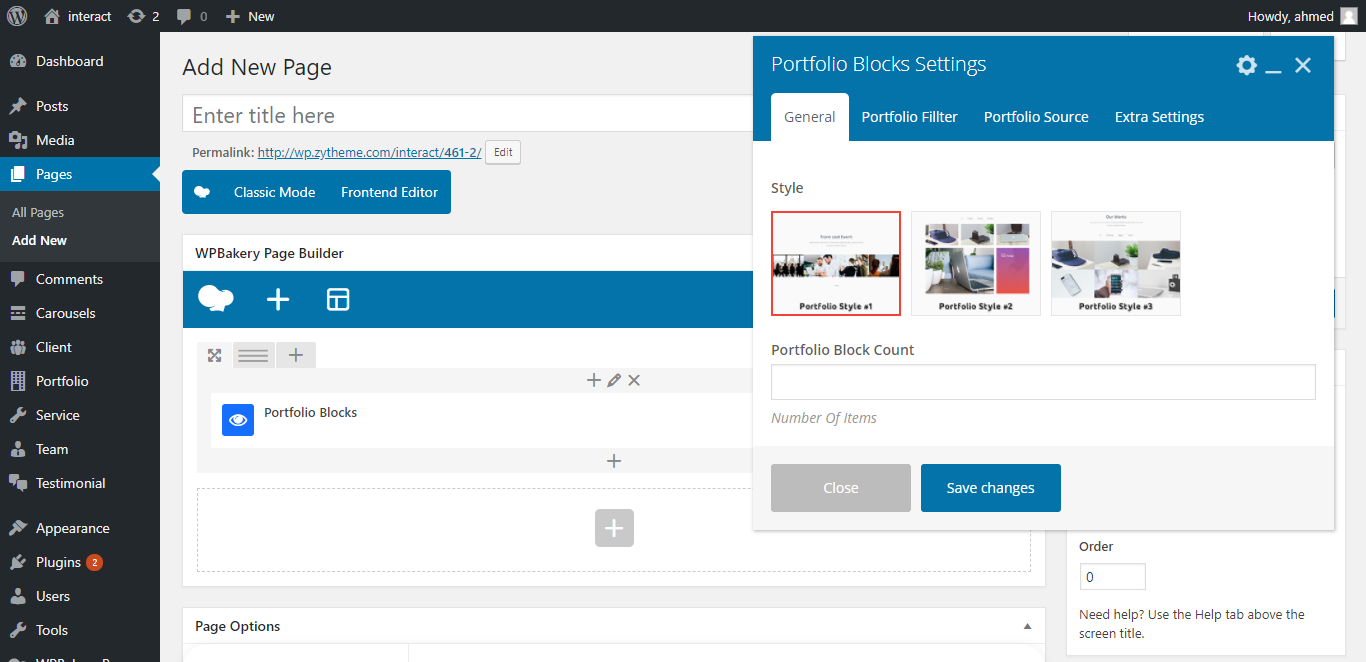
- style: select Portfolio Block style.
- Portfolio Block Count: Enter Post Count.
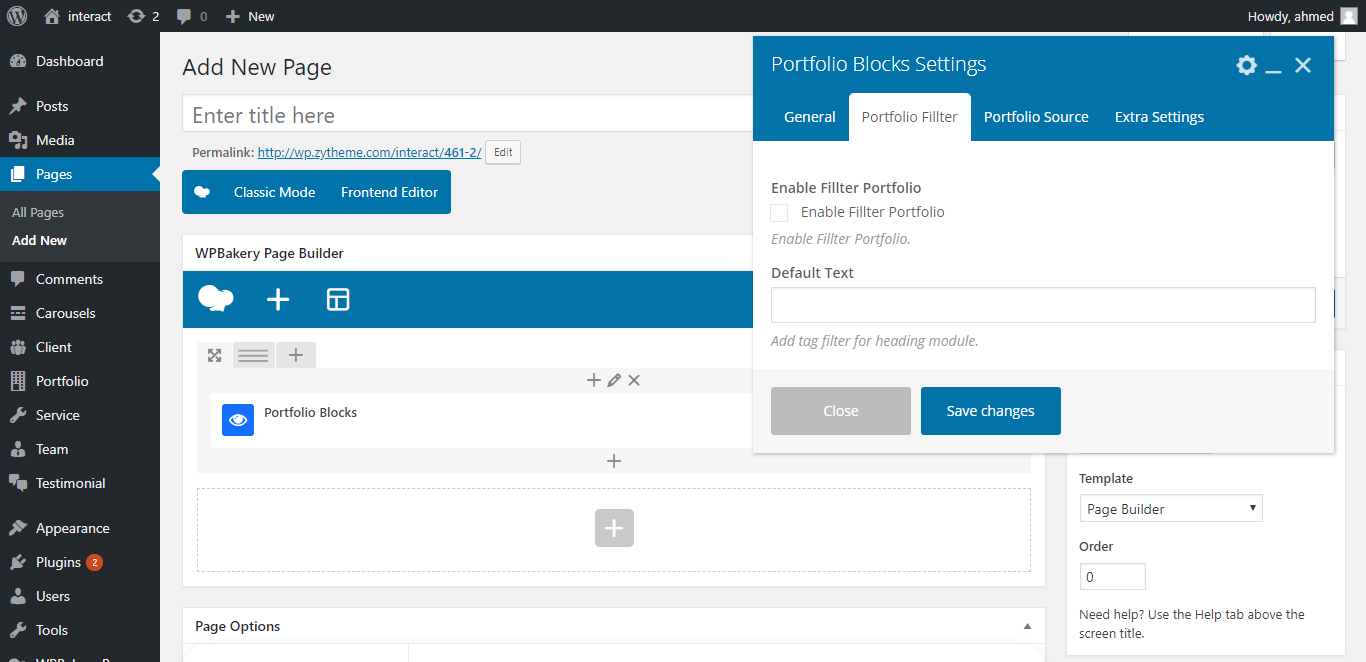
- Enable Fillter Portfolio: Enable / Disable Fillter Portfolio.
- Default Text: enter text.
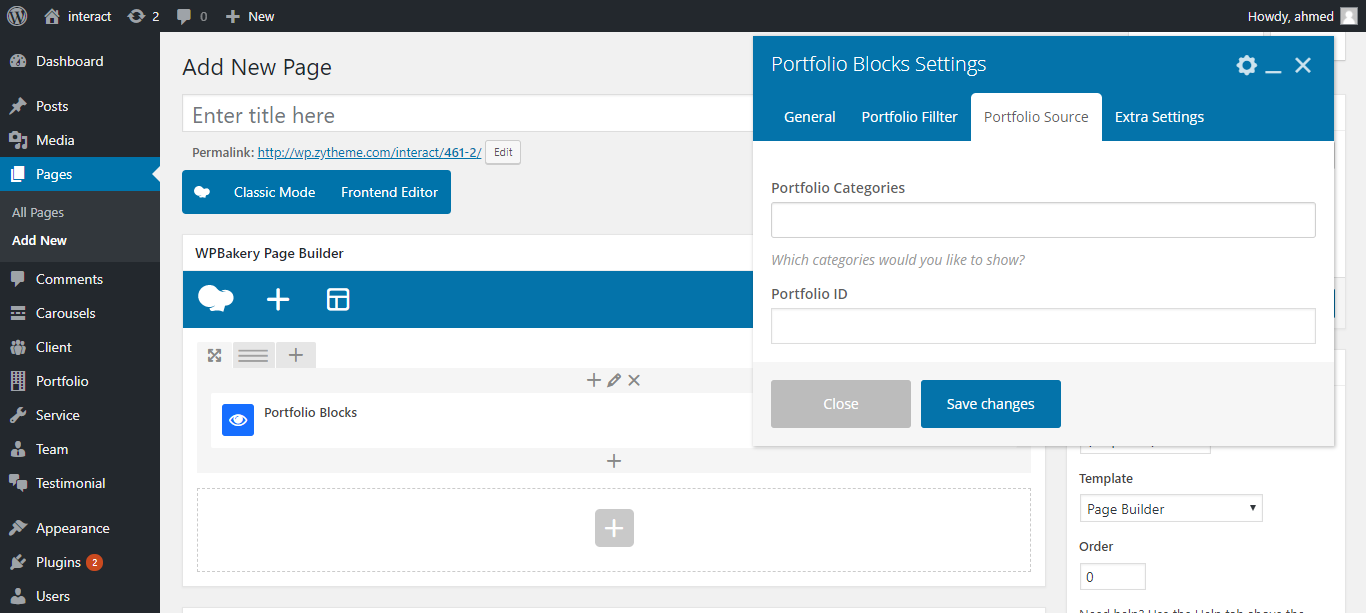
- Portfolio Categories: Select Which categories would you like to show?
- Portfolio ID: Enter Portfolio id.
List icon Block
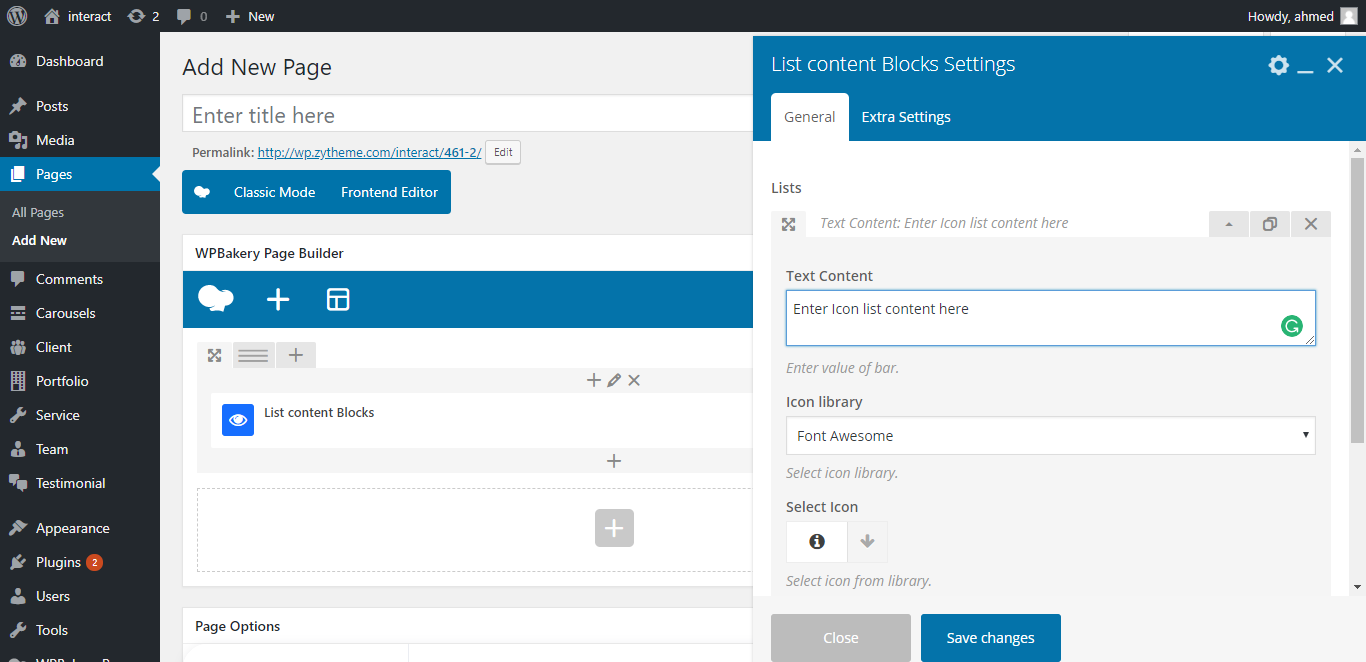
- Text Content: Enter Text Content.
- Icon library: Select Icon library
- Select Icon: Select Icon
Location Map
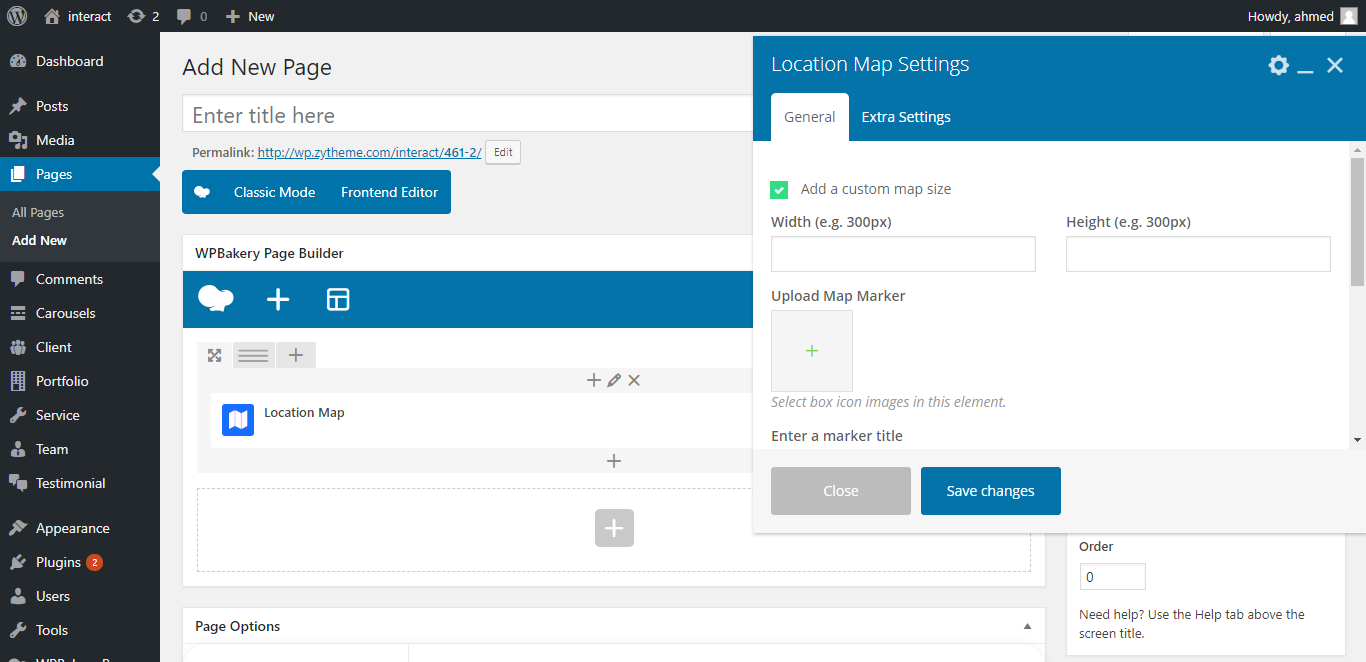
- Add a custom map size: set width and height for map.
- Upload Map Marker: Select Icon library
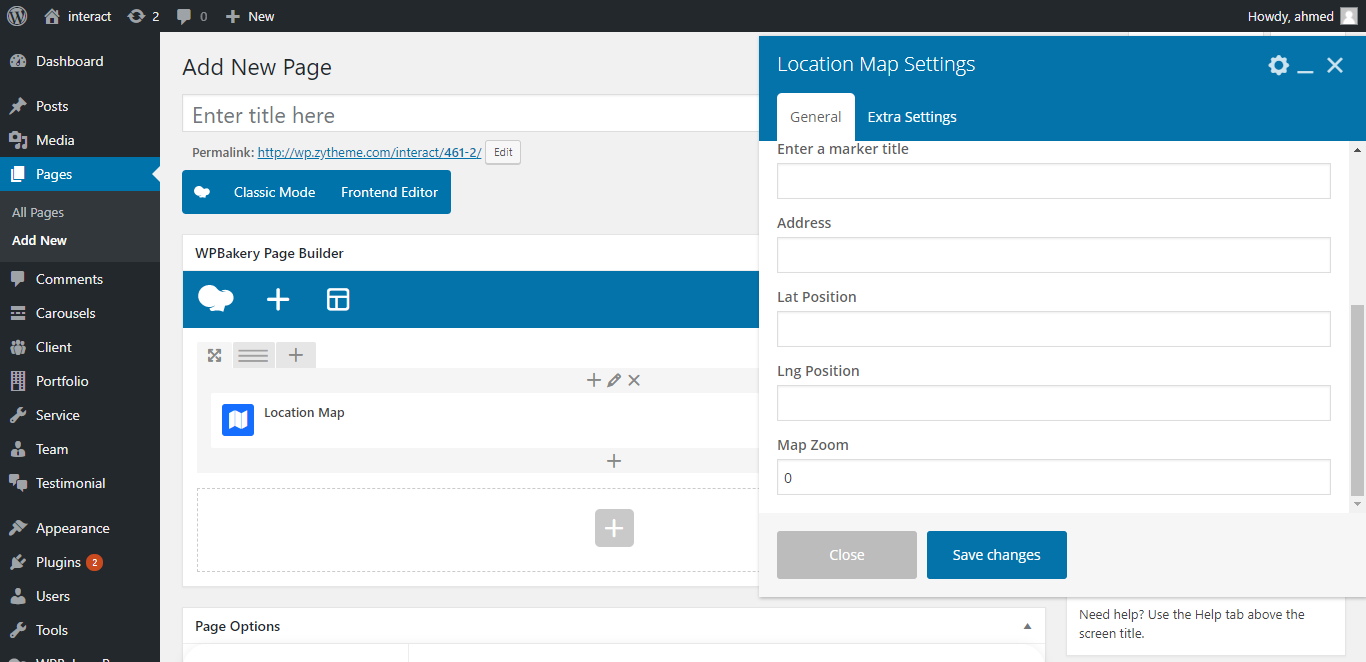
- Enter a marker title: set width and height for map.
- Address: Enter map locaion Address
- Lat Position: Enter google map lat long
- Lng Position: Enter google map lng long
- Map Zoom: Enter map zoom value
Alert Block
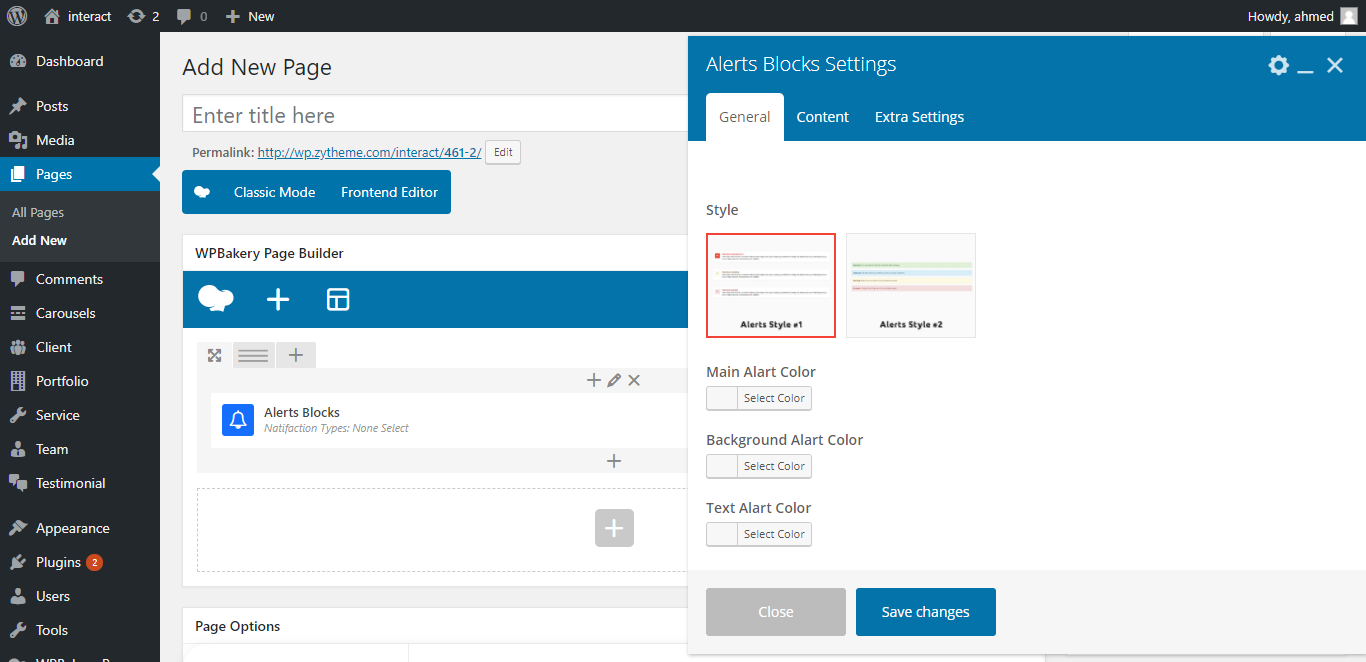
- Style: select alert block Style.
- Main Alart Color: Select Main Alart Color
- Background Alart Color: Select Background Alart Color
- Text Alart Color: Select Text Alart Color
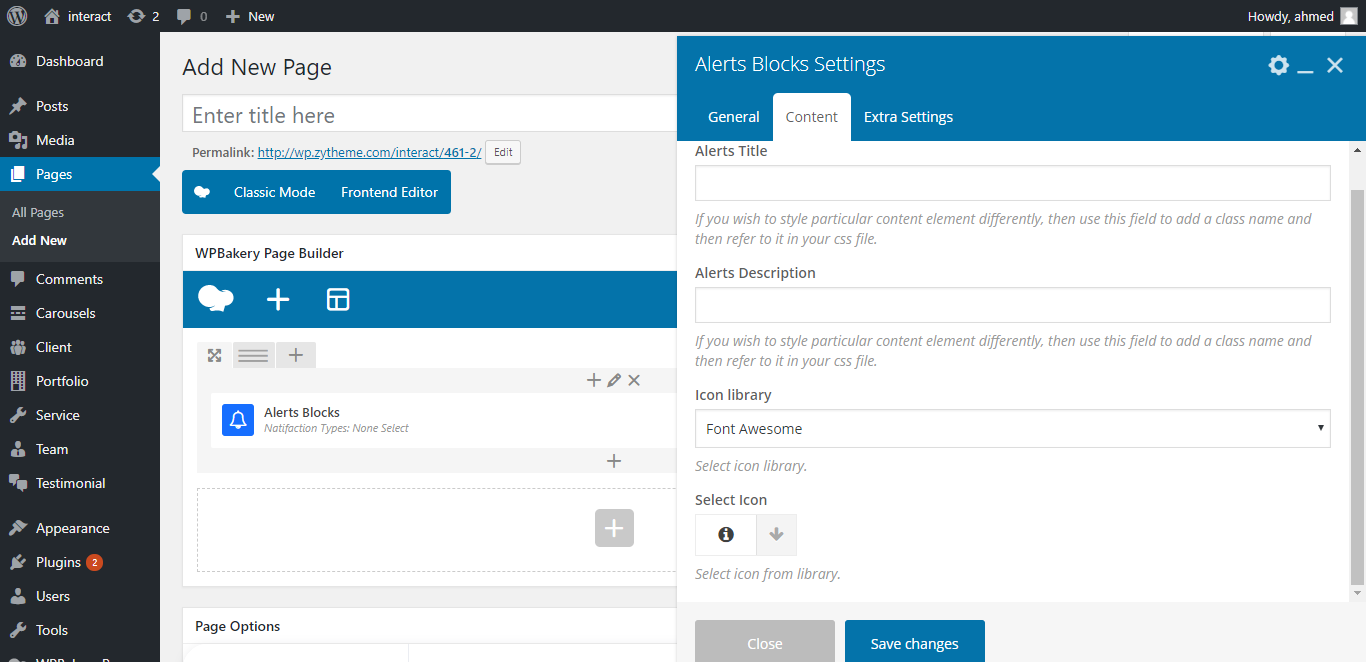
- Alerts Title: Enter Alerts Title.
- Alerts Description: Enter Alerts Description.
- Icon library: Select Icon library
- Select Icon: Select Icon
Blockquots Blocks
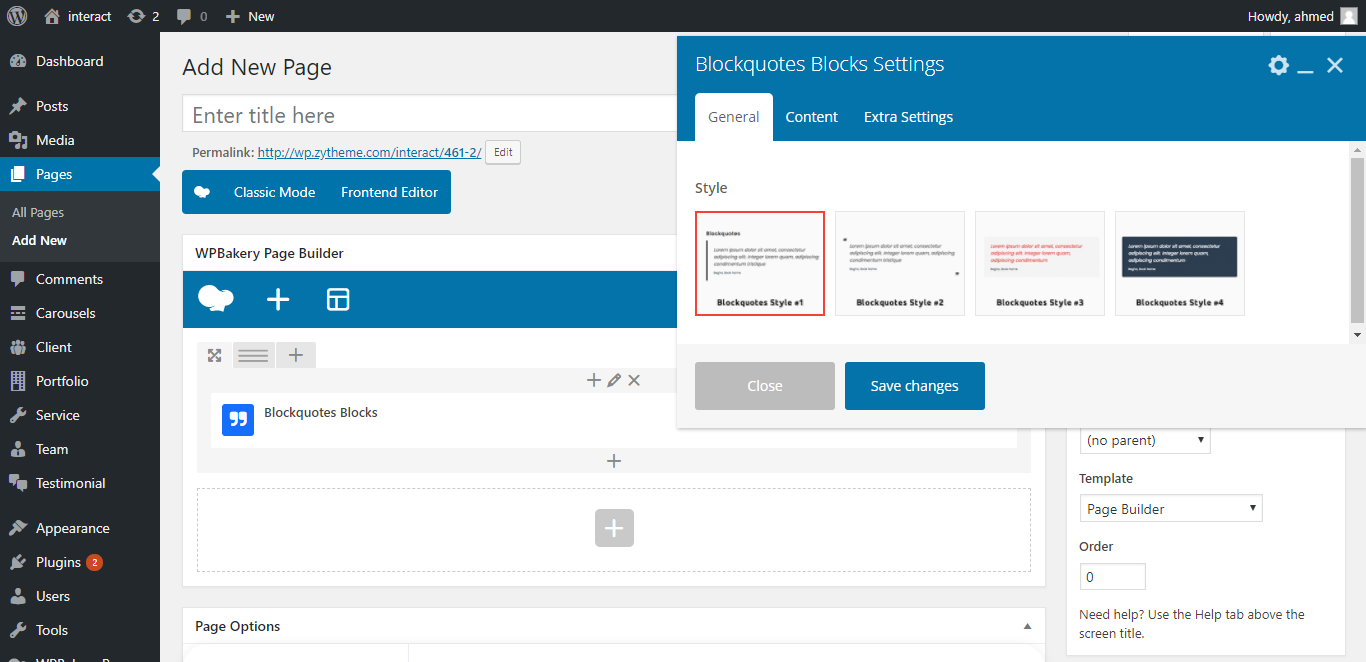
- Style: select Blockquots Style.
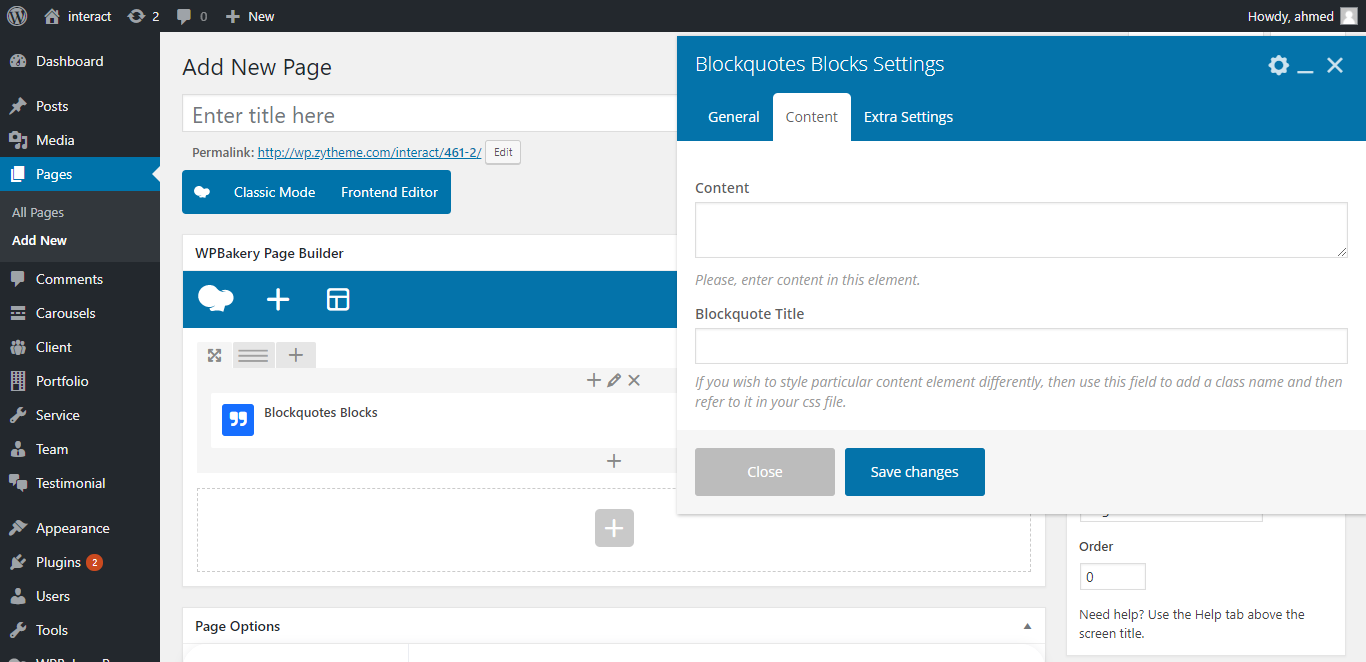
- Content: Enter Blockquote Content.
- Blockquote Title: Enter Blockquote Title.
Buttons
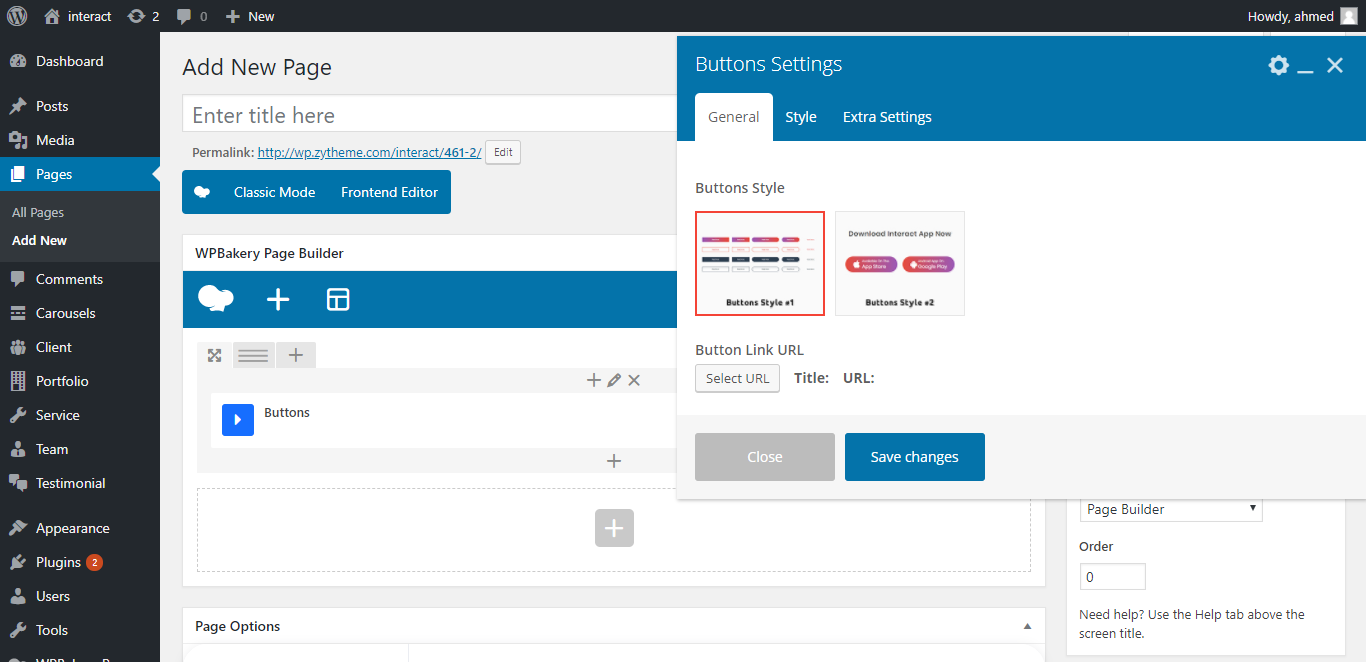
- Style: select Button Style.
- Button Link URL: click on select url to Add link url and text for button.
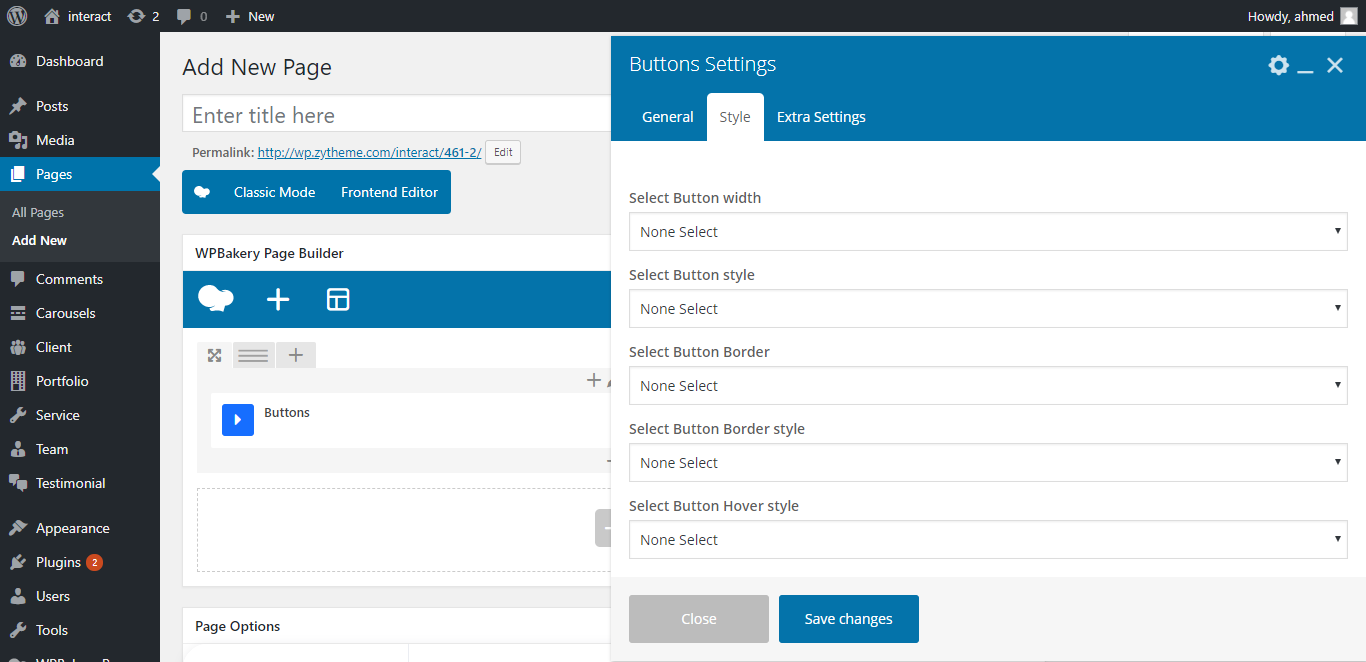
- Select Button width: Select Button width "full width" and "auto width"
- Select Button style:Select Button style "background color", "background Gradient", "background White" and "background Dark"
- Select Button Border:Select Button Border "with Border" and "without Border"
- Select Button Border style:Select Button Border style "with Border radius" and "with Border radius"
- Select Button Hover style:Select Button Hover style "Button Hover Normal" and "Button Hover inverse"
Circles
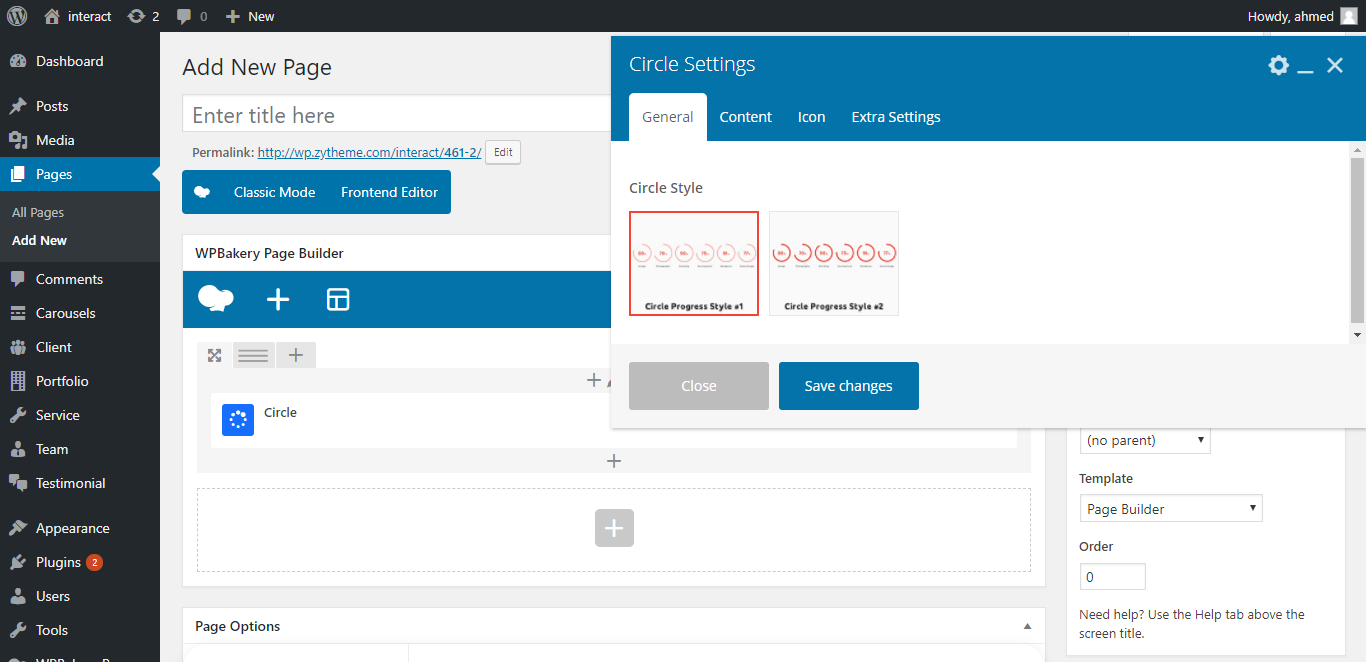
- Style: select Circles Style.
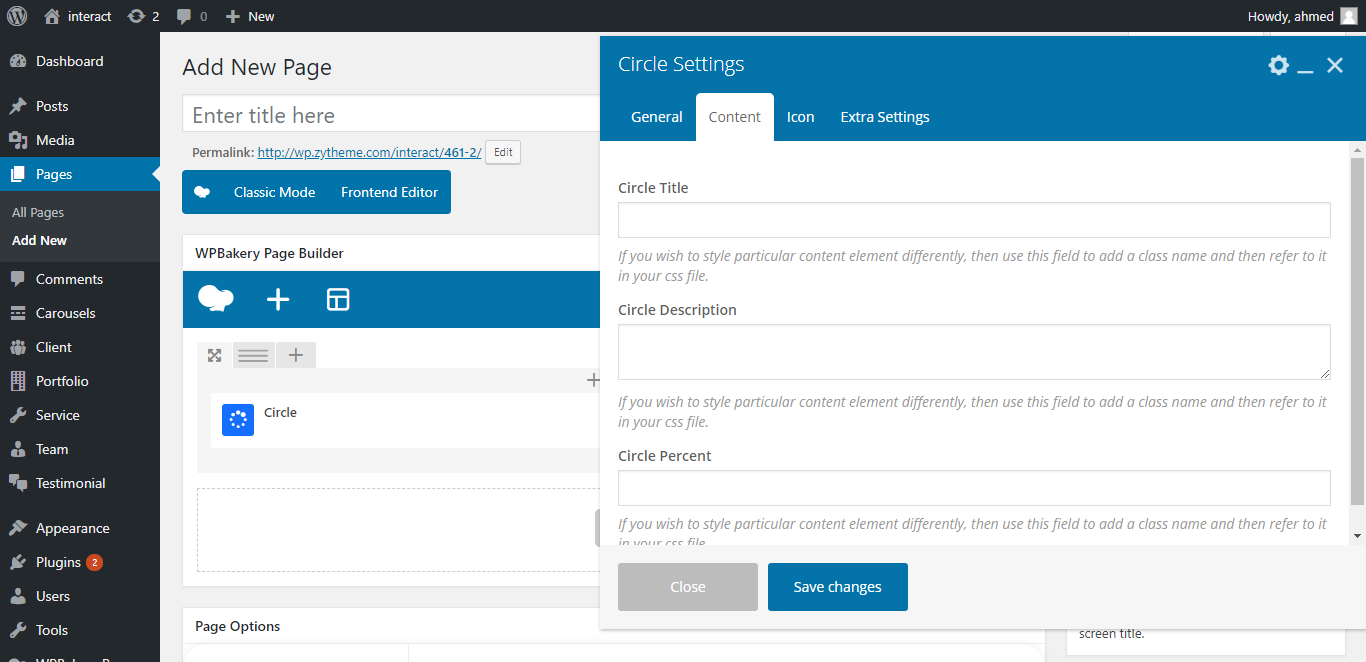
- Circle Title: Enter Circle Title.
- Circle Description: Enter Circle Description.
- Circle Percent: Enter Circle Percent for example 80%.
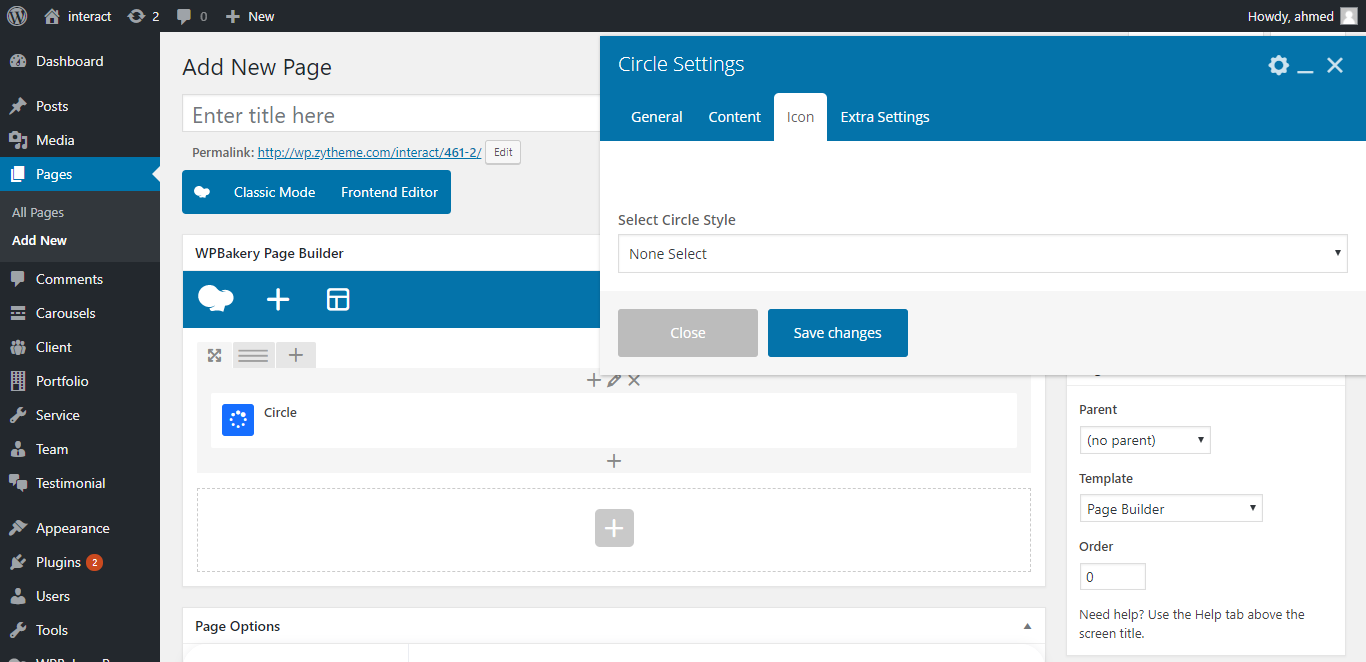
- Select circle Style: select Circle Style "show icon" and "show percentage"
Counters
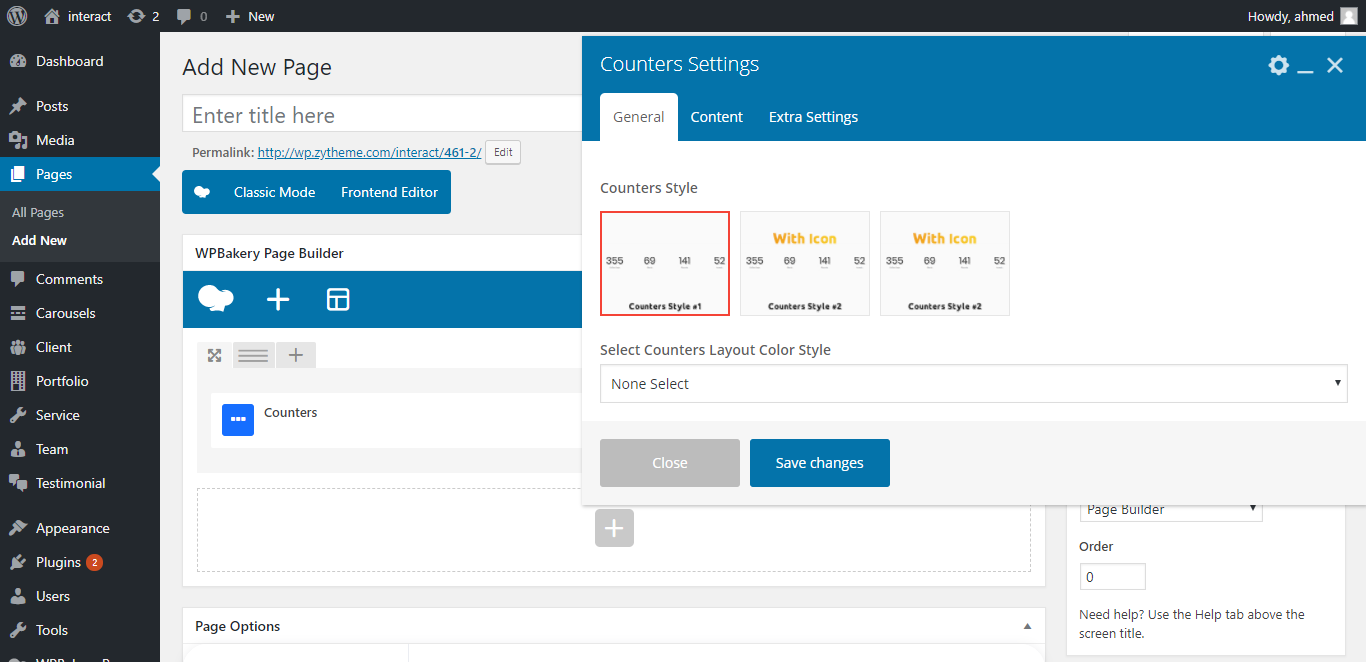
- Counters Style: select Counters Style.
- Select Counters Layout Color Style: Select Counters Layout Color Style "dark color" and "light color"
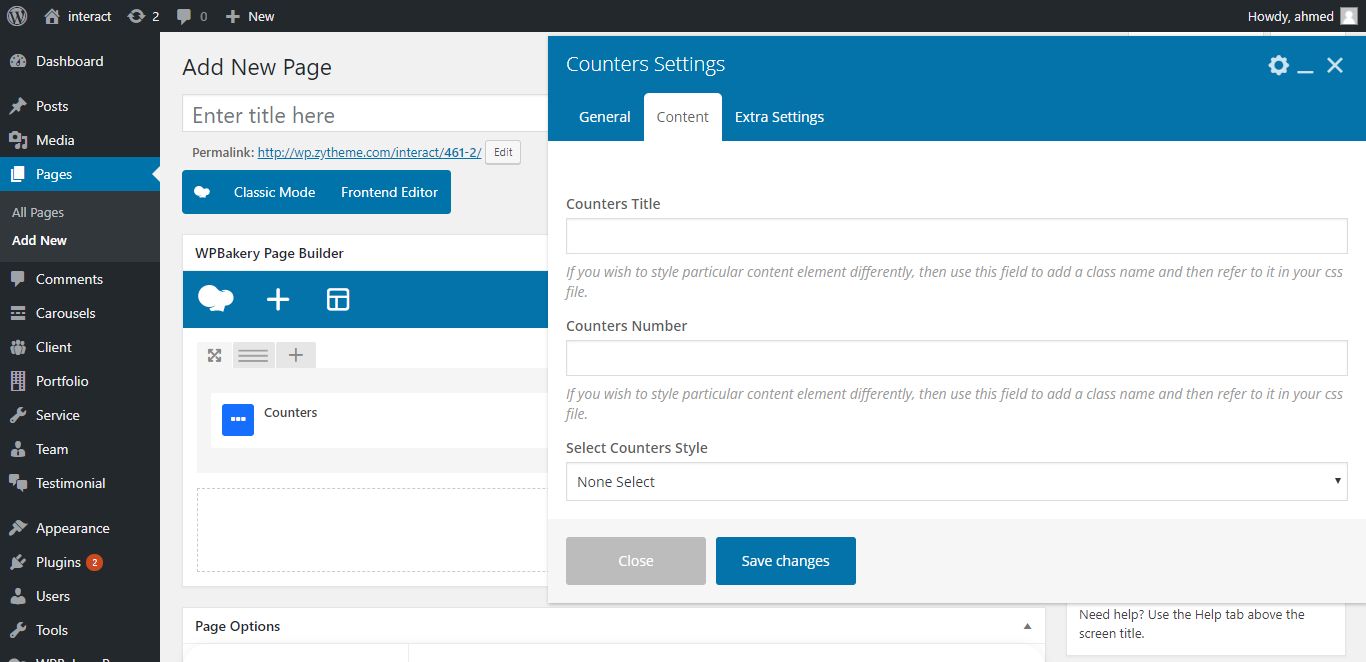
- Counters Title: Enter Counters Title.
- Counters Description: Enter Counters Description.
- Select Counters Style: Show / Hide icon
Countdown
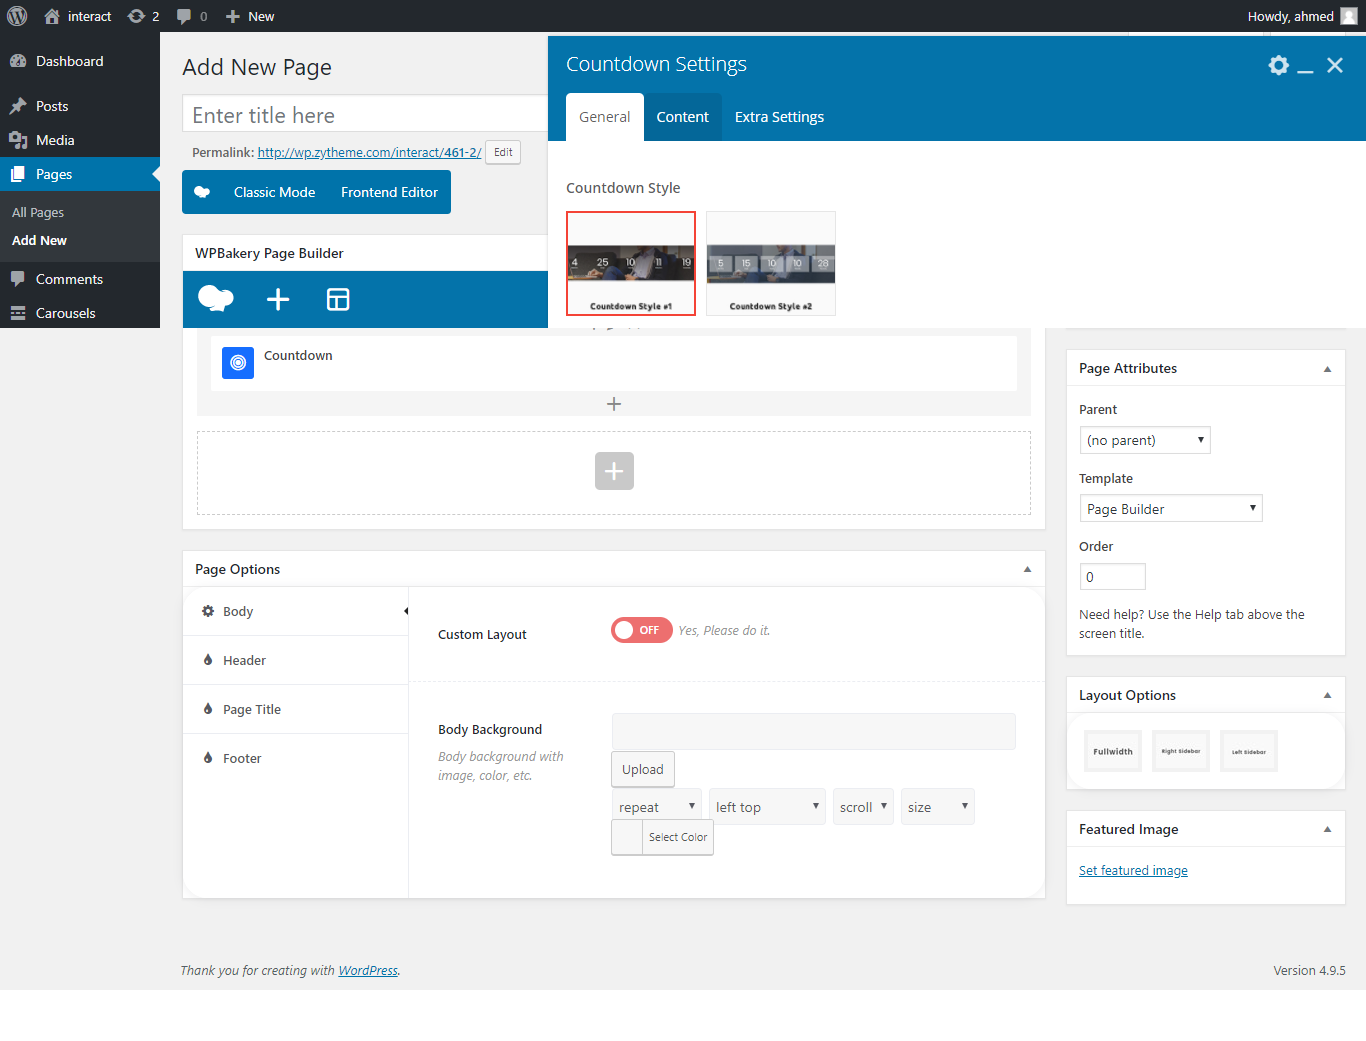
- Countdown Style: select Countdown Style.
- Select Countdown Style: Select Select Countdown Style "light style" and "dark style"
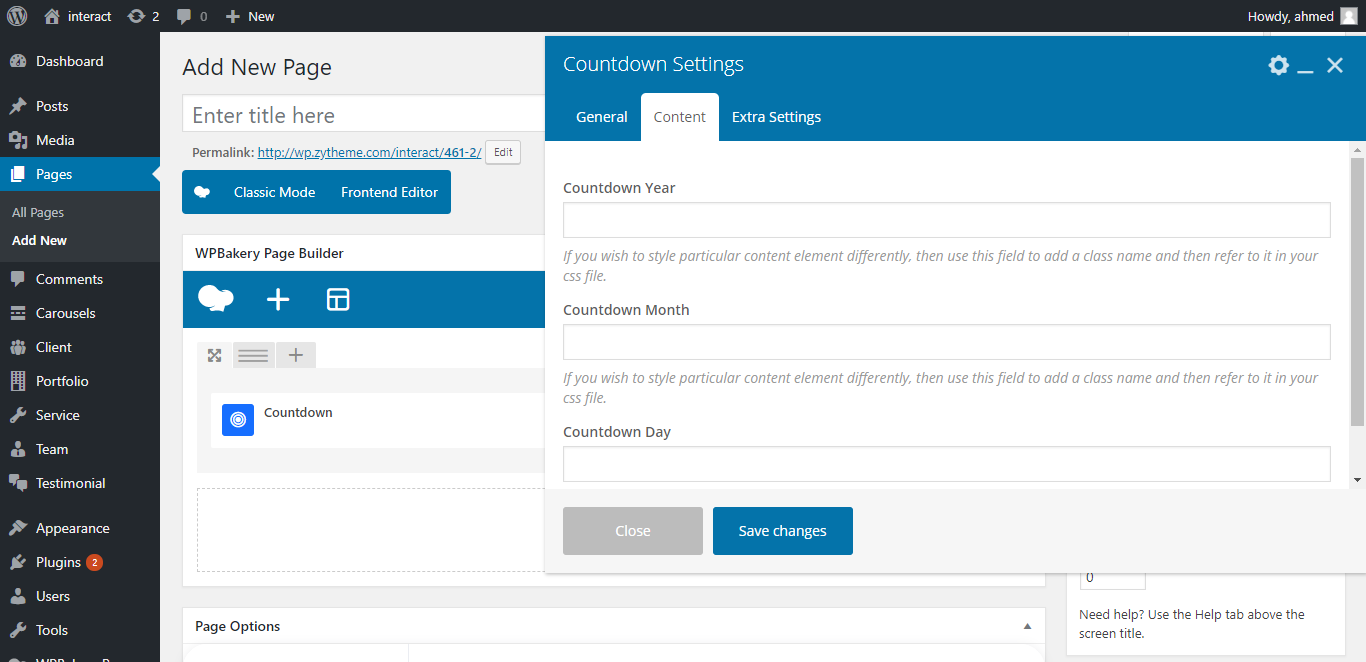
- Countdown Year: Enter Countdown Year.
- Countdown Month: Enter Countdown Month.
- Countdown Day: Enter Countdown Day.
Timeline
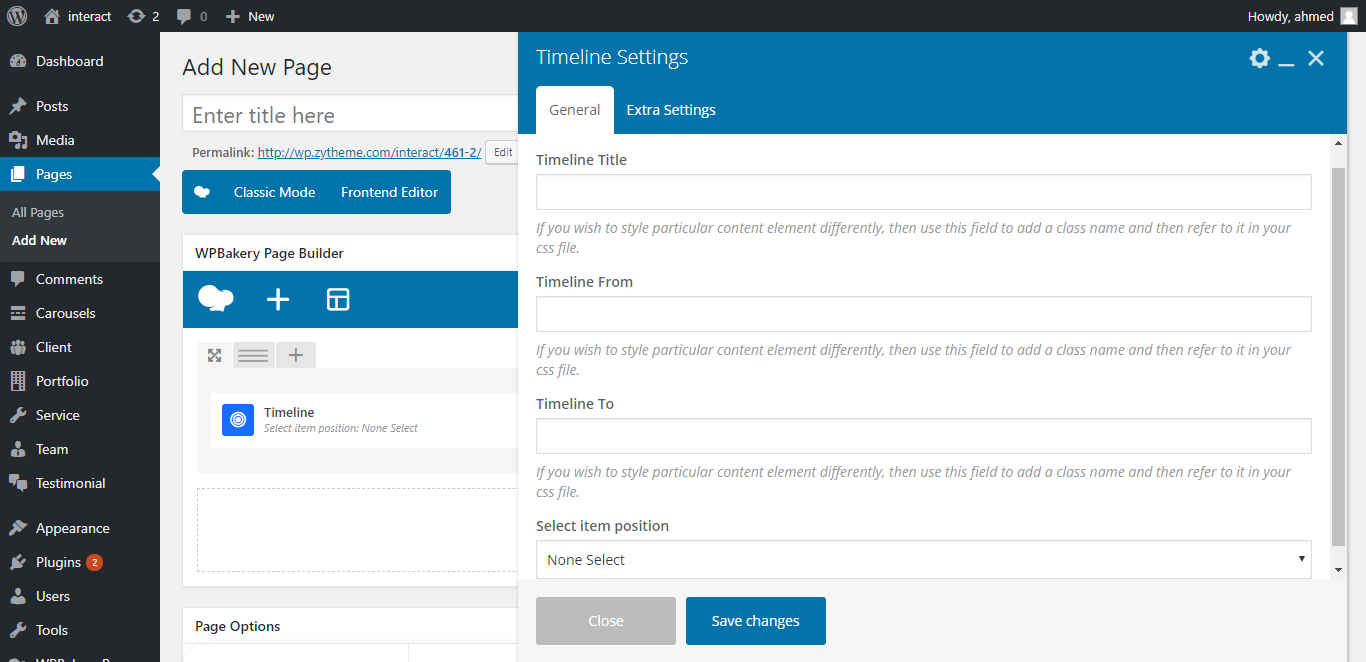
- Timeline Title: select Timeline Title.
- Timeline From: select Timeline From.
- Timeline To: select Timeline To.
- Select item position: Select item position "position right" and "position lefta"
Call to action
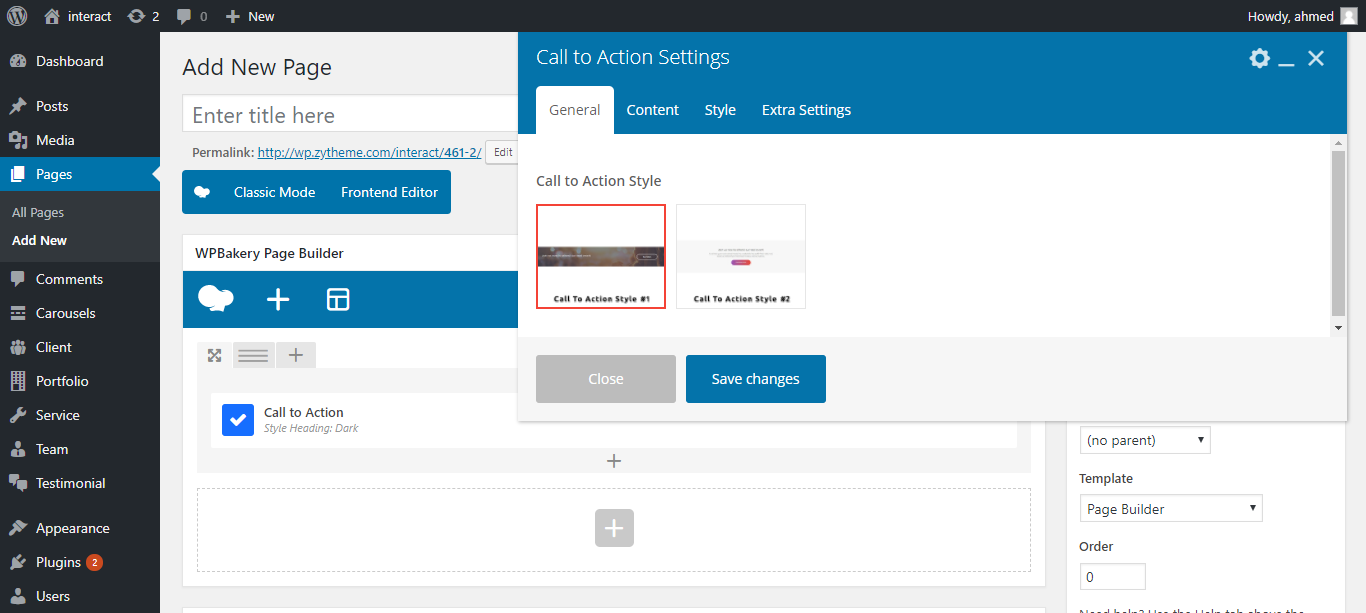
- Call to Action Style: select Call to Action Style.
- Select Countdown Style: Select Select Countdown Style "light style" and "dark style"
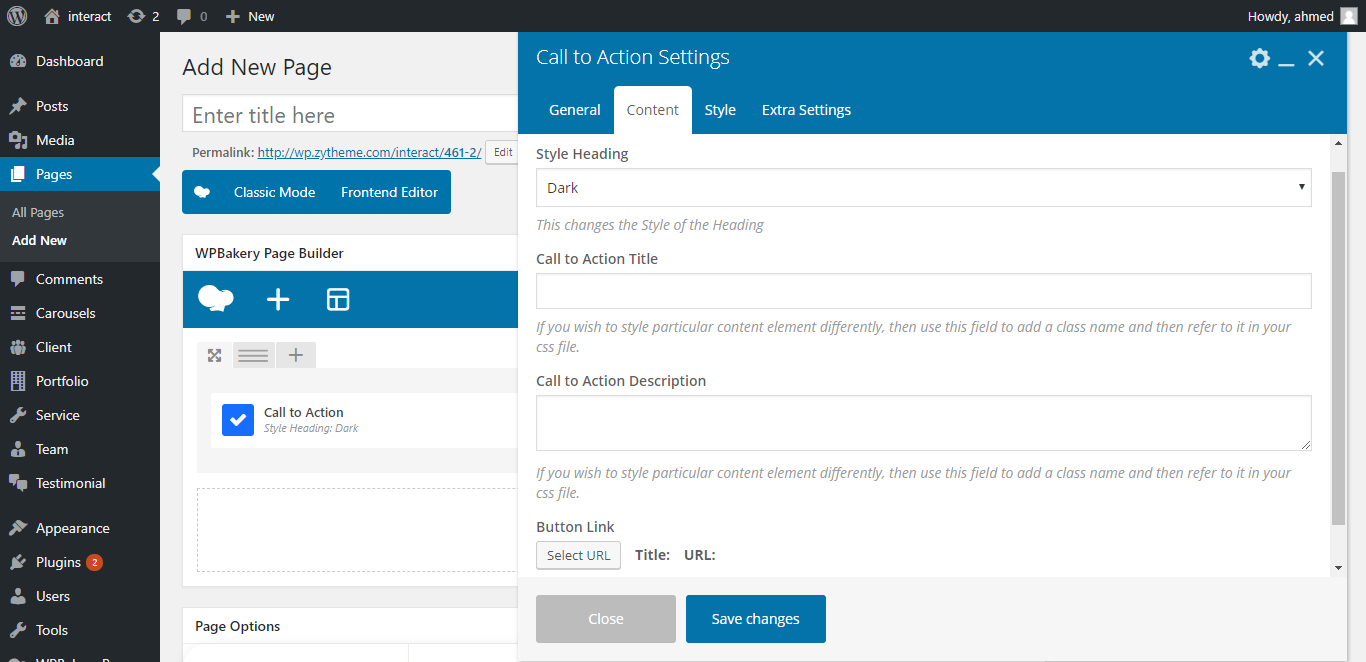
- Style Heading: select Style Heading "dark" and "light"
- Call to Action Title: Enter Call to Action Title
- Call to Action Description: Enter Call to Action Description
- Button Link: click on select url to Add link url and text for button.
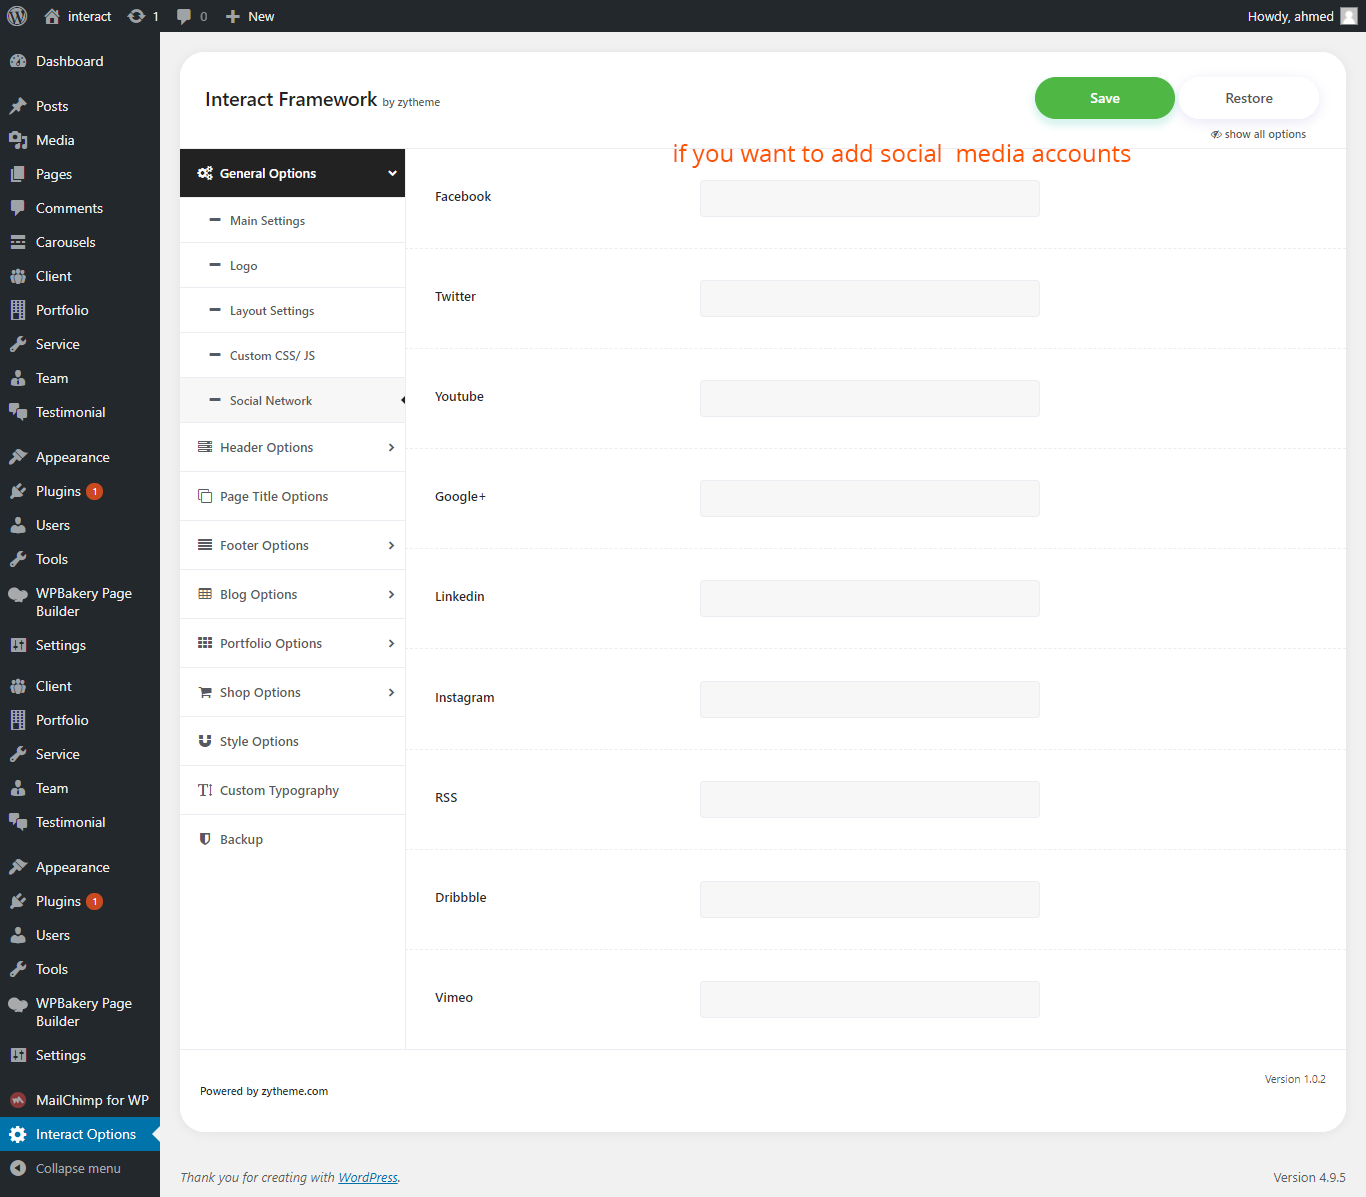
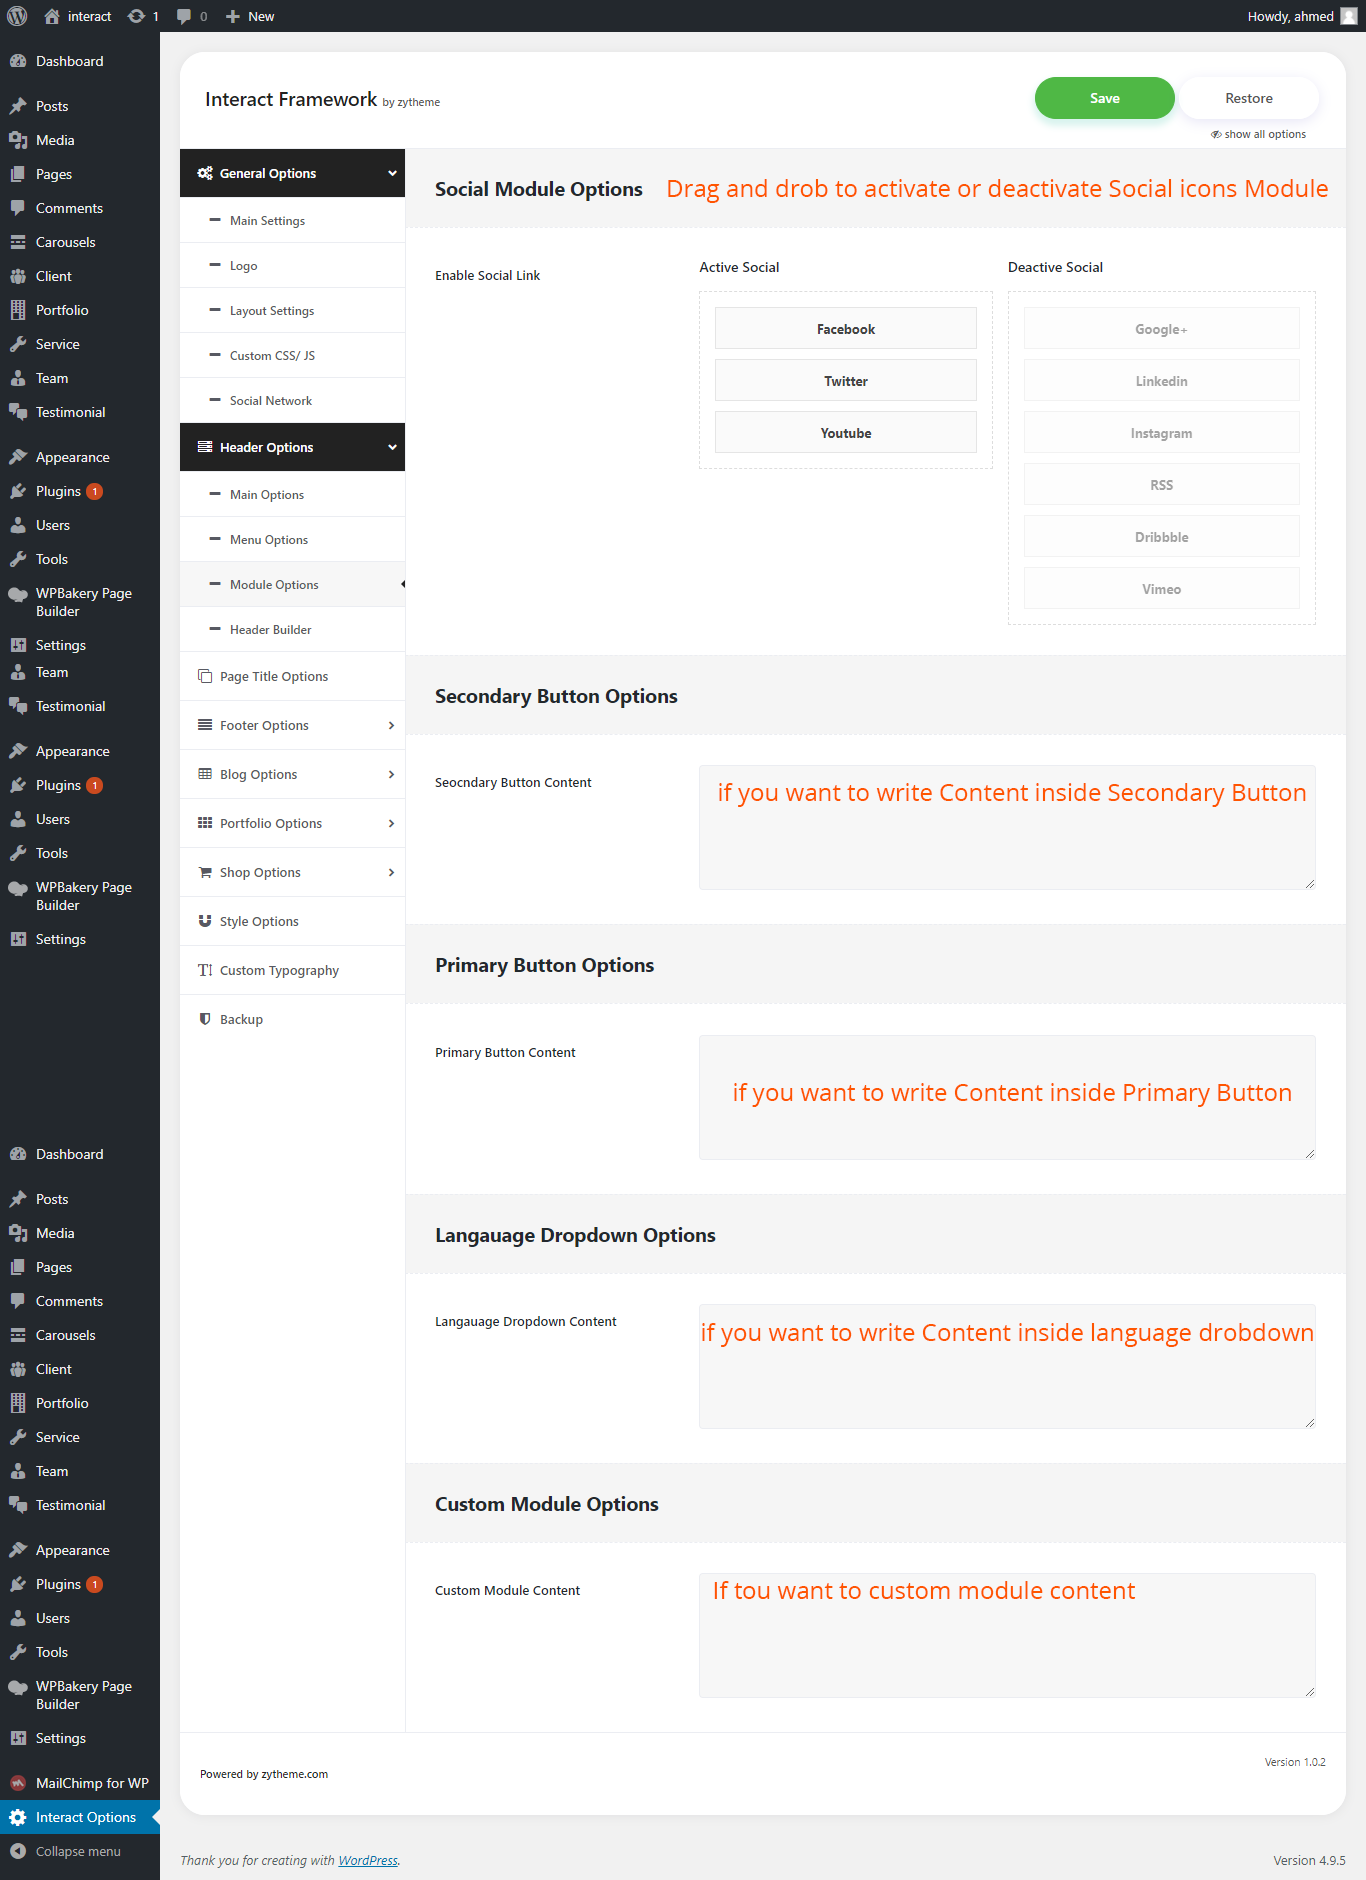
Social icons
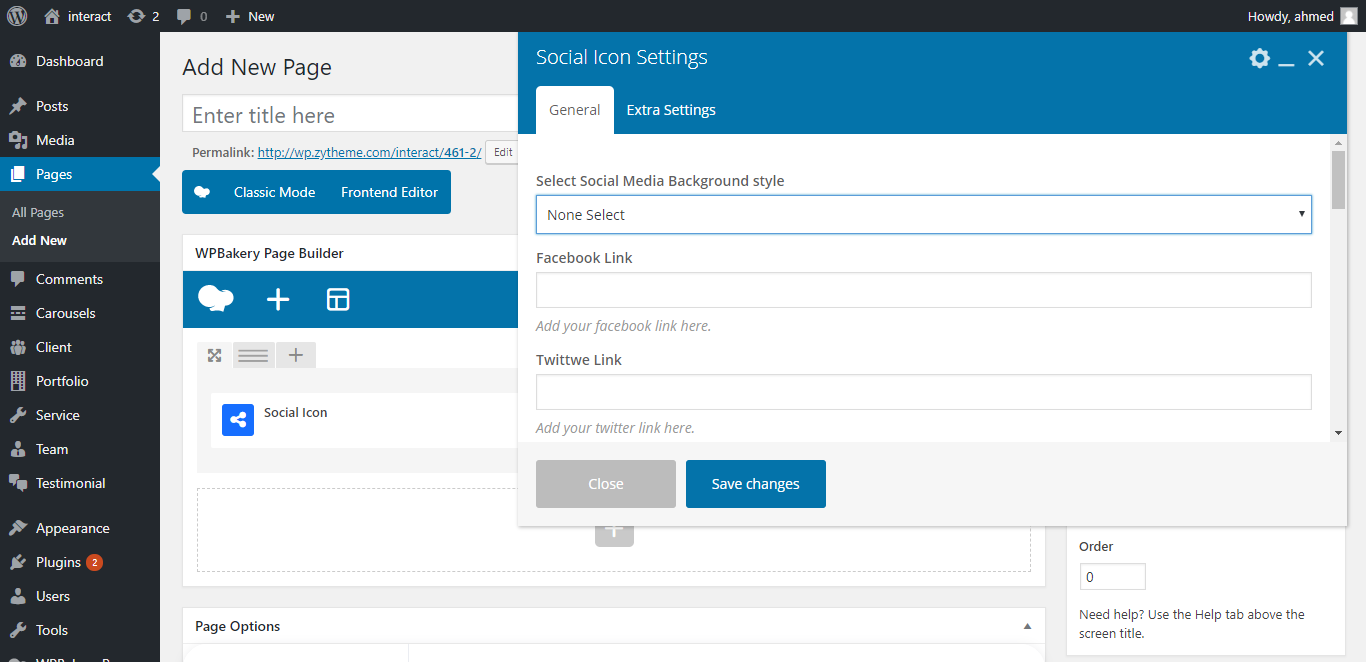
- Select Social Media Background style: Select Social Media Background style "with background" and "without background"
- Facebook link: add your facebbok account link
Mailchamp
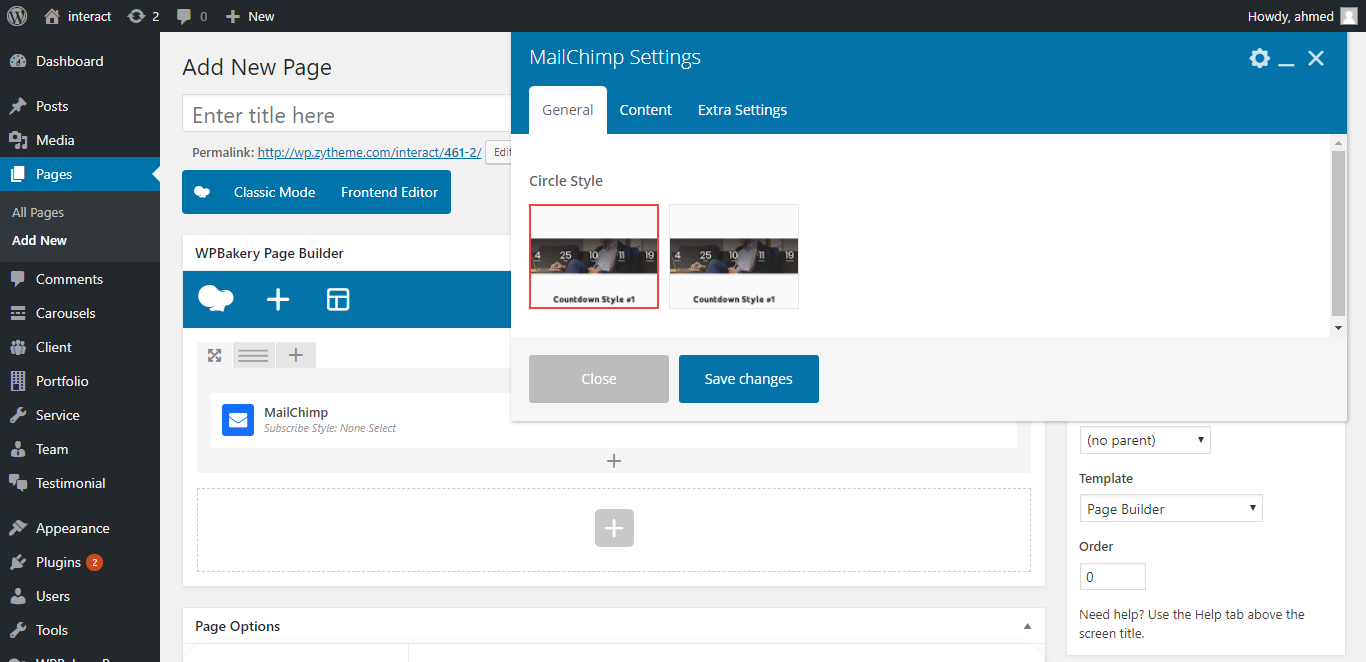
- Circle Style: Select Circle Style
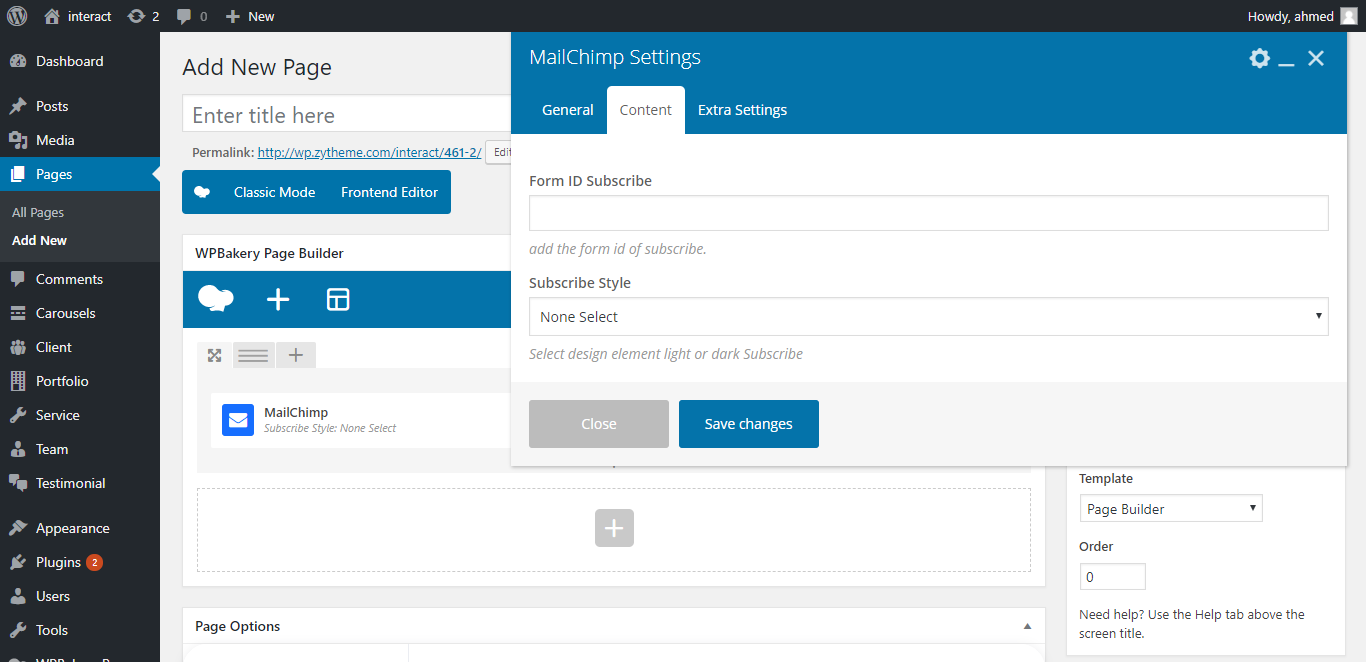
- Form ID Subscribe: Enter Form ID Subscribe
- Subscribe Style: Select Subscribe Style "light" and "dark"
Progress Bars
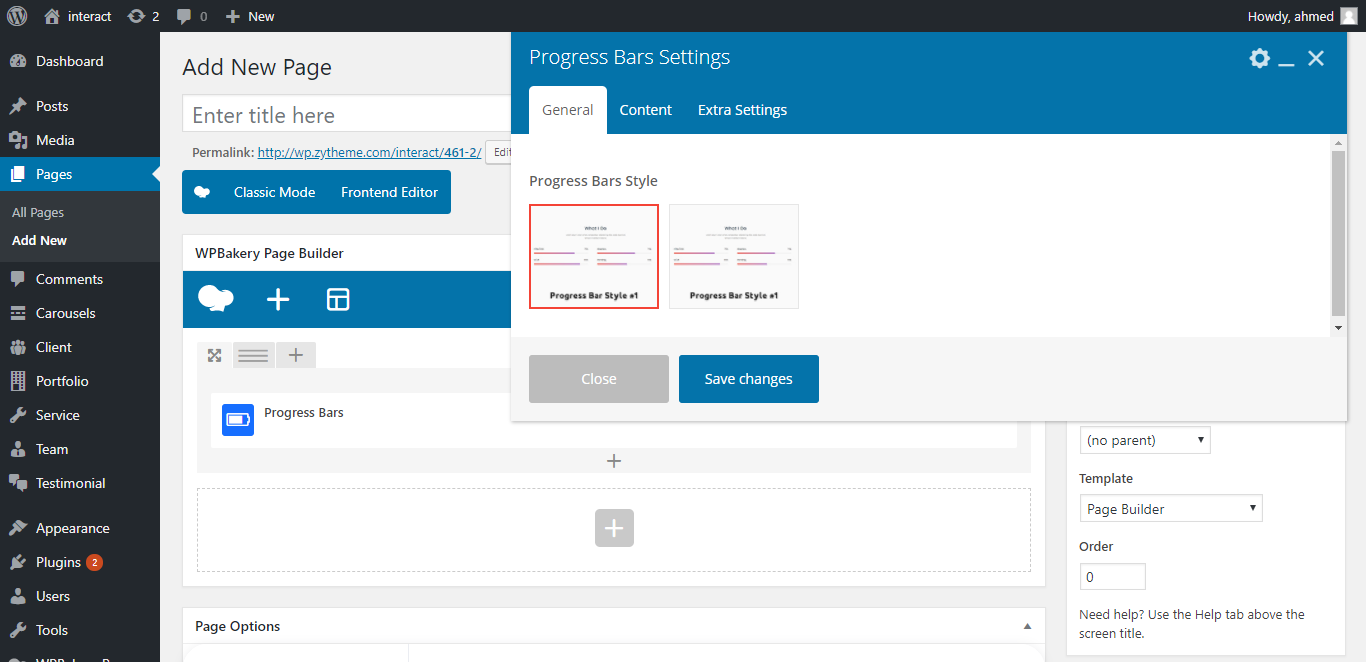
- Progress Bars style: Select Progress Bars Style
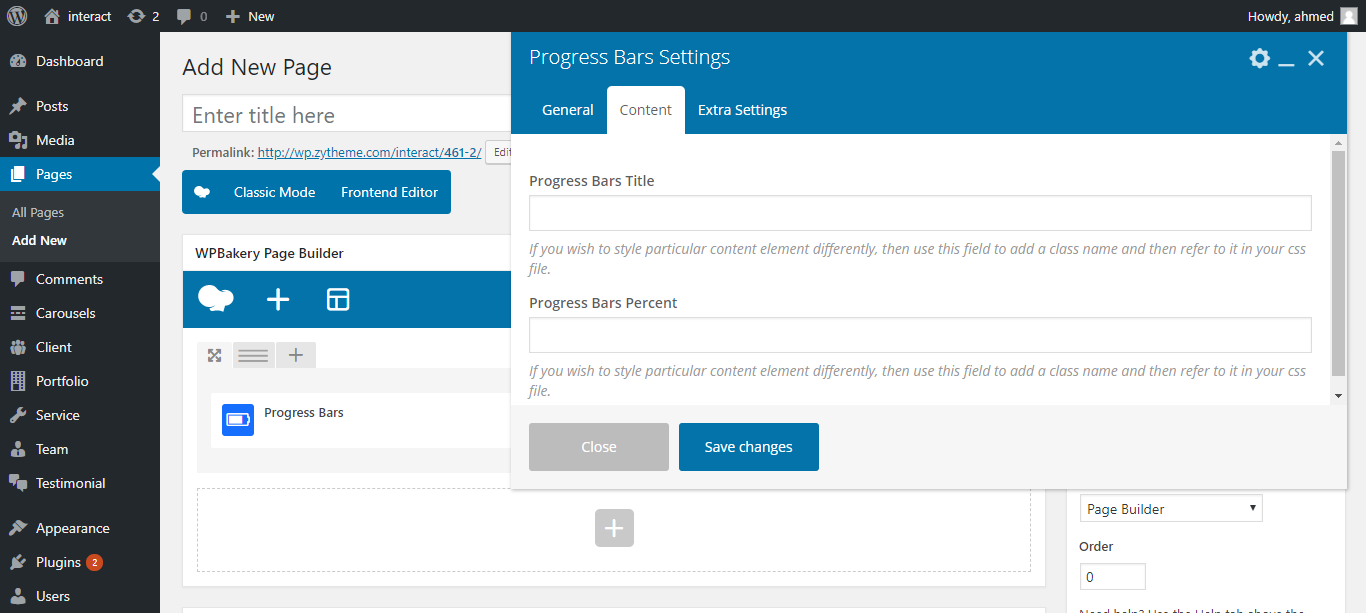
- Progress Bars Title: Enter Progress Bars Title
- Progress Bars percent: Enter Progress Bars percent
Pricing
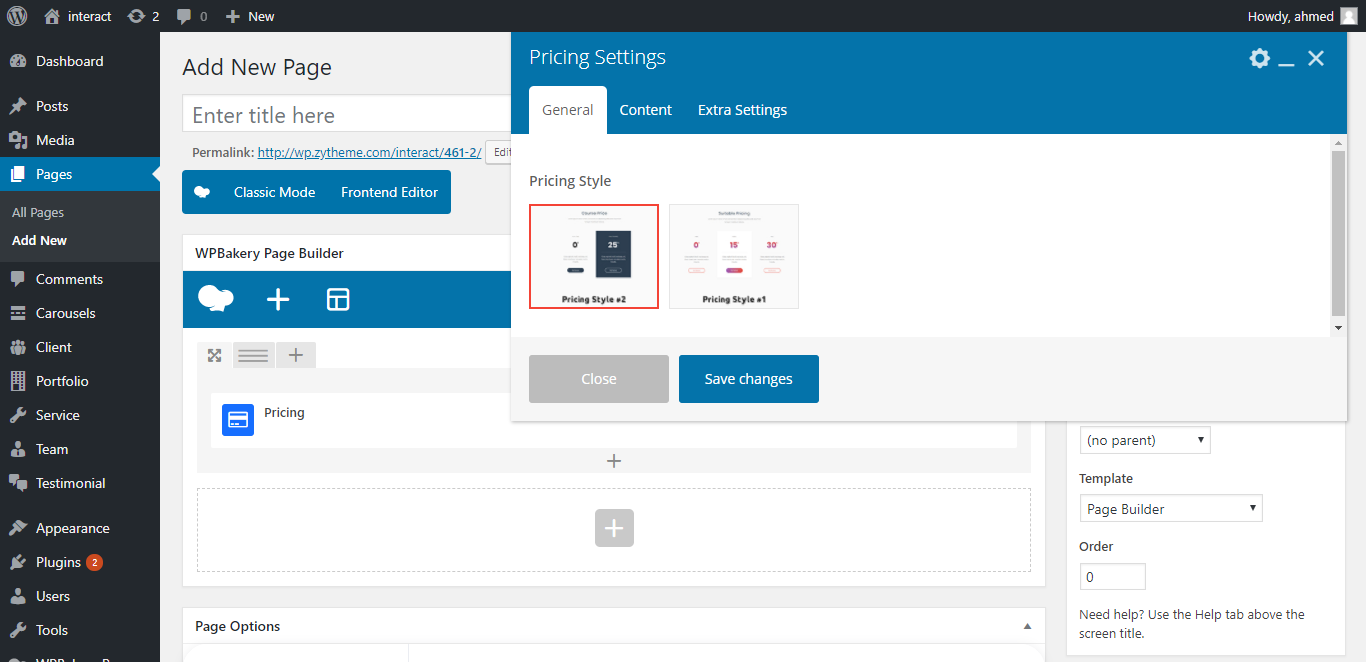
- Pricing style: Select Pricing Style
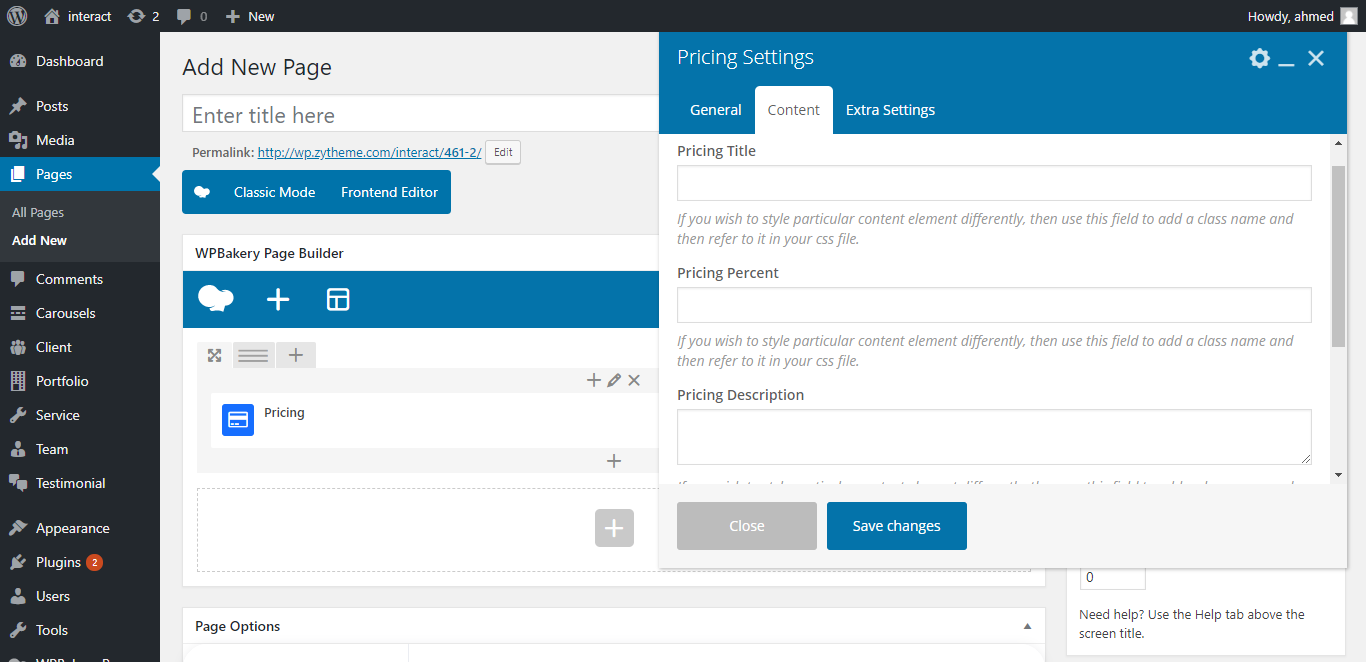
- Pricing Title: Enter Pricing Title
- Pricing Percent: Enter Pricing Percent
- Pricing Description: Enter Pricing Description

- Button Link: click on select url to Add link url and text for button.
- Enable Active: Enable / disable active pricing.
Grid Block
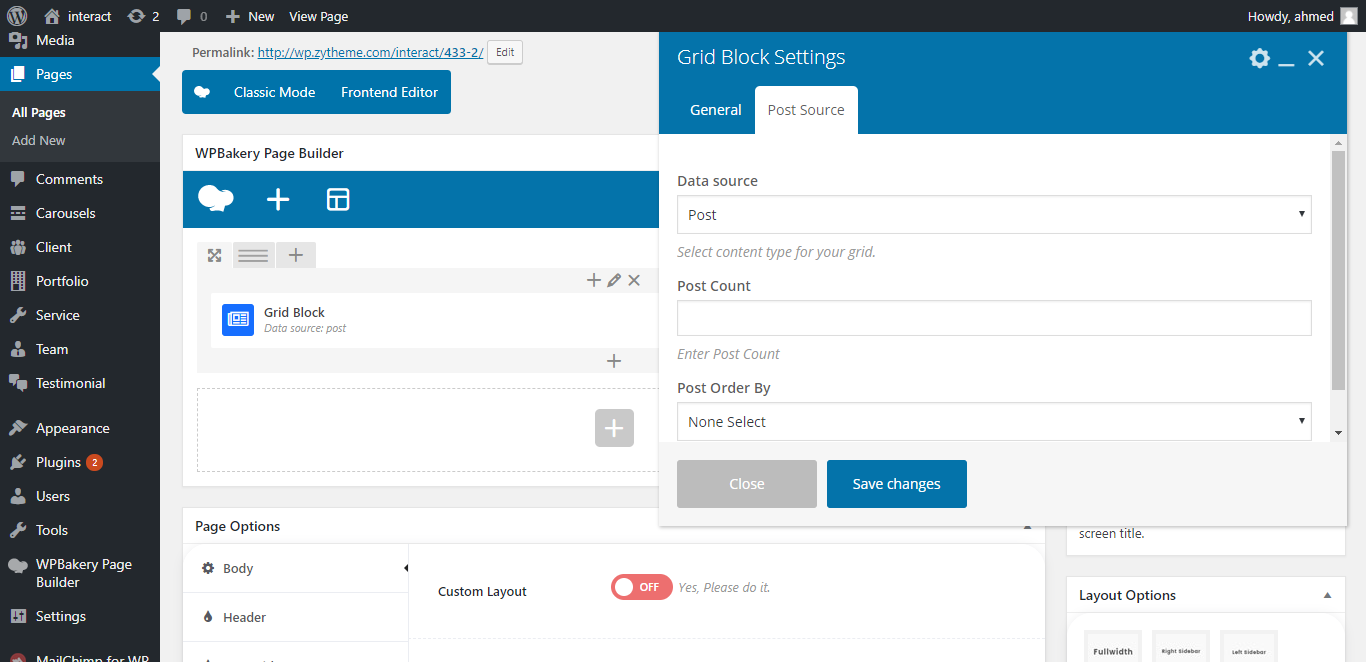
- Data source: Select content type for your grid.
- Post Count: Enter Post Count.
- Post Order By: Select Post Order By "Date", "Random" and "Comment Count"
List Block
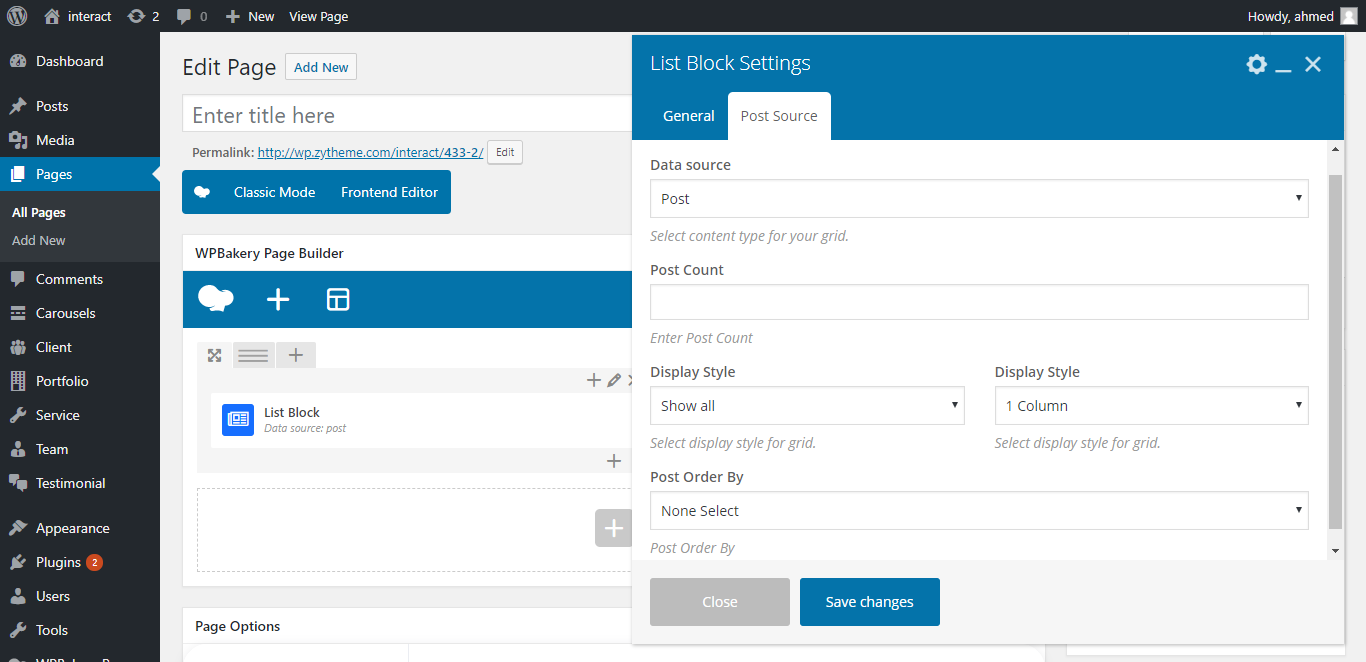
- Data source: Select content type for your grid.
- Post Count: Enter Post Count.
- Display Style: Select display style for grid.
- Post Order By: Select Post Order By "Date", "Random" and "Comment Count"
Credit Files
I've used the following images, icons or other files as listed.
JavaScript Plugins
- jQuery
- bootstrap
- Owl Carousel
- Counter Up
- Magnific Popup
- Images Loaded
- Isotope
- countdown
- jquery gmap
- easy pie chart
- jQuery Waypoints
Icon Font
CSS Library
Support
If you need any help. Feel free to contact us. We will reply within 24 hours. Send a mail from Profile Support
changelog
Initial Release V1.0
Released on 2 June 2018.